Your own ChatGPT, with a computer attached: hands-on with Open WebUI 0.13
Open WebUI 0.13.0 turns the self-hosted chat front end into a full workspace: your model gets a desktop, a browser, and Git beside the chat. This guide installs 0.13.0, connects a local model, builds a knowledge base, and walks the new computer-use features — install, chat, and RAG verified end to end.
- What: Open WebUI 0.13.0 — the self-hosted AI chat front end — adds a tabbed workspace, Desktop and Browser tabs via Open Terminal, a Git panel, side chats, comment threads with an inbox, multi-model sub-agents, MCP apps, and models that write their own tools.
- When: Released November 3, 2026; the release post ("your model gets a computer") followed on November 4. Verified November 7, 2026 in this tutorial's lab: pip install of 0.13.0,
/api/versionreturning 0.13.0, a first chat against a local model, and a knowledge base with local embeddings. - Requirement: Docker (recommended) or Python 3.11+ with pip; a local model via Ollama 0.40.15 or llama.cpp. The lab box was a 4-CPU Linux VM with 7 GB of RAM and no GPU. No account, no API key, $0.
- Upgrade warning: 0.13.0 includes security fixes and a database migration — back up first, and update all instances at the same time; mixed versions fail.
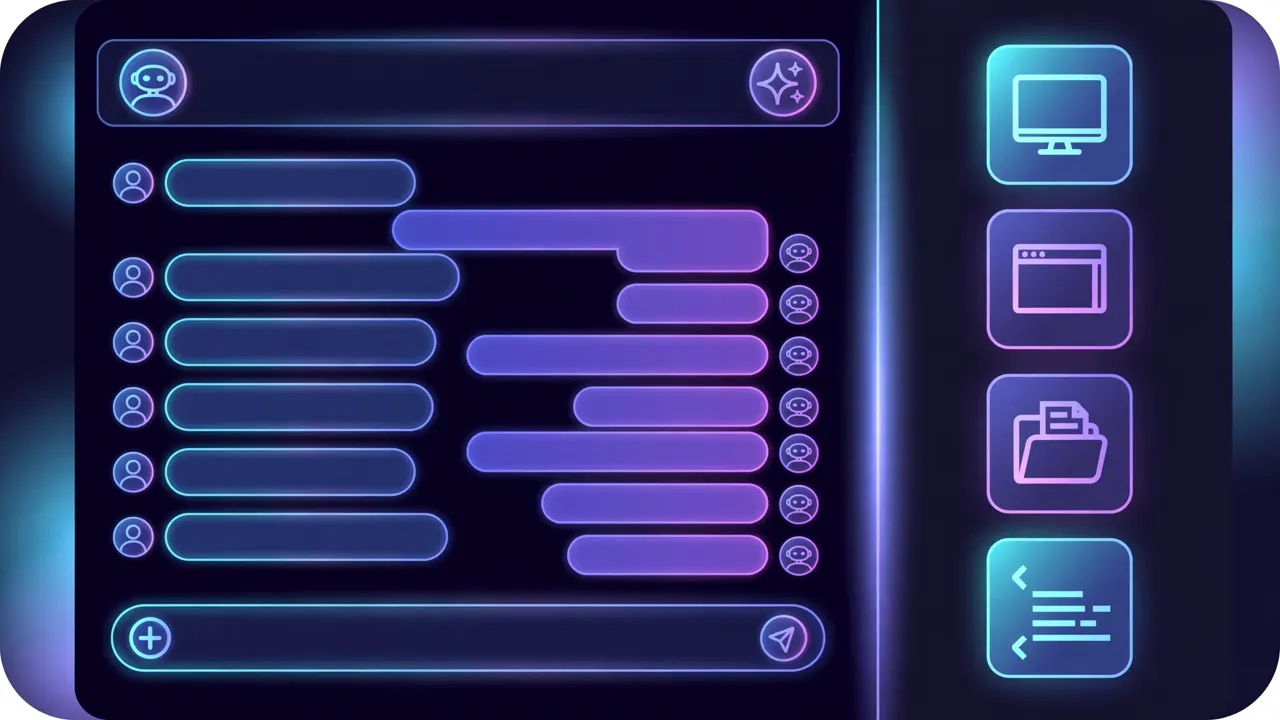
For years, "run your own ChatGPT" meant a chat box wired to a local model. You typed, it answered, and the moment you needed it to do something — read a spreadsheet, fix a failing test, check a page it just built — you copied text back and forth between apps yourself. Open WebUI 0.13.0, released November 3, 2026, closes that gap: the self-hosted chat front end is now a workspace where your model gets a real desktop, a real browser, and Git beside the chat. The release announcement's headline says it plainly: "your model gets a computer."
This guide installs 0.13.0, connects a local model, runs a first chat, builds a knowledge base that answers from your own files, and walks through the new computer-use features — the tabbed workspace, the Desktop and Browser tabs, the Git panel, side chats, and multi-model sub-agents. The install, first chat, and knowledge-base steps below were run end to end on a CPU-only Linux box for this tutorial; the Docker-only Open Terminal steps follow the project's official guide, since they need Docker and the separate Open Terminal service.
What you'll need#
- A machine to run it on: Docker (recommended), or Python 3.11+ with pip. The verification box for this guide was a 4-CPU Linux VM with 7 GB of RAM — no GPU anywhere in the stack.
- A local model: Ollama 0.40.15 (the current release) or a llama.cpp server. The smoke-test model in this guide is Qwen2.5 0.5B — a 398 MB download with a 32K context window. It answers questions; it is not the model to give a desktop to (more on that in Step 6).
- About 20 minutes for the core install and first chat, plus a few more if you follow the Open Terminal steps.
- Cost: $0. Everything below is self-hosted. If you later connect a cloud model, that provider's pricing applies — but nothing in this guide needs an account or an API key.
Step 1: Install Open WebUI 0.13.0#
Docker is the supported path, and the one detail that matters is the tag: pin the release, don't float on :main. The project's docs point out that :main is a rolling build, while a version tag never changes — and 0.13.0 carries a database migration, so you want to know exactly what you installed.
docker run -d -p 3000:8080 --add-host=host.docker.internal:host-gateway \
  -v open-webui:/app/backend/data \
  -e WEBUI_SECRET_KEY=$(openssl rand -hex 32) \
  --name open-webui --restart always \
  ghcr.io/open-webui/open-webui:0.13.0
Three flags do real work here. -v open-webui:/app/backend/data keeps your chats, users, and settings in a named volume that survives updates — never run without it. WEBUI_SECRET_KEY is the signing key for sessions; set it once and keep it, because recreating the container without a fixed key logs everyone out. And --add-host=host.docker.internal:host-gateway lets the container reach Ollama, or anything else, running on your machine. The UI lands on port 3000; the app itself listens on 8080 inside the container.
If you would rather skip Docker, the pip install works — this guide ran it. Use a virtual environment, pin the version, and serve:
python3 -m venv owui && source owui/bin/activate
pip install "open-webui==0.13.0"
open-webui serve
Expect a large download either way: the pip package pulls the full machine-learning stack (PyTorch, embedding and speech runtimes, document tooling) — several gigabytes, and slow on a weak connection. If that surprises you, the :0.13.0-slim Docker image is the same chat experience at 197 MB instead of 1.62 GB, with the ML stack left out; it needs an external embedding provider if you want knowledge search. The server binds 0.0.0.0:8080 by default.
Verify the install before going further:
curl -s http://localhost:8080/api/version
# {"version":"0.13.0","deployment_id":""}
That response is the exact output from this tutorial's lab run. Two things to expect on first start: the server runs database migrations (0.13.0 changes the schema — back up first if you are upgrading an existing instance, and update every instance at once; mixed versions fail), and it downloads the default embedding model, sentence-transformers/all-MiniLM-L6-v2, for knowledge search. If that download fails behind a restricted network, chat still works — embeddings only gate the knowledge-base features in Step 4.
Step 2: Connect a local model#
Open WebUI is a front end, not a model runner — it needs something to talk to. The standard choice is Ollama, which Open WebUI detects automatically on localhost:11434:
curl -fsSL https://ollama.com/install.sh | sh
ollama pull qwen2.5:0.5b
ollama run qwen2.5:0.5b
qwen2.5:0.5b is the smallest useful smoke-test model: 398 MB, 32K context window, and it supports tool calling. If you run Open WebUI in Docker and Ollama on the same host, remember the --add-host flag from Step 1 — without it, the container cannot see your Ollama.
The alternative this guide actually ran, because it needs no binary download, is a llama.cpp server, which speaks the OpenAI-compatible API Open WebUI already understands:
pip install "llama-cpp-python[server]"
python -m llama_cpp.server \
  --model qwen2.5-0.5b-instruct-q4_k_m.gguf \
  --model_alias qwen2.5-0.5b \
  --n_ctx 4096 --n_threads 4 --port 8081
The model file is the Q4_K_M quant of Qwen2.5-0.5B-Instruct from Hugging Face (~490 MB). Point Open WebUI at it with two environment variables before starting the server, or add it later under Admin Settings > Connections as an OpenAI-compatible connection:
OPENAI_API_BASE_URLS=http://127.0.0.1:8081/v1 OPENAI_API_KEYS=dummy-key open-webui serveEither way, confirm the model is visible before chatting:
curl -s http://localhost:8080/api/models -H "Authorization: Bearer $TOKEN" | python3 -m json.tool
# "id": "qwen2.5-0.5b", "connection_type": "external"
If the model list is empty, the connection is wrong, not the model — check the base URL first. One honest caveat from the lab: on 4 CPU cores the 0.5B model runs at roughly 3 tokens per second. Fine for verifying the plumbing; nobody's idea of a daily driver. Step 7's decision table covers what to run instead.
Step 3: Your first chat#
Open http://localhost:3000 (Docker) or http://localhost:8080 (pip) and create the first account — it becomes the administrator automatically. Pick your model from the picker at the top of the chat and ask it something verifiable. In this guide's lab run, the exchange went through Open WebUI's own API:
curl -s -X POST http://localhost:8080/api/chat/completions \
  -H "Authorization: Bearer $TOKEN" -H "Content-Type: application/json" \
  -d '{"model":"qwen2.5-0.5b","messages":[{"role":"user","content":"What is the capital of France? Answer in one short sentence."}],"stream":false}'
# {"choices":[{"message":{"role":"assistant","content":"The capital of France is Paris."}}],
#  "usage":{"prompt_tokens":42,"completion_tokens":7,"total_tokens":49}}
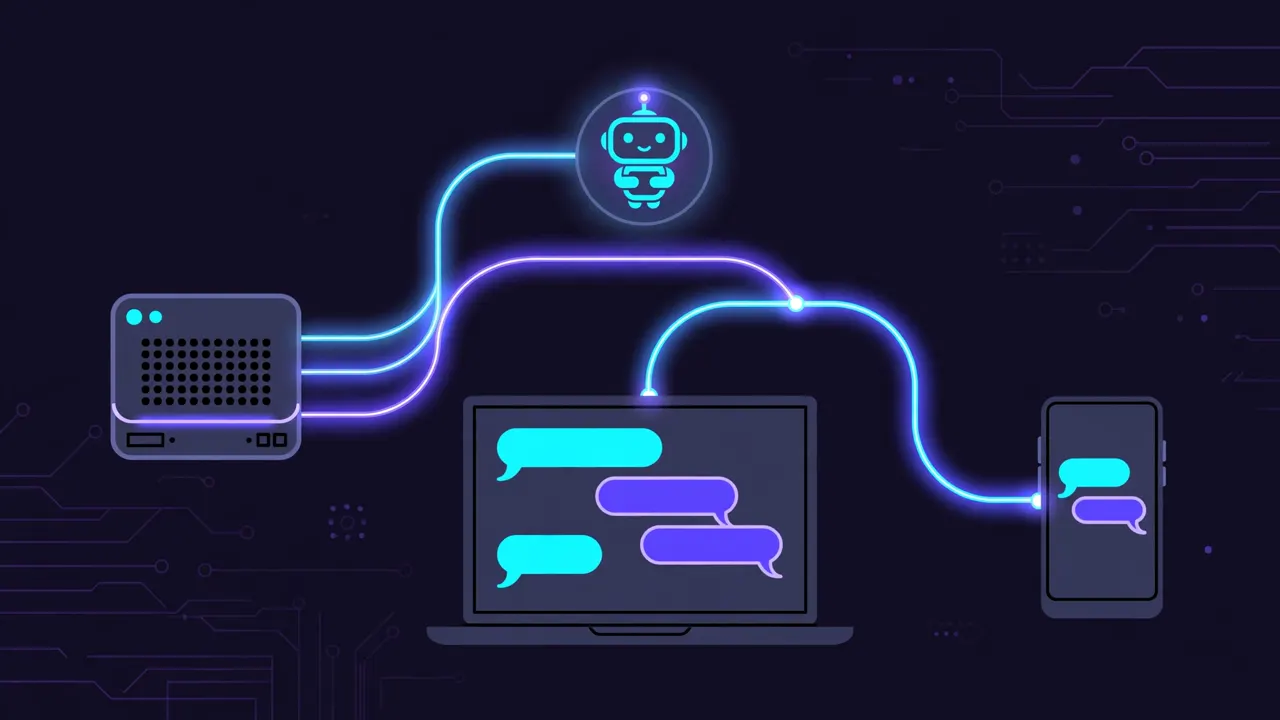
The round trip works end to end: browser → Open WebUI → local model server → back, with nothing leaving the machine. Two interface changes from 0.13.0 will catch you here if you are used to older versions. First, the chat controls — files, system prompt, and advanced parameters — moved from a panel at the top of the chat into Controls in the model menu next to the message input; the button at the top now opens the tabbed side panel instead. Second, the rename field at the top of a chat has a sparkle button that generates a title from the conversation.
Step 4: Give it your documents — a knowledge base#
A chat model without your files can only answer from its training. A knowledge base fixes that: upload documents, Open WebUI chunks and embeds them locally, and the model answers from the retrieved passages. The whole flow ran through the API in this guide's lab:
# 1. Create the knowledge base
curl -s -X POST http://localhost:8080/api/v1/knowledge/create \
  -H "Authorization: Bearer $TOKEN" -H "Content-Type: application/json" \
  -d '{"name":"verify-kb","description":"smoke test"}'
# {"id":"e5766829-8566-4018-8a79-803c3989b97c","name":"verify-kb", ...}

# 2. Upload a file, then add it to the base (file id from the upload response)
curl -s -X POST http://localhost:8080/api/v1/knowledge/<kb-id>/file/add \
  -H "Authorization: Bearer $TOKEN" -H "Content-Type: application/json" \
  -d '{"file_id":"<file-id>"}'
The server log is the proof it worked: embeddings generated 1 for 1 items, then added 1 items to collection, with the vectors stored in the local Chroma database. A retrieval query against that collection returned the passage from the uploaded file — the note describing what 0.13.0 adds — as the top hit. In the UI the same flow is Workspace > Knowledge: create the base, upload files, then attach it to a chat with # followed by its name.
Two things worth knowing. First, the embedding model download from Step 1 is what makes this work, and it is the most likely thing to fail on a restricted network: the first run in this guide's sandbox failed because the download cache pointed at a disk-quota-limited home directory. Setting HF_HOME to a directory with space fixed it — a useful troubleshooting step if your first knowledge base silently refuses to embed. Second, 0.13.0 adds caps for knowledge bases: how many files one can hold, how large each file may be, and how many go in with one upload (KNOWLEDGE_MAX_FILE_COUNT, KNOWLEDGE_MAX_FILE_SIZE, KNOWLEDGE_MAX_UPLOAD_COUNT, or Admin Settings > Documents). If you run Open WebUI for other people, set these before they discover the defaults by accident.
Step 5: The new tabbed workspace#
Everything from here on is the 0.13.0 interface, and it is the reason this release matters. Click the Tabs button at the top of a chat and the space beside your conversation becomes a workspace: files, terminal sessions, artifacts, previews, voice calls, and comments sit in tabs next to the chat. Add tabs from the + menu, drag them into any order, and create new files that save straight into the selected terminal — so the code the model writes lands in the same place you run it.
On a larger screen, Use full-width tabs gives the tabs the whole chat area, with the conversation itself as one tab among the others; Use side tabs returns to the side-by-side layout. Open WebUI remembers your choice. The practical effect is that a coding session stops being a scroll of pasted code: the chat stays on the left, the files and terminal live on the right, and you stop losing the thread every time you switch windows.
Three smaller changes in the same area are easy to miss and worth knowing. Open files can show their changes with Show diff. Terminal files show their size in the toolbar, and the file browser can sort by date added. And on screens from 768 pixels wide, channel threads and note pages open beside the content instead of covering it.
Step 6: Give the model a computer — Open Terminal#
The headline feature needs a second service: Open Terminal, a self-hosted environment where a model can run commands and manage files. You set it up once, and the Desktop tab, Browser tab, and Git panel all run through it. Start it with Docker — use the default image, about 4 GB, because the slim and alpine images don't include the desktop:
docker run -d --name open-terminal --restart unless-stopped -p 8000:8000 \
  -v open-terminal:/home/user -e OPEN_TERMINAL_API_KEY=$(openssl rand -hex 32) \
  ghcr.io/open-webui/open-terminal
Then, in Open WebUI:
- Click your name at the bottom of the sidebar, and go to Settings > Admin > Integrations.
- In the Open Terminal section, click
+, enterhttp://localhost:8000and your key, and save. - Before you save, click Access and choose who gets it. Public opens it to everyone, or add groups and people. Until you do, only administrators can use it.
- Turn on the switch next to your new connection. It starts off, and the Terminal menu won't appear until it's on.
- Share the model too: in Settings > Admin > Models, open the model, click Access, and choose who gets it.
- Start a new chat with a model that has tool calling and image input, because the desktop tools send screenshots.
- In the message box, pick your terminal from the Terminal menu.
- Click the Tabs button at the top of the chat, and open the Desktop tab from the
+menu. - Send your request — and watch the mouse move on the desktop as the answer arrives in the chat.
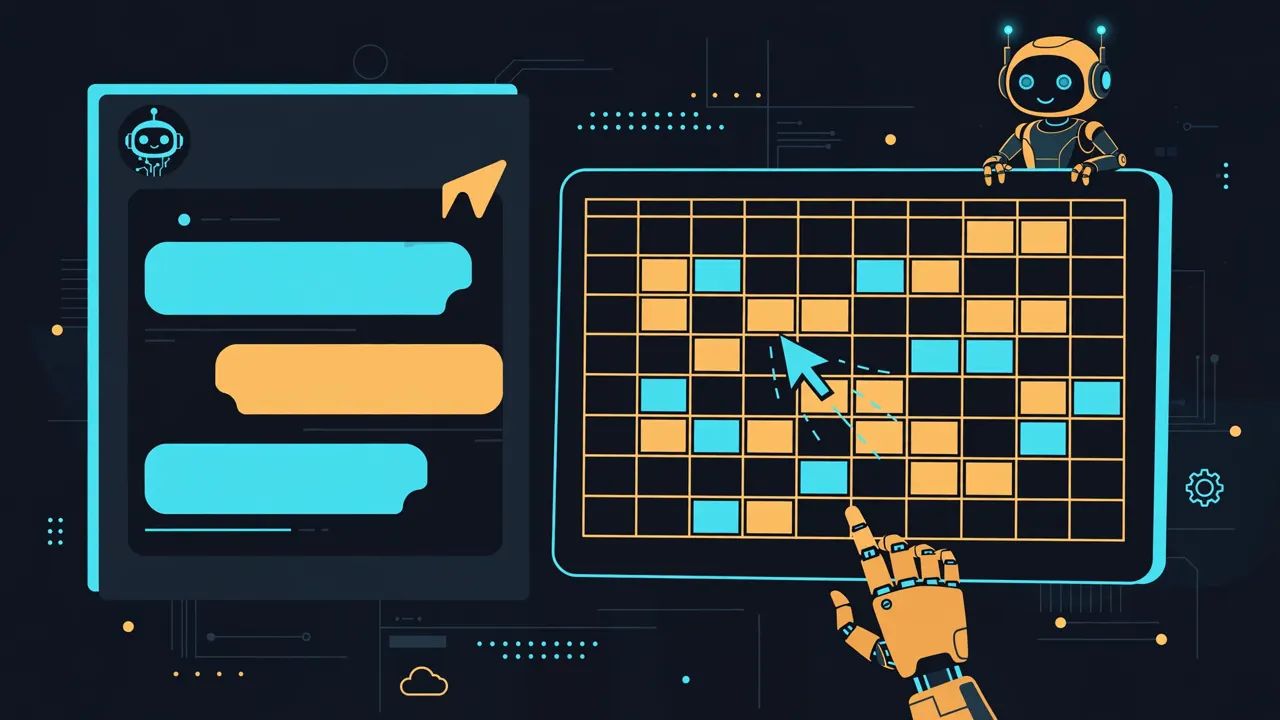
What you get is a real Linux desktop inside the container, shared by everyone on that connection: the model can open LibreOffice Calc, read a file the way you would, and leave a note for a teammate, who signs in later and has their model pick up the same files. You can take the mouse at any moment, work the same apps yourself, or handle a step that needs manual input. The same terminal powers the Browser tab — navigation controls, multiple tabs, a mobile viewport — and in Chrome mode you and the model share one browser session, so it can navigate sites, fill in forms, and test the web apps it builds. The Git panel at the bottom of the Files tab shows what the model changed as it works: click a change to see its diff, then stage, commit, push, and work with pull requests without leaving the chat.
Three warnings, all from the project's own release notes. First, if you install Open Terminal with pip on macOS or Windows instead of Docker, the desktop is your own logged-in screen — the model works as you. Use Docker for a team. Second, everyone on one connection shares its files and running programs; give each group its own terminal, or use the multi-user mode for per-person workspaces. Third, screenshots go to the model you pick: a local model keeps them on your hardware, a cloud model sends them to its provider. Turn on Ask for approval (Admin Settings > Interface, or ENABLE_TOOL_PERMISSIONS) and every tool call waits for you — including the desktop and browser tools. And a model that clicks in the wrong spot is usually a prompting problem, not a bug: tell it in the system prompt that clicks take pixel coordinates from the latest screenshot, and give it the screenshot's size. Some local models answer on a 0-to-1000 grid until you say so.
One more thing about model choice: the 0.5B smoke-test model from Step 2 is the wrong tool for this step. Desktop work needs reliable tool calling and vision — use a capable model with image input, whether that's a larger local model or a frontier API model, and keep the small one for plain chat.
Step 7: The team loop — side chats, comments, and sub-agents#
The rest of 0.13.0 is about what happens after the model does the work — and it is the part that makes Open WebUI viable as a team tool rather than a personal chatbot.
Side chats. Type /side or /btw in a chat and a temporary conversation opens with the chat so far as context. Ask the quick question without derailing the main thread; nothing from it is added to the main chat, and it disappears when you close its tab. Side chats are for administrators and people with the new Allow Side Chat permission, which is off by default.
Comments and the inbox. Turn on Comments in Settings > Admin > General (or set ENABLE_COMMENTS), and anyone can comment on a selected passage of a chat message or a note page, with replies, reactions, and @-mentions. The passage stays highlighted, and the mentioned teammate lands on it. Mentions, replies, and failed automation runs all land in one place — the new Inbox in the sidebar, on by default (turn it off with ENABLE_NOTIFICATIONS if you don't want it). A fix isn't finished until someone else has looked at it, and now that review happens on the exact words, where the work happened.
Sub-agents on other models. Turn on Enable sub-agents in Settings > Admin > Sub-agents (or ENABLE_SUBAGENTS — off by default), then edit a model and pick which models it can hand work to. Put a large model in charge and let small ones take the simple questions: research, coding, and review can each run on a different model, with the parent choosing among the models each person can access. Note the new default: sub-agent limits are now unlimited unless you set them — previously 20 at once, 20 in the background, 30 tool loops each, and 30,000 characters of output. If you use sub-agents, set explicit limits in the same settings page, or with SUBAGENTS_MAX_CONCURRENT, SUBAGENTS_MAX_ASYNC, SUBAGENTS_MAX_ITERATIONS, and SUBAGENTS_MAX_OUTPUT.
Models that write their own tools. Ask a model for a tool it doesn't have, and with native function calling it can create a private Python tool in your workspace, ready to use again — you'll find it under Workspace > Tools. It works for administrators and people allowed to create workspace tools; turn it off for a model under Tool Creation in its builtin tools. And every tool in Workspace > Tools now has an on/off switch: a tool that's switched off can't be picked or run in any chat, including chats where it was already selected — a small control that matters the moment a bad tool starts misbehaving. MCP apps round out the picture: a tool from an MCP server can now show an interactive app right in the conversation, in a sandboxed frame that can only reach the sites the server declares, with every tool call it wants to make waiting for your confirmation.
Which approach should you use?#
| Situation | Best setup |
|---|---|
| First install, or running it for other people | Docker, pinned tag ghcr.io/open-webui/open-webui:0.13.0, named volume, fixed WEBUI_SECRET_KEY |
| Low disk, or you only chat with hosted models | :0.13.0-slim image — 197 MB, same chat, external services for RAG and voice |
| Development, or no Docker available | pip install open-webui==0.13.0 in a venv; expect a multi-GB download of the ML stack |
| Just trying it on your own machine | Open WebUI Desktop 0.1 — the refocused native app with optional llama.cpp local models |
| Local model for chat and testing | Ollama + qwen2.5:0.5b (398 MB) for smoke tests; a 7B+ model for daily use |
| Local model without a binary download | llama.cpp server as an OpenAI-compatible connection, as in Step 2 |
| Giving the model a desktop, browser, or Git | Open Terminal (Docker, default image) + a capable model with tool calling and image input |
| Team use | Docker Open Terminal, per-group terminals, approvals on, knowledge-base limits set, sub-agent limits set |
The takeaway#
Open WebUI 0.13.0 is the release where the self-hosted chat box becomes a place where work happens. Install it pinned to the version, connect a local model, and you have a private ChatGPT in under half an hour — that part is unchanged and still the best reason to run it. The new part is what you do next: give the model a terminal and it stops being a text generator and starts being a colleague that leaves files, diffs, and browser-checked results behind for the next person. Back up before you upgrade, turn approvals on before you hand it a desktop, and set the limits before your team finds them. Then hand it something real to do.
Frequently asked questions
Do I need a GPU to run Open WebUI?
No. Everything in the core path of this guide runs on CPU: the 0.5B smoke-test model answered at roughly 3 tokens per second on 4 CPU cores. A GPU helps for larger models and faster replies, not for getting started.
Can I use a cloud model instead of a local one?
Yes — add it under Admin Settings > Connections as an OpenAI-compatible endpoint, or connect OpenAI or Anthropic directly. Keep the Desktop-tab caveat in mind: screenshots of the shared desktop go to whichever model you pick, so a cloud model means sending them to its provider.
Is it safe to give the model a desktop?
Only with guardrails: run Open Terminal in Docker (not on your own logged-in screen), turn on Ask for approval so every tool call waits for you, give each group its own terminal, and stay signed out of accounts you care about in the shared browser. Web pages can carry instructions aimed at the model, so treat untrusted sites as hostile input.
Sources
- Open WebUI v0.13.0: your model gets a computer — official release post, November 4, 2026
- Open WebUI v0.13.0 — GitHub release notes (released November 3, 2026)
- Open WebUI Quick Start — Docker install, image variants, slim vs standard
- Ollama library: qwen2.5 — qwen2.5:0.5b, 398 MB, 32K context window
- Ollama v0.40.15 — latest release, November 3, 2026
- Qwen2.5-0.5B-Instruct-GGUF — Hugging Face model repository