Design in your coding agent: hands-on with Google's Stitch skills
Google's Stitch skills put a UI design studio inside Claude Code, Cursor, and Codex: 16 skills, three plugins, and one MCP server between a text prompt and reviewed React components. This tutorial installs them, connects the MCP server, and runs the full loop — every command verified.
- What it is: 16 agent skills in three plugins (design, build, utilities) for Google Stitch, from Google Labs under Apache-2.0 — 10,109 stars and number 7 on GitHub daily trending.
- Install (verified):
npx skills add google-labs-code/stitch-skills --allneeds Node 22.20+ and installs all 16 skills with a lockfile pinning the exact commit. - The server: Stitch MCP is hosted at
https://stitch.googleapis.com/mcp— nothing to install; register it with a free Stitch API key. - The rule that matters: never put colors, fonts, or theme tokens in a generation prompt — the design system handles styling at the project level; use hex codes only when editing.
- The payoff: prompt to screen to React components inside one agent session, with gated validation (
npm run validate,tsc --noEmit) before the code lands.

Claude Code can scaffold an app, write the tests, and wire the database — then hand you a landing page that looks like every other agent-built page on the internet. That last gap is what Google's Stitch skills close. Stitch is Google Labs' AI UI design tool: describe a screen in plain language and it generates the design. The stitch-skills repo, from Google Labs, teaches your coding agent to drive Stitch over MCP and turn the designs it produces into real components. It sits at number 7 on GitHub's daily trending page today, with 10,109 stars — and unlike most trending repos this month, it is a small, documented, immediately usable toolkit rather than a demo.
This tutorial installs all 16 skills, connects the Stitch MCP server, generates a first screen, edits it, explores variants, and converts the result into React components. Every install command below was run in a clean sandbox for this article; the agent-driven design steps follow the skills' own instruction files, which ship in the repo and are the exact text your agent reads.
What you'll need
- Node.js 22.20 or later. The skills installer (the
skillsCLI, version 1.9.0) requires it. Check withnode --versionbefore you start. - A coding agent that supports Agent Skills: Claude Code, Cursor, Codex, Gemini CLI, Antigravity, or OpenCode. The skills follow the Agent Skills open standard, so the same files work across all of them.
- A Google account with access to Stitch at stitch.withgoogle.com, and a Stitch API key, created free inside Stitch's own settings. No Google Cloud project and no billing setup are involved.
- Nothing to install for the MCP server itself. Stitch's MCP server is hosted by Google at
https://stitch.googleapis.com/mcp— your agent talks to it over HTTPS. - Cost: the skills are free under the Apache-2.0 license. Generations your agent triggers count against your Stitch usage; the official setup docs publish no free-tier number, so check your allowance in Stitch settings before a long session.
How the pieces fit
Three things cooperate, and confusing them is the most common setup mistake. The skills are markdown instruction files: they tell your agent which MCP tool to call, in which order, and how to phrase the prompt. The Stitch MCP server is the tool surface: it exposes Stitch's generation, editing, and project operations to any MCP client. Your agent is the operator: it reads the skill, calls the tools, downloads the results, and writes the code. No step here replaces the others — installing the skills without the MCP server leaves the agent with instructions it cannot execute, and connecting the server without the skills leaves it guessing at prompts.
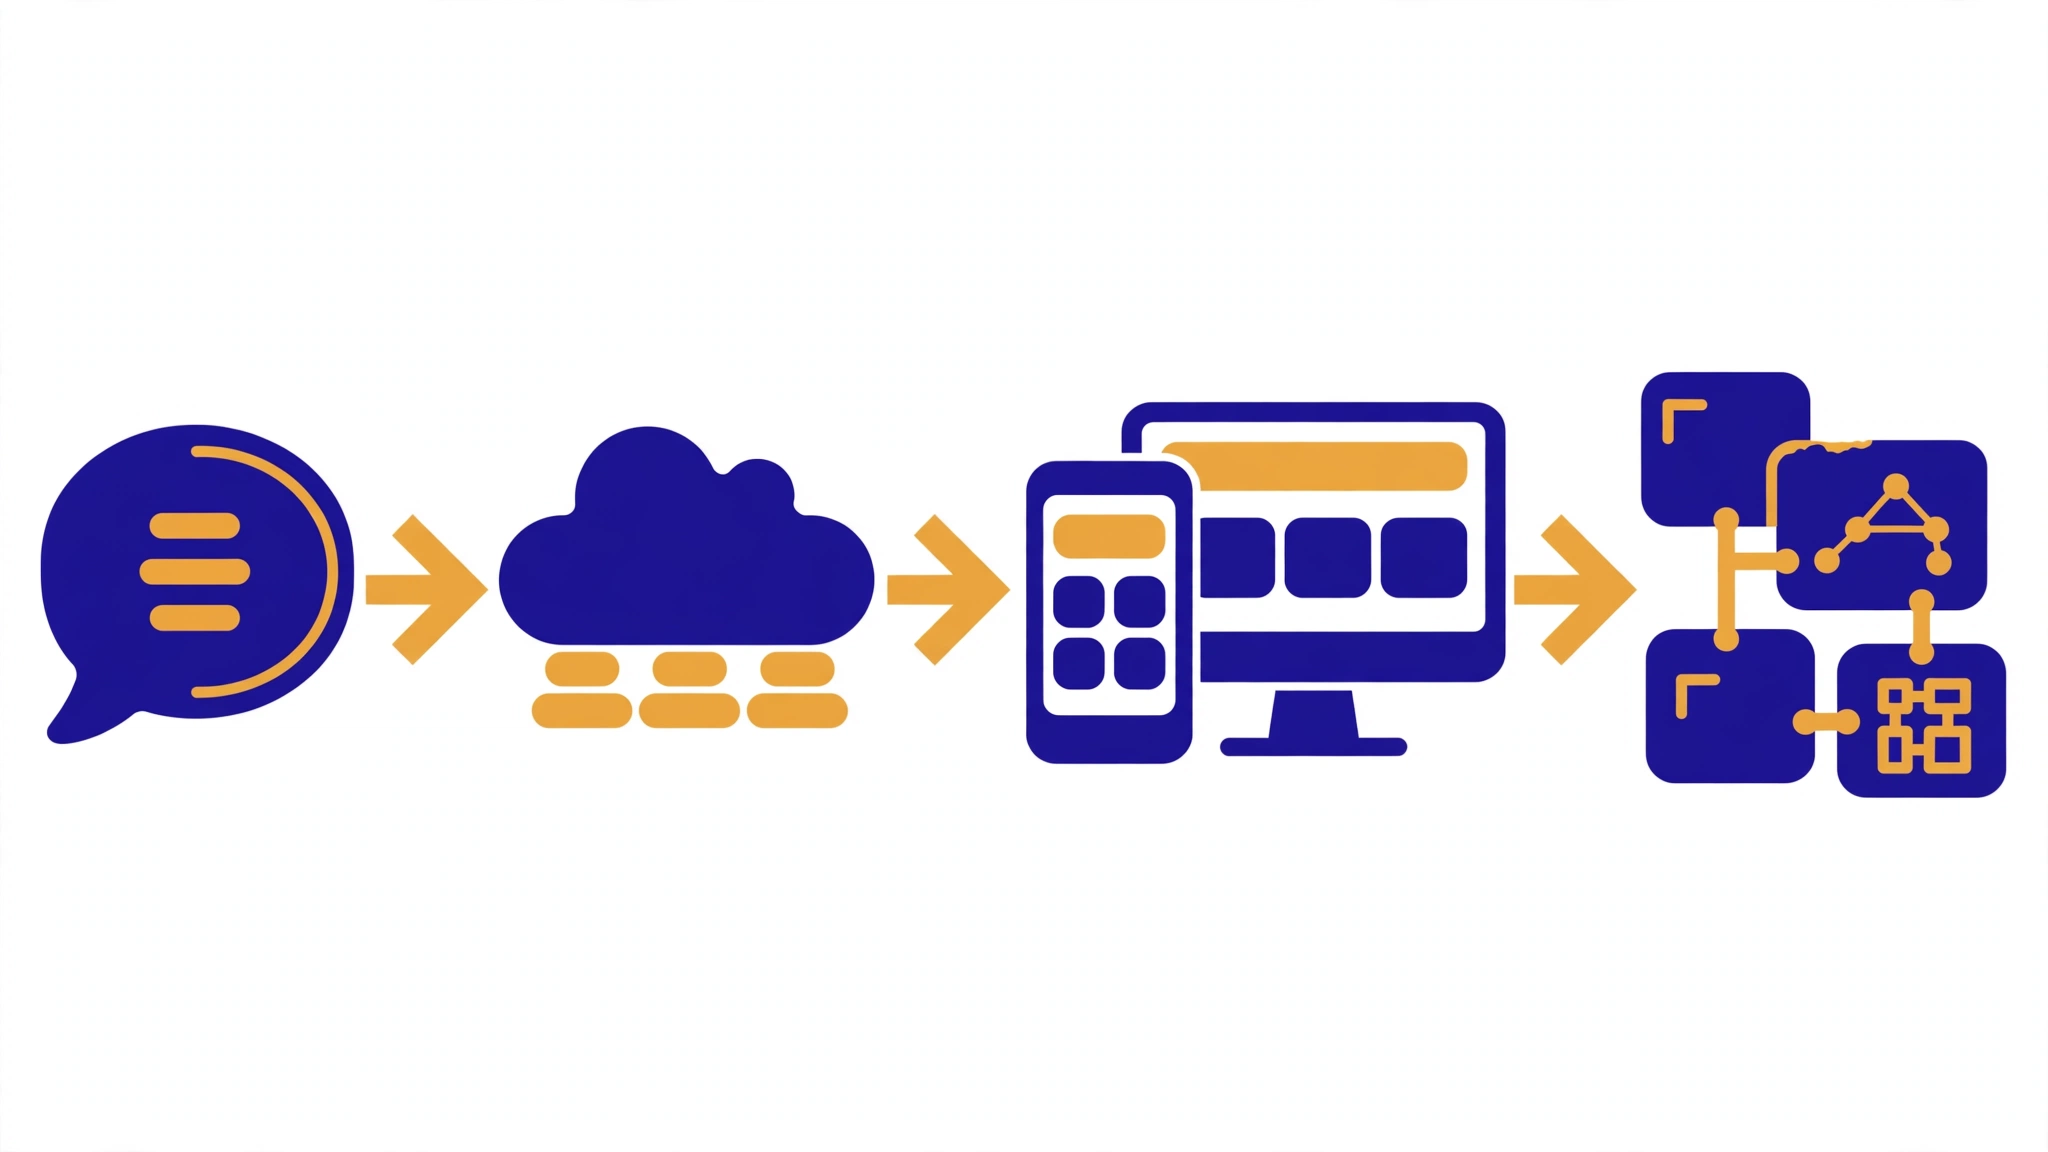
The 16 skills arrive in three plugins:
| Plugin | What it covers | Skills |
|---|---|---|
stitch-design | Creating and changing designs in Stitch | generate-design, code-to-design, extract-design-md, extract-static-html, manage-design-system, upload-to-stitch |
stitch-build | Turning designs into code | react-components, react-native, react-vite-dashboard, remotion, shadcn-ui |
stitch-utilities | Prompts, design systems, and autonomous loops | design-md, enhance-prompt, site-md, stitch-loop, taste-design |
You install all three at once. The rest of this tutorial uses three skills heavily — generate-design, react-components, and stitch-loop — and touches the others where they matter.
Step 1 — Install the skills
Run the installer from the project where you want the skills available. The --all flag matters: without it, the installer opens an interactive picker and waits for you to select skills one by one.
node --version   # expect v22.20.0 or later
npx skills add google-labs-code/stitch-skills --all
Verified output in a clean directory: the command exits 0 and installs all 16 skills under agent/skills/, symlinks them into .agents/skills/ and .claude/skills/ so Claude Code, Cursor, Codex, Gemini CLI, and Antigravity all discover them, and writes a skills-lock.json pinning the exact commit (0337446) and a per-skill hash. Installed skill names use hyphens where the skill's own frontmatter uses double colons — stitch-generate-design on disk is stitch::generate-design inside the file.
Confirm the install:
npx skills listYou should see all 16 skills listed as project skills, each with its source (google-labs-code/stitch-skills) and its supported agents. If a skill is missing, re-run the add command — the installer is idempotent.
The repo's README also documents a plugin route for Claude Code and Cursor (npx plugins add google-labs-code/stitch-skills --scope project --target claude-code). In this article's sandbox run, the current plugins CLI rejected the --scope project form for this repo, so use the skills installer above as the working path; the plugin route is the alternative if your plugins CLI accepts it. The Codex route is a marketplace registration instead of a file install:
codex plugin marketplace add google-labs-code/stitch-skills --ref main \
  --sparse .agents/plugins \
  --sparse plugins/stitch-design \
  --sparse plugins/stitch-build \
  --sparse plugins/stitch-utilities
Step 2 — Connect the Stitch MCP server
The skills are inert without the server, so this is the step that makes the rest of the tutorial work. First create the API key. In Stitch, open your profile menu, go to Stitch settings, scroll to the API Keys section, and click Create API Key. Copy the key once and keep it out of version control — the official docs warn that the key is persistent and must never be stored where it can be exposed publicly or committed to a public repository.
Then register the hosted server with Claude Code. This is the exact command from Google's own setup docs, with your key in place of the placeholder:
claude mcp add stitch --transport http https://stitch.googleapis.com/mcp \
  --header "X-Goog-Api-Key: YOUR_STITCH_API_KEY" -s user
The -s user flag registers the server for your user rather than a single project. The same docs page gives setup blocks for Gemini CLI, Cursor, Antigravity, and VSCode — same URL, same key header, different config file. There is also an OAuth variant on that page using a bearer token and a user project; the API-key path above is the simpler one and needs no Google Cloud project.
Verify the registration:
claude mcp liststitch should appear in the list with its transport and URL. If it does not, re-run the add command and check the key for stray whitespace. One check you can run without any credentials: the endpoint itself is live. A plain GET to https://stitch.googleapis.com/mcp returns HTTP 405, which is the expected answer from a streamable-HTTP MCP server — it only accepts POST requests from an MCP client.
Step 3 — Generate your first screen
With the skills installed and the server registered, the work moves into your agent's chat. Ask for a screen and let the generate-design skill take over. A good first prompt, taken from the skill's own examples:
Make a browse tab for a mobile app for romance and date night ideas.Before it calls any generation tool, the skill runs a prompt-enhancement pipeline. It lists your Stitch projects to find the right projectId (creating one if none fits), checks whether the project already has a design system, and rewrites your request into a structured brief. The structure matters more than the adjectives: the skill formats generation prompts around layout, content, and structure — header, hero, primary content, footer — and deliberately leaves colors, fonts, and theme instructions out, because those live at the project level in the design system.
The call itself goes to generate_screen_from_text with your project ID, the enhanced prompt, and a deviceType of MOBILE, DESKTOP, or TABLET. After generation, the skill shows you the text description and suggestions Stitch returns, then downloads the HTML and screenshot into .stitch/designs/ and records the screen in .stitch/metadata.json. That metadata file is the part to keep: it persists every project and screen ID, so later edits and conversions can reference the design instead of regenerating it.
The single rule that most affects output quality is the skill's ban on theme leakage: never put hex codes, font names, color palettes, or roundness values in a generation prompt. They conflict with the project-level design system. If the project has no design system yet, the skill delegates to manage-design-system first instead of stuffing tokens into the prompt.
Step 4 — Edit and explore variants
First drafts are starting points. The skill gives you two cheaper moves than regenerating: targeted edits and variants. For an edit, be specific about location, visuals, and structure — the skill's own example is "change the primary button in the hero section to a darker blue (#004080) and add a subtle shadow." Hex codes are allowed in edit prompts, where precision is the point. The agent calls edit_screens with the screen ID and the edit prompt, then re-downloads the updated assets over the previous versions.
When you want to see directions rather than fix details, generate variants:
{
  "projectId": "...",
  "selectedScreenIds": ["..."],
  "prompt": "[Describe the direction for variants]",
  "variantOptions": {
    "variantCount": 3,
    "creativeRange": "EXPLORE",
    "aspects": ["LAYOUT", "COLOR_SCHEME"]
  }
}
variantCount runs 1–5 and defaults to 3. creativeRange is REFINE for subtle changes, EXPLORE for a balanced spread, or REIMAGINE for radical alternatives. aspects narrows the exploration to dimensions such as LAYOUT, COLOR_SCHEME, IMAGES, TEXT_FONT, or TEXT_CONTENT — or leave it empty for all of them. The skill's guidance is to prefer one focused edit at a time over a long list of changes, and to re-generate only when the fundamental layout is wrong.
Step 5 — Turn the design into React components
A Stitch screen is HTML. The react-components skill converts it into modular React, and it is the strictest skill in the repo: every phase ends in a gate that must pass before the next begins. Ask your agent to convert the screens, using the skill's own phrasing:
Convert all screens in Stitch project `projects/123` to React components.Use your real project ID from .stitch/metadata.json in place of projects/123.
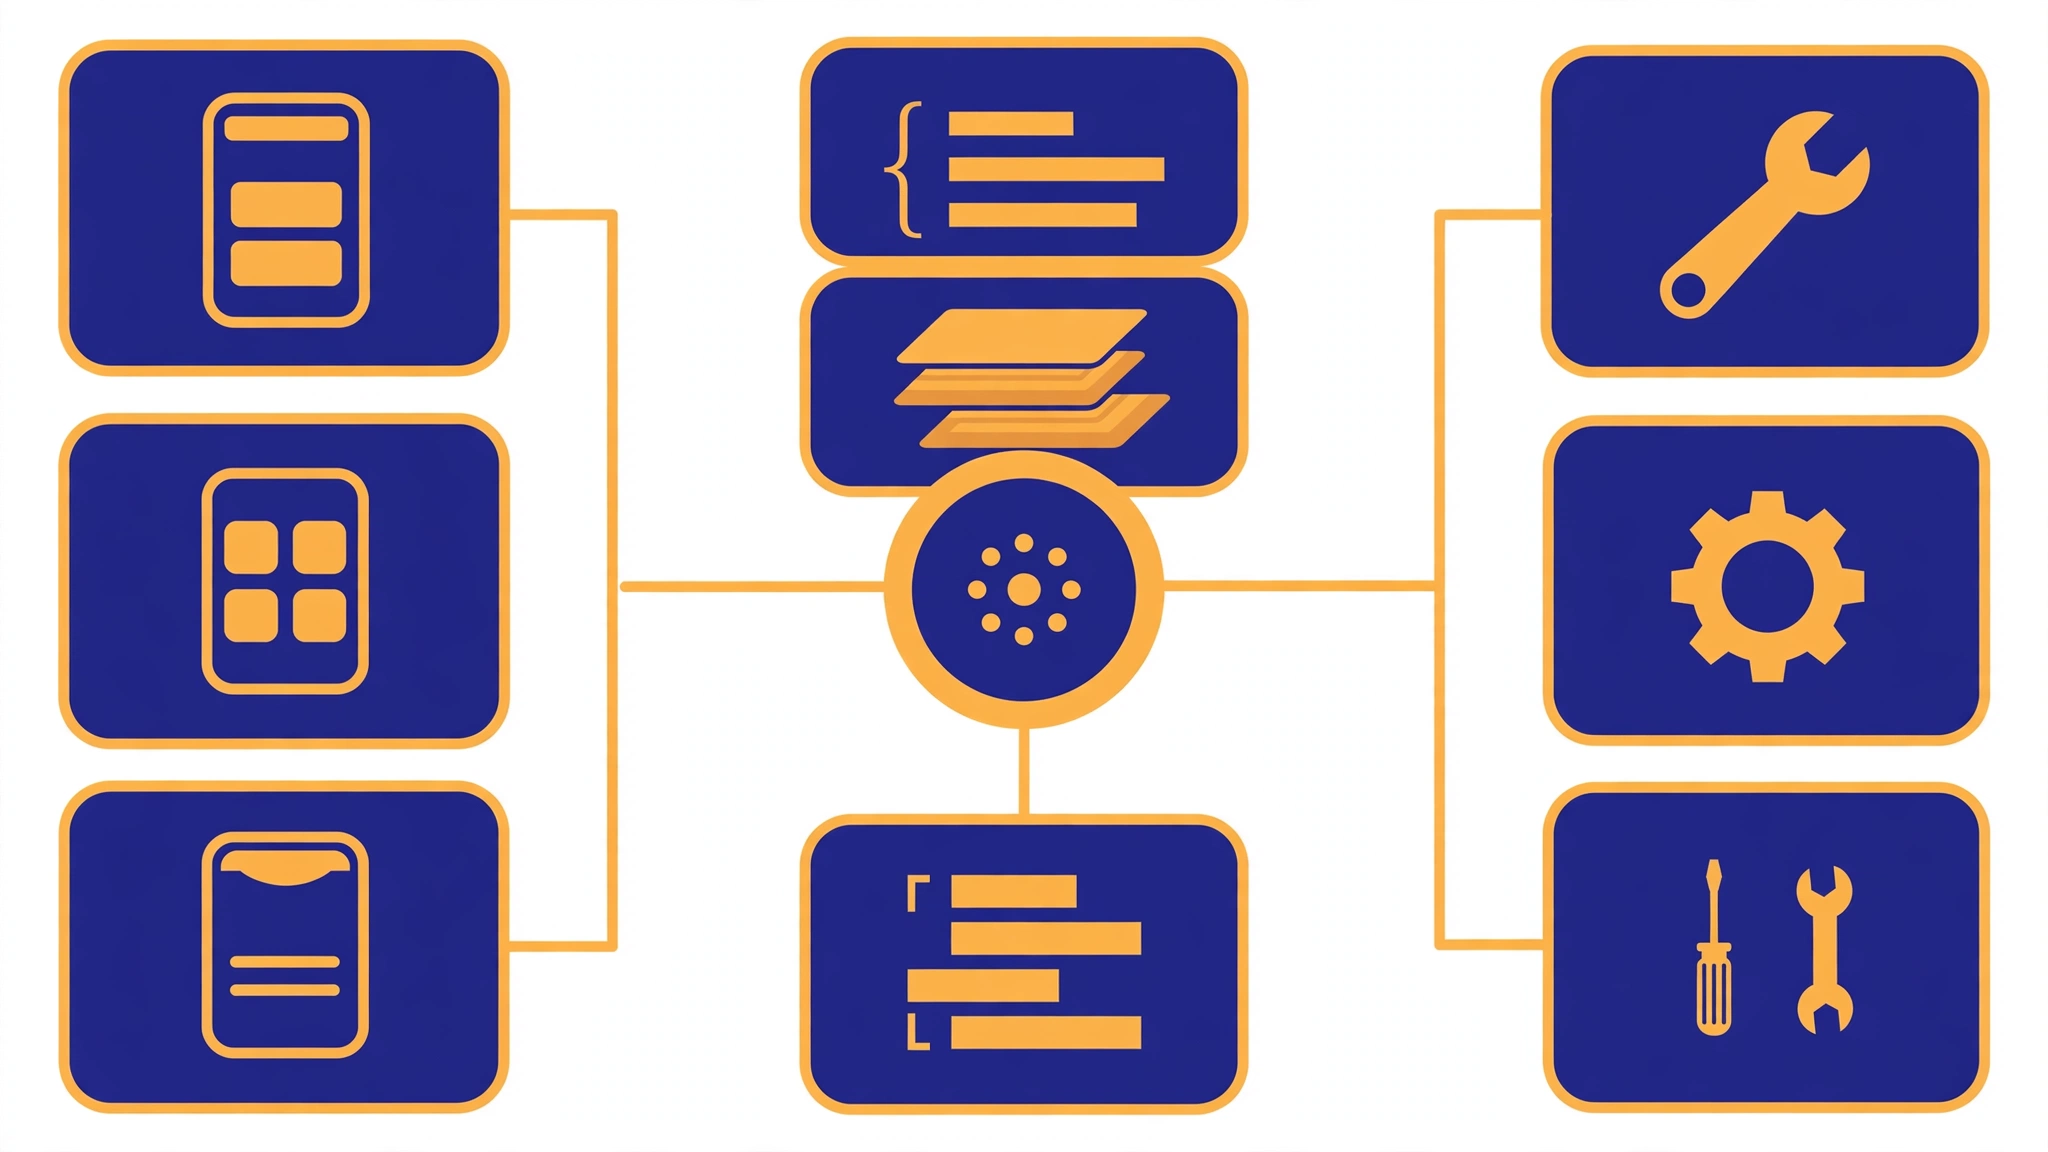
Phase 1 retrieves every screen through the MCP (get_screen for each one), downloads the HTML and a full-width screenshot with the skill's bundled fetch-stitch.sh script, and has the agent visually audit each screenshot before proceeding — reading local files without going through the MCP is explicitly prohibited. Phase 2 extracts the design tokens from the tailwind.config object in each HTML file's <head> and syncs them into resources/style-guide.json; tokens from a previous project are not acceptable.
Phase 3 enforces the architecture: each reusable UI pattern becomes its own component in src/components/, event handlers and logic move into custom hooks in src/hooks/, and all static text, image URLs, and lists move into src/data/mockData.ts. Every component file, pages included, must declare a Readonly TypeScript interface named [ComponentName]Props — the validator fails files without one. Stitch's placeholder href="#" links become React Router <Link> components, and every color class gets a dark: variant. Phase 4 wires the app entry point and, with your permission, runs npm run validate on every .tsx file and tsc --noEmit to confirm the result compiles. The sibling skills cover the other targets: react-native for mobile, react-vite-dashboard for data-heavy screens, shadcn-ui for component-library builds.
Step 6 — Optional: run the autonomous build loop
For a multi-page site, the stitch-loop skill turns the one-screen flow into a loop. It runs on a baton file, .stitch/next-prompt.md, that names the next page in YAML frontmatter and carries the prompt:
---
page: about
---
A page describing how the product works.

**DESIGN SYSTEM (REQUIRED):**
[Copy from .stitch/DESIGN.md Section 6]

**Page Structure:**
1. Header with navigation
2. Explanation of the product
3. Footer with links
Each iteration reads the baton, consults .stitch/SITE.md (vision, sitemap, roadmap) and .stitch/DESIGN.md (the visual system), generates the page through the MCP, moves the HTML into site/public/, wires the navigation, updates the sitemap, and writes the next baton. The design-system block in the prompt is mandatory — without it, pages drift apart visually. If the Chrome DevTools MCP server is also connected, the loop can start a local server and screenshot each page to check it against the Stitch render. The loop is orchestration-agnostic: drive it by hand, from CI on baton-file changes, or by chaining agents.
When to use this vs alternatives
Use stitch-skills when your agent is already building the app and the UI is the weak link. The value is the closed loop: design, edit, and convert inside one agent session, with the design system enforced by the skills rather than by your prompting discipline. It fits marketing pages, dashboards, and app screens where a good-looking first draft plus two or three edit rounds is the whole job.
Design-taste skills such as taste-skill, impeccable, and hallmark solve a different problem: they lint and critique pages your agent already built. They improve taste; they do not generate designs or convert them. Use them alongside stitch-skills, not instead of them — generate in Stitch, convert with react-components, then run a taste skill over the result.
Prompting directly in the Stitch web UI is the right call for a one-off screen when no agent is involved: it is faster than setting up MCP for a single design. And if your design system already lives in Figma with a locked component library, a Figma-to-code workflow keeps a single source of truth; stitch-skills shines when the agent owns the whole loop and there is no Figma file to keep in sync.
What to watch
- Skills run with full agent permissions. The installer says so on completion: review skills before use. A skill file is executable instructions your agent will follow — read the SKILL.md files you installed, especially any skill that runs scripts, before pointing the agent at a repository you care about.
- Your API key is the whole security story. Anyone with it can generate designs against your Stitch usage. Keep it in your agent's MCP config, never in a file you commit, and rotate it from Stitch settings if it ever leaks.
- Generations cost Stitch usage. Every screen, edit, and variant your agent requests counts. Batch your thinking before you ask: one structured prompt beats five vague ones, and the skill's edit flow beats re-generating a screen to fix a button.
- The repo moves slowly. The latest commit is from August 17, 2026, and the skills describe the MCP surface as of then. If a tool name changes, the skills' own fallback is namespace discovery — the agent lists the available tools and finds the Stitch prefix before calling anything — so a rename degrades gracefully rather than failing outright.
- Output quality tracks prompt structure. Vague prompts produce generic screens; the skill's enhancement pipeline can only do so much with "make a nice dashboard." Write the structure — sections, components, interactions — and let the design system handle the look.
The takeaway
Stitch-skills is a small repo doing a precise job: it gives your coding agent a design studio with a documented workflow, instead of leaving UI quality to whatever the model improvises. Install the 16 skills with one command, register Google's hosted MCP server with your API key, and the loop from prompt to screen to React component runs inside the agent you already use. The skills are free, the server needs no installation, and the only real cost is Stitch usage — which is why the habits in this tutorial matter more than the setup: structured prompts, edits over re-generation, and the design system enforced at the project level. Get those right and the trending repo earns its stars.