Reverse-engineer any video with rea-video: tell filmed, AI, and code apart, shot by shot
Every short video you admire was made somehow — filmed on a phone, generated by a video model, rendered in 3D, or built in code. rea-video works out which, shot by shot, and tells you how to make one like it. This guide installs it, runs it on a real video, and shows how to read the report.
- Who: rea-video (JuneYaooo/rea-video), an open-source video reverse-engineering tool, Apache-2.0 licensed, created October 29, 2026.
- What: breaks any video down shot by shot — filmed, AI-generated, 3D, code, or screen recording — and writes a remake plan for each shot.
- Stars: 3,681 stars and 529 forks as of November 7, 2026, nine days after the repository was created.
- Needs: ffmpeg and Python 3.10 or newer; it runs inside Claude Code, Codex, or any AI agent that can run commands.
- Accuracy: tools-only mode scores 98.3% on the 15-video tuning set and 99.6% on holdout; adding a Gemini vision model reaches 99.6–99.8%, and agent visual review reaches 100% on re-encoded WeChat videos.
- Cost: tools-only mode is offline and free; a vision model (Gemini or Doubao) costs whatever that service charges.
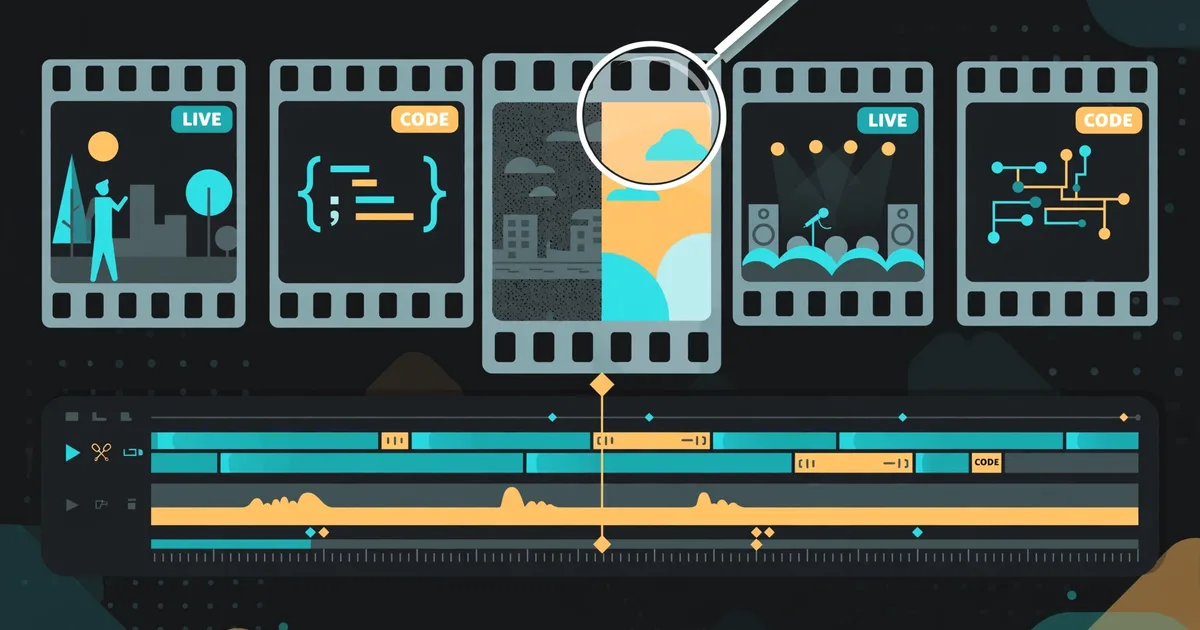
Watch any short video that stops your scroll — a product demo, a talking-head explainer, a 60-second drama — and the same question follows: how was this made? A phone on a tripod, a video model, a 3D scene, or code? Until recently the only way to answer was to guess from the look of it. rea-video answers by measurement instead.
rea-video is an open-source agent skill and CLI that reverse-engineers a video shot by shot. It cuts the video into shots, separates the audio, measures the frames, listens to the sound, and then judges each shot on evidence: filmed, AI-generated, 3D, or built in code. Then it writes a remake plan — what to film, what to generate, what to code — so you can build something like it yourself. This guide installs it, runs it on a video, and shows how to read the report it produces.
What you need#
- ffmpeg installed on your machine (
brew install ffmpegon macOS,sudo apt install ffmpegon Ubuntu). - Python 3.10 or newer.
- Claude Code, Codex, or any AI agent that can run commands. rea-video is built to be driven by an agent; the agent installs the CLI, learns the workflow, and runs the whole breakdown.
- A video file to break down — an .mp4 on disk. The original file gives the best evidence; a download from a social platform has been recompressed, which wipes out some of the noise evidence (Step 4 covers that).
- Optional: a Gemini or Doubao key — only needed if your video came from a platform, or you want a reverse-engineered prompt for every shot.
Step 1: Install#
Install by hand with three commands. The install script installs the CLI (with pip, or pipx / a local .venv if pip is blocked) and links the skill into ~/.claude, ~/.codex, and ~/.agents, so your agent knows the workflow:
brew install ffmpeg            # or: sudo apt install ffmpeg
git clone https://github.com/JuneYaooo/rea-video && cd rea-video
bash scripts/install_skill.sh  # installs the CLI and links the skill
rea-video --help
If rea-video --help prints usage, the install worked. The skill is the important part: it is what teaches your agent the detection rules, the report format, and the remake planning, so you do not have to learn any of it yourself.
Step 2: Run your first breakdown#
In Claude Code, Codex, or your agent of choice, paste one line with the path to your video:
Install https://github.com/JuneYaooo/rea-video, then break down this video: /path/to/video.mp4Behind that one line, the agent runs a four-stage pipeline. First it splits: the video is cut into shots and the audio is separated into voice, music, and effects. Then it gathers evidence: it measures the frames (frame cadence, sensor noise, whether the whole image is panning as one plane, AIGC tags in the metadata), looks at the images (hands, text, physics), and listens (BPM, key, singing vs. speech). Then it decides: hard evidence like AIGC tags and frame cadence outranks “looks like”, and conflicts are flagged for the agent to review visually. Finally it plans the remake, batching shots according to what the target video model can actually do — max clip length, multi-shot support, how many reference images it takes.
You get three things: a one-line summary, a remake plan, and a full report.html. The summary reads like this example from the project’s README: “41% AI video + 59% code UI, 8 s of real screen recording, library music at 122 BPM.”
Step 3: Read the report#
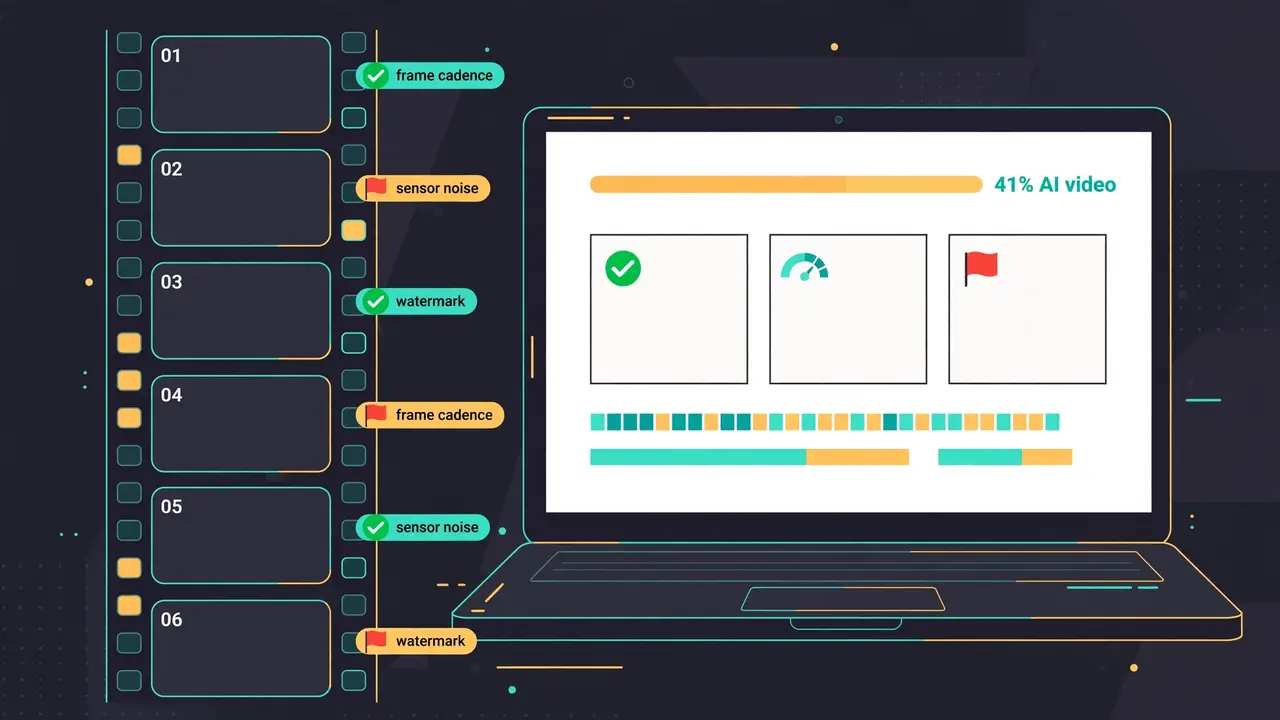
Open report.html. For every shot it shows the frames, the evidence behind the verdict, a reverse-engineered prompt for the AI shots, and the camera and lighting notes for the filmed ones, plus the full audio breakdown. It also covers the parts most tools skip: captions and styled text (start and end of each line, exported to SRT or ASS, with color, outline, and entrance), stickers, emoji and picture-in-picture (where they sit and how long they stay), the editing itself (where the cuts are, how fast, whether they hit the beat), and the material you will have to supply yourself — screen recordings, screenshots, product photos.
The project publishes six example breakdowns with full English reports, and they show what the verdicts look like in practice:
- Mixed-media clip, 19 s, 10 shots: AI characters talking, code-built UI, and 8 s of real screen recording. The five dialogue shots share one set, so one generation covers them.
- 3D explainer, 67 s, 21 shots: all 3D with AI narration. Doable as 10 video generations, or by having an LLM write Blender or Three.js code.
- Product promo, 70 s, 12 shots: 83% code-driven motion graphics, 12% screen recording. No video model needed; one Remotion project does it.
- AI music video, 165 s, 86 shots: correctly flags the song as AI-generated (it was made with Suno). The vision model called some shots “live-action drama”; the agent spotted fake Chinese characters on a scroll and ruled them AI.
- Live-action unboxing, 72 s, 29 shots: all real footage — an overhead phone rig, one rug, one camera position. After platform transcoding the offline tool called 35% of it AI; agent review brought it to 97% live-action.
- AI + real-person hybrid, 58 s, 21 shots: 75% real (talking head plus filming a phone screen) and 25% AI. The AI part was caught by the Jimeng watermark and garbled text on a gift box.
One warning from the README: the sample videos in the repository are re-compressed to keep the repo small, which strips the TikTok and Douyin platform tags. Running them yourself gives different results from the published reports, especially without a vision model. To reproduce a published report, use the original platform download.
Step 4: Add a vision model for platform downloads#
On original files the offline tools are mostly enough. Videos downloaded from platforms have been recompressed, which wipes out the noise evidence, so the verdict needs a visual check to get back above 99%. Add a video-capable model — Gemini or Doubao both work: give the agent the endpoint and key. It makes the live/AI/3D calls more accurate and writes a reverse-engineered prompt for every shot. Without one it still works; if your agent can see images, it will check the uncertain shots itself.
The accuracy numbers, measured by the project and reproducible from eval/RESULTS.md:
| Setup | Tuning set (15 videos) | Holdout (16 videos) | Re-encoded WeChat videos (10) |
|---|---|---|---|
| Tools only (offline, free) | 98.3% | 99.6% / 98.9% | 88.6% |
| + vision model (Gemini) | — | 99.6% / 99.8% | 99.6% |
| + agent visual review | — | 99.6% / 99.8% | 100% |
The two holdout numbers are two holdout sets (9 and 7 videos). Real-asset detection runs 97–99%, and shot boundaries are all correct. The lesson for your own use: if the file is an original, the free offline mode is enough; if it came from a platform, add the vision model before trusting the verdict.
Step 5: Plan the remake#
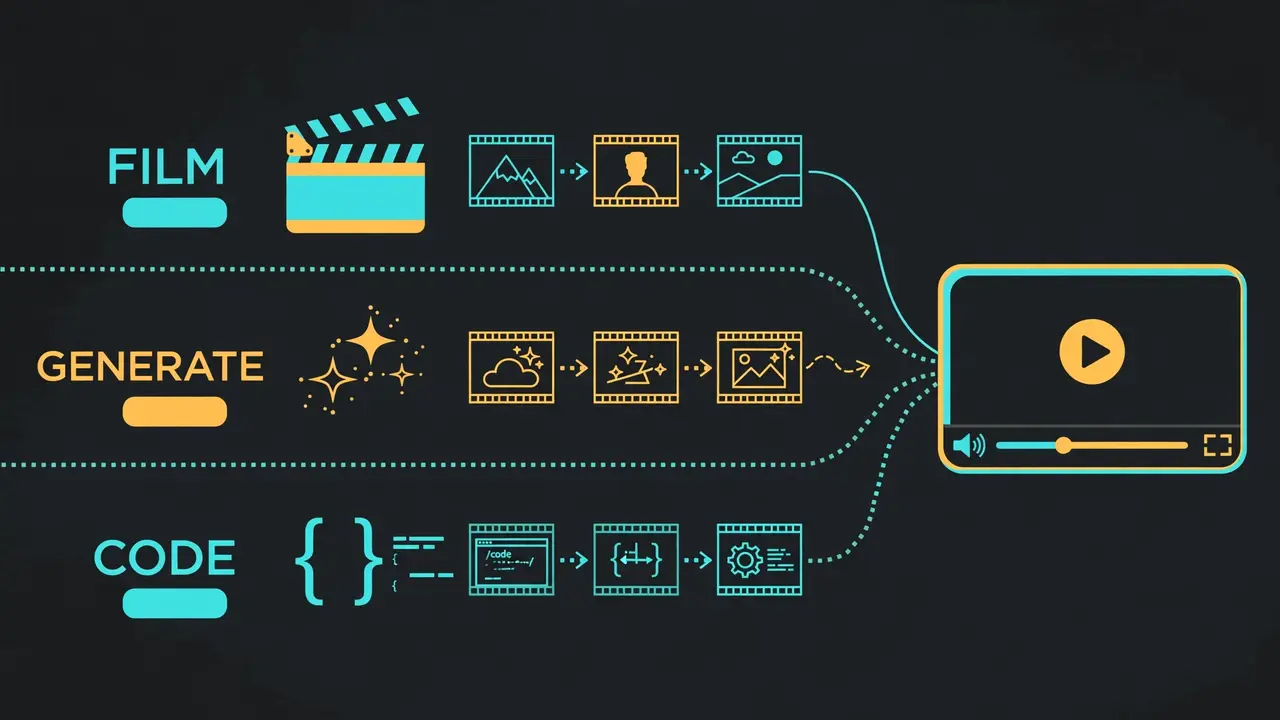
The remake plan is the part that turns analysis into something you can build. It splits every shot into three lanes: film the live shots (the plan lists the setups, camera positions, framing, camera moves, and lighting, with gear lists — up to 12 setups for a live-footage video), generate the AI shots (batched by what your target model supports), and code the motion-graphics and UI shots (the agent writes them as a Remotion project). If the verdict says most of a video is AI-generated and you want to do better than the original, our hands-on guide to motionmaxxing covers the motion-design habits that keep AI video from looking like slop.
For the generate lane, the companion project capsule-cinema goes one step further: with it installed, AI shots are generated and placed back on the original timeline automatically, so camera, motion, pacing, and transitions follow the original and only the elements you choose are swapped. It does a free dry run first and only calls paid models after you confirm. Live shots you film from the shooting plan; code shots the agent writes as a Remotion project. If the code lane is new to you, our hands-on guide to directing a short film with an AI agent and no video model shows what the code-first path looks like end to end.
When to use rea-video — and when not to#
Use it when you want to learn how a video you admire was put together, when you need to check whether footage is AI-generated before you trust or reuse it, when you are planning a remake on a budget and want to film only what must be filmed, or when you want an honest audit of your own edits. It is also the fastest way to answer “could I make this?” with a real number attached: how many generations, how many setups, how much code.
Do not use it as a one-click remake tool. rea-video does not render a video; it tells you how the original was made. The README’s FAQ draws the line against Hypit, which takes a reference video and makes a new one with the models it supports (Seedance, PixVerse, MiniMax, Wan): for a quick lookalike, Hypit is faster; to understand how the original was made and remake it cheaply, use rea-video. The two work fine together, and once you have the plan, an AI agent that cuts video for you can handle the editing pass.
And one rule from the project, stated plainly: do not repost someone else’s video. rea-video is for learning a video’s structure, pacing, and techniques, then remaking it with material you have the rights to. Do not reuse other people’s footage, music, characters, or likeness, and follow platform rules and local AI-content labeling requirements when you publish.
Troubleshooting#
- “My results don’t match the published case reports.” The sample videos in the repo are re-compressed and stripped of platform tags. Use the original platform download to reproduce a published report.
- “Too many shots are flagged uncertain.” Add a vision model (Gemini or Doubao) or use an agent that can see images; the uncertain shots are exactly the ones the visual check resolves.
- “The detailed docs are in Chinese.” The README and the six case reports are in English. The deeper docs are in Chinese for now; your agent reads them and answers in your language.
- “The install script fails.” Check Python 3.10+ and ffmpeg on your PATH first. The script falls back to pipx or a local .venv if pip is blocked.
The takeaway#
Most video breakdowns are vibes: “this looks AI.” rea-video replaces the vibe with a measurement — frame cadence, sensor noise, metadata tags, BPM — and then does the useful part, which is turning the verdict into a buildable plan. Install it, point it at a video you admire, and read the report before your next shoot: you will know exactly which shots are worth filming, which are cheaper to generate, and which are just code.
Frequently asked questions
Do I need a paid API key to use rea-video?
No. Tools-only mode is offline and free, and already accurate on original files. For recompressed platform downloads, add a video-capable model (Gemini or Doubao both work) or use an agent that can see images; you pay whatever that service charges.
How accurate is the filmed-vs-AI verdict?
Tools-only mode scores 98.3% on the project's 15-video tuning set and 99.6% on holdout, with real-asset detection at 97–99% and all shot boundaries correct. Adding a Gemini vision model reaches 99.6–99.8%, and agent visual review reaches 100% on re-encoded WeChat videos. The weak spot is platform downloads, where recompression wipes out the noise evidence — that is what the vision model is for.
Can it remake the whole video automatically?
Partly. With capsule-cinema installed, AI shots are generated and placed back on the original timeline automatically. Live shots you film from the shooting plan; code shots the agent writes as a Remotion project. Capsule-cinema does a free dry run first and only calls paid models after you confirm.
Sources
- JuneYaooo/rea-video — GitHub repository (README, quick start, install, cases, FAQ)
- rea-video CLI docs — CLI usage and capsule-cinema integration
- rea-video cases — six example breakdowns with English reports
- rea-video eval results — accuracy numbers and reproduction
- JuneYaooo/capsule-cinema — automatic remake from the report