Control your smart home with Claude: hands-on with ha-mcp, the 87-tool Home Assistant MCP server
Home Assistant's community MCP server ha-mcp jumped to #7 on GitHub trending with 6,603 stars. Install it, point Claude at the public demo server, ask about your home in plain language, and build your first automation — every step verified against the live server.
- 6,603 stars, +792 on November 10: ha-mcp reached #7 on GitHub's daily trending list. The repo was created September 14, 2025, has 3,467 commits, and is MIT-licensed.
- Install:
uvx --python 3.13 ha-mcp@latest --versionreports ha-mcp 9.1.2. The one-command installer wires Claude Desktop or Claude Code for you. - Demo server: ha-mcp-demo-server.qc-h.net with token
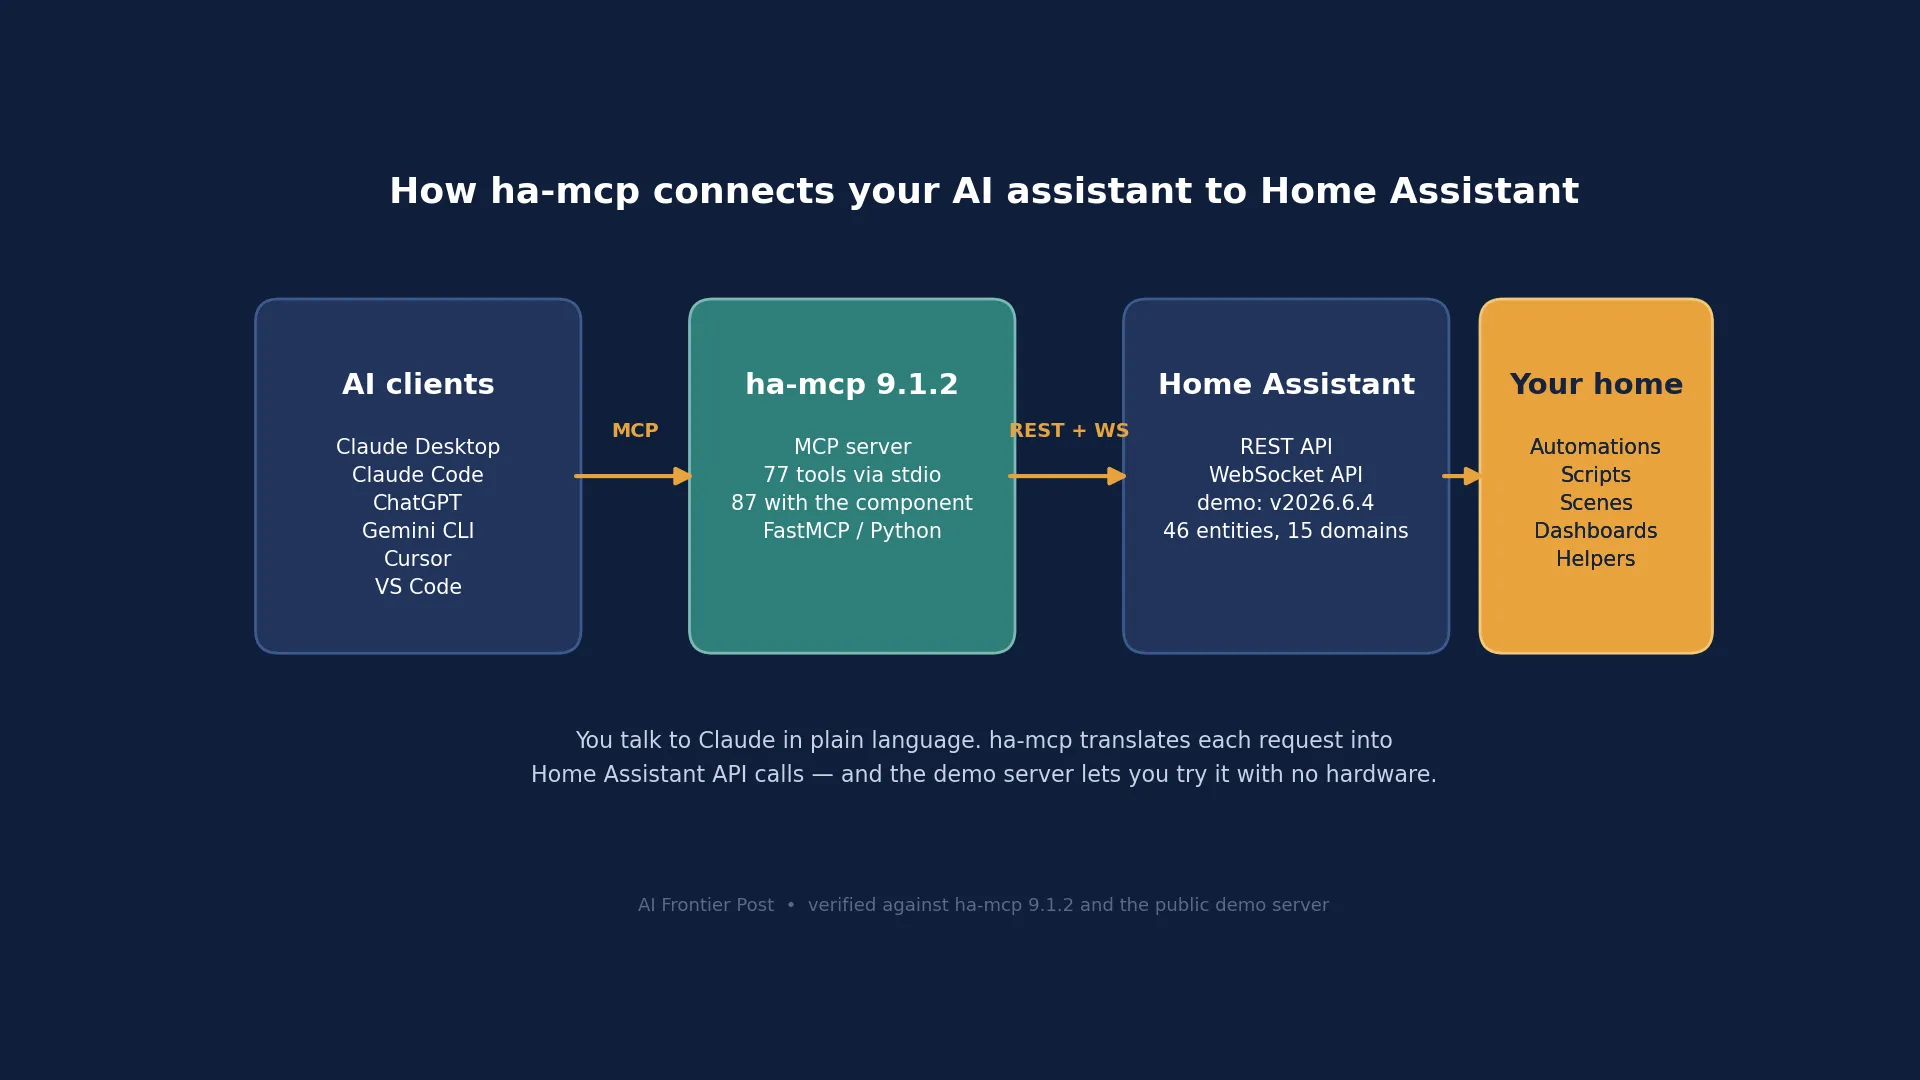
demo— Home Assistant v2026.6.4, 46 entities, 15 domains, 28 sensors. No hardware needed to try it. - First question:
ha_search("light")findsautomation.porch_light_at_sunset— "Porch light at sunset", state on, score 80 — but returnspartial: trueon the slow demo. - The write gate:
ha_get_skill_guidereturns a rotating acknowledgment key; pass it asBestPracticeKeyon gated write tools.

Home Assistant is the open-source smart-home hub that runs in millions of homes, and for years the way to talk to it was a dashboard or a YAML file. ha-mcp changes that: it is a Model Context Protocol server that hands an AI assistant 87 tools for reading, controlling, and building automations in Home Assistant — in plain language. On November 10 it reached number 7 on GitHub's daily trending list with 6,603 stars, gaining 792 in a single day. The reason is simple: it turns "turn the porch light on at sunset" from a configuration task into a sentence.
This tutorial does the whole thing for real. You will install ha-mcp, connect the project's own public demo server — no Home Assistant hardware needed — ask Claude about the demo house, read back a real automation, and build one of your own. Every command and output below was verified live against ha-mcp 9.1.2 and the demo server, and where the demo is slow or limited, that is stated rather than smoothed over.
What you will need#
- Python 3.13. The steps below were verified with Python 3.13. PyPI requires Python 3.13 or newer (and older than 3.15) for ha-mcp.
- uv, the Python package manager. It installs ha-mcp and runs it without a virtual environment. No other dependencies.
- A free claude.ai account for Claude Desktop, or a paid Claude plan for Claude Code. Either works; the installer covers both.
- No Home Assistant hardware. Steps 1–3 and 5 run against the project's public demo server. Step 4 is for pointing the server at your own Home Assistant when you are ready.
- About 20 minutes. The installs take a couple of minutes; the demo server does the rest.
Step 1: Install ha-mcp#
ha-mcp is distributed on PyPI, so the install is one command once uv is present. Install uv from Astral's installer, then ask it for ha-mcp's version:
curl -LsSf https://astral.sh/uv/install.sh | sh
uvx --python 3.13 ha-mcp@latest --version
ha-mcp 9.1.2That version number is the one this tutorial was verified against. uvx downloads the package into its cache and runs it — no virtual environment, no pip install, no leftover files in your working directory. If the download stalls (it did twice during verification, with transient PyPI timeouts), retry with fewer parallel downloads: UV_CONCURRENT_DOWNLOADS=2 uvx --python 3.13 ha-mcp@latest --version.
The project also ships a one-command installer that wires ha-mcp into your AI client for you. For Claude Desktop (the default) it edits the client's MCP configuration; for Claude Code it registers the server at user scope:
# Claude Desktop (default)
curl -LsSf https://raw.githubusercontent.com/homeassistant-ai/ha-mcp/master/scripts/install.sh | sh

# Claude Code (requires a paid Claude plan)
curl -LsSf https://raw.githubusercontent.com/homeassistant-ai/ha-mcp/master/scripts/install.sh | sh -s -- --claude-code
What the installer writes, for Claude Desktop, is an MCP server entry that runs ha-mcp over stdio with the demo server's address and token as environment variables:
{
  "mcpServers": {
    "Home Assistant": {
      "command": "uvx",
      "args": ["--python", "3.13", "--refresh", "ha-mcp@latest"],
      "env": {
        "HOMEASSISTANT_URL": "https://ha-mcp-demo-server.qc-h.net",
        "HOMEASSISTANT_TOKEN": "demo"
      }
    }
  }
}
For Claude Code the equivalent command is the one the installer runs for you:
claude mcp add home-assistant --scope user \
  --env HOMEASSISTANT_URL=https://ha-mcp-demo-server.qc-h.net \
  --env HOMEASSISTANT_TOKEN=demo \
  -- uvx --python 3.13 --refresh ha-mcp@latest
The installer defaults to the public demo server, so it works out of the box. To point it at your own Home Assistant later, replace HOMEASSISTANT_URL with your instance's URL and HOMEASSISTANT_TOKEN with a long-lived access token (Step 4). Restart Claude Desktop after the installer runs — it only reads MCP configuration at startup.
Step 2: Smoke-test against the public demo server#
The project's FAQ publishes its own smoke test: run ha-mcp directly against the demo server with the demo token. The server is a real Home Assistant instance the project maintains for exactly this purpose — it resets weekly, and its web UI login is mcp / mcp:
HOMEASSISTANT_URL=https://ha-mcp-demo-server.qc-h.net HOMEASSISTANT_TOKEN=demo uvx --python 3.13 ha-mcp@latestThe server starts, connects to the demo instance, and waits for MCP traffic on stdin — it prints no banner and no prompt, which is normal for a stdio MCP server. Press Ctrl-C to stop it. The important check is what it exposes: ask it for its tool list and it answers with 77 tools. The README advertises 87, and the difference is real but expected — the beta tools and the ones that need the ha-mcp custom component installed on the Home Assistant side are not available over a plain stdio connection to the demo. Seventy-seven is the number you will see, and it covers everything in this tutorial.
One thing to know before you go further: the demo is a small shared instance, and it is slow. Its configuration reads arrive serially, so searches can come back marked partial: true with a warning that some automations were not scanned. Writes are dispatched and then confirmed slowly. None of that is a bug in ha-mcp — on your own Home Assistant, on your own network, the same calls return promptly. It is the price of a free public demo, and this tutorial shows you the exact messages so you recognise them.
Step 3: Ask Claude about your home#
With the server registered, the first question to ask Claude is the one that proves the whole chain works: "What automations do I have for lights?" Under the hood Claude calls ha_search, and the demo answers with the one light-related automation in the house. This is the reply, exactly as the demo returned it:
{
  "success": true,
  "query": "light",
  "entities": [
    {
      "entity_id": "automation.porch_light_at_sunset",
      "friendly_name": "Porch light at sunset",
      "domain": "automation",
      "state": "on",
      "score": 80,
      "match_type": "exact_match"
    }
  ],
  "entity_total_matches": 1,
  "partial": true
}
Read the reply carefully, because it teaches you how ha-mcp reports. entity_total_matches: 1 says one thing matched. partial: true says the scan did not finish — the demo serves configuration reads serially and two automations timed out during the scan, so the result is not exhaustive. On your own instance the same query returns complete results. The match itself is exact: automation.porch_light_at_sunset, "Porch light at sunset", state on.
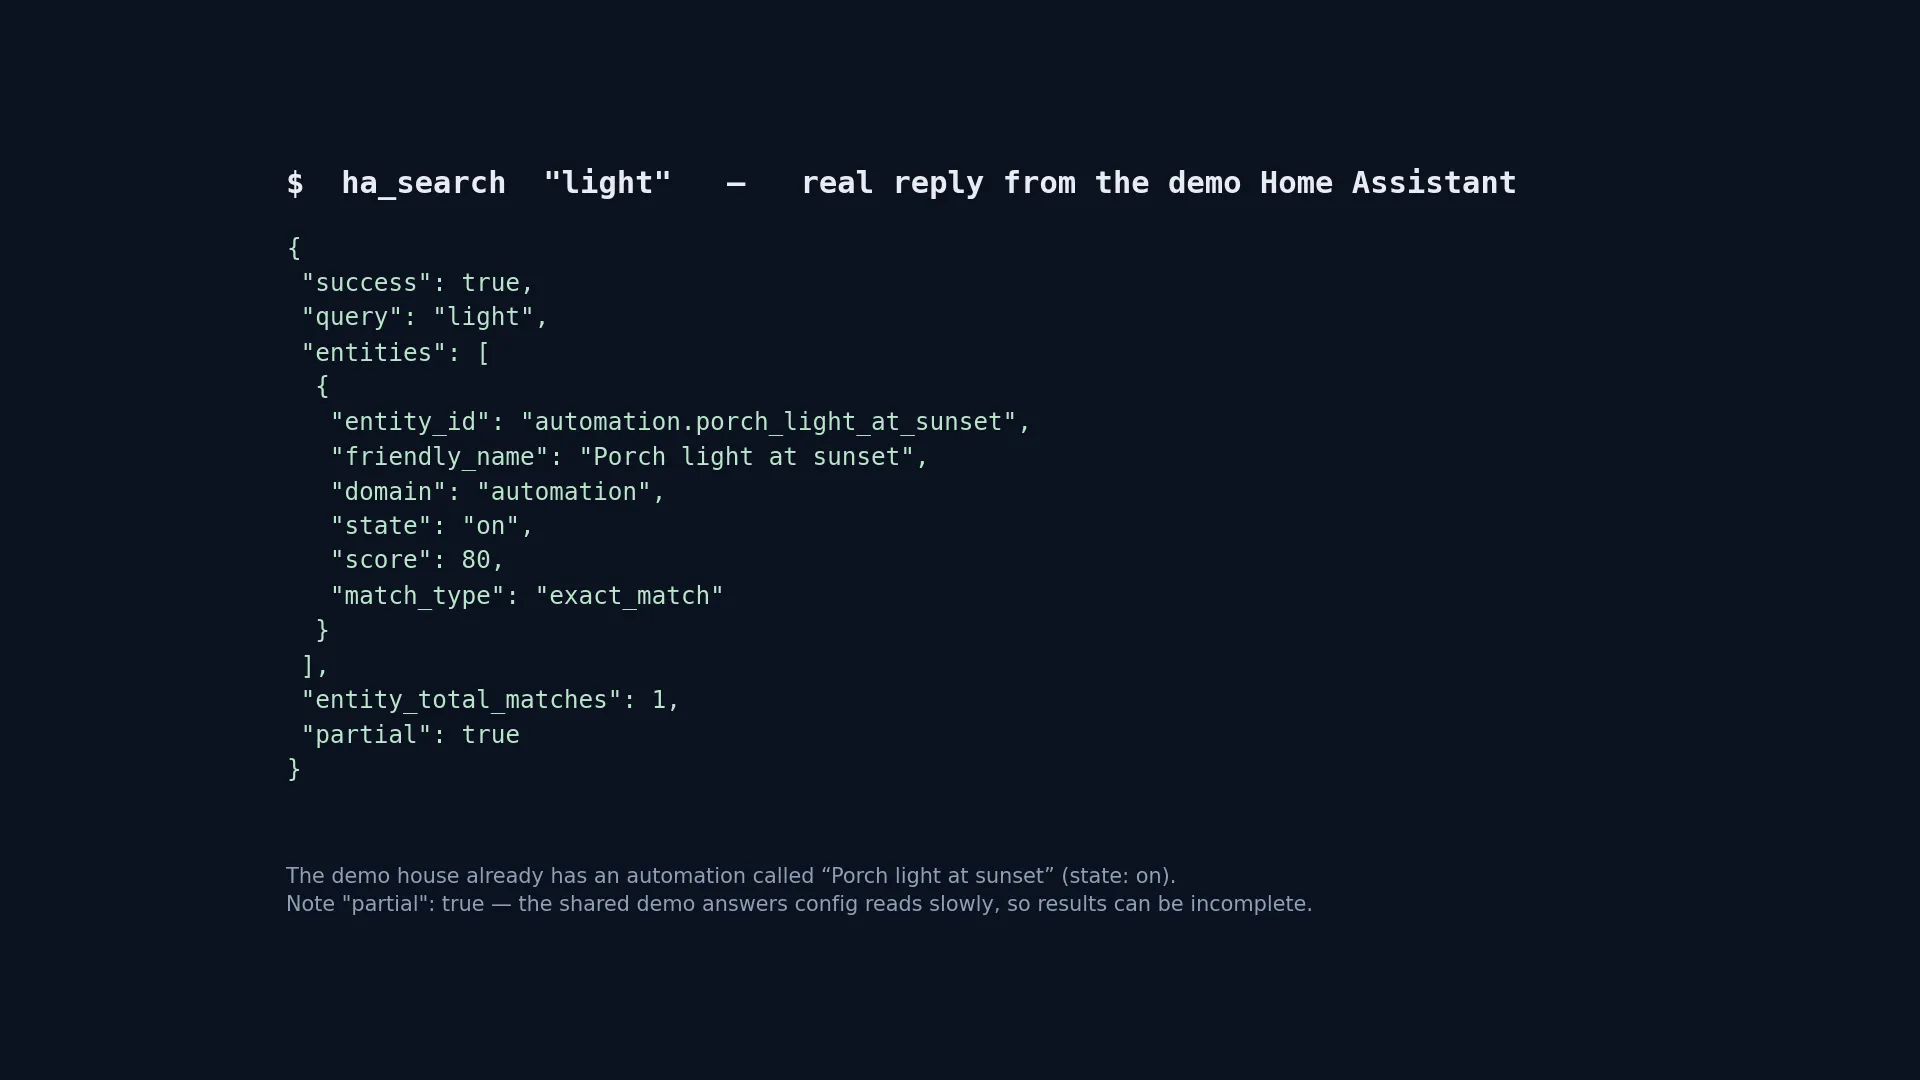
ha_search reply from the demo server. The demo house already has an automation called "Porch light at sunset" (state: on). Note partial: true — the shared demo answers configuration reads slowly, so results can be incomplete.Ask for the state of that automation and you get the full picture — ha_get_state returns its mode, its trigger count, and when it last changed:
{
  "data": {
    "entity_id": "automation.porch_light_at_sunset",
    "state": "on",
    "attributes": {
      "id": "1794342336060",
      "last_triggered": null,
      "mode": "single",
      "current": 0,
      "friendly_name": "Porch light at sunset"
    },
    "last_changed": "2026-11-10T20:25:38.585589+00:00"
  }
}
It has never triggered (last_triggered: null), it runs in single mode, and it is on. Now ask for the overview — ha_get_overview — and the demo house comes into focus: Home Assistant v2026.6.4, 46 entities, 15 domains, 0 areas, 28 sensors. The 15 domains are automation, conversation, device_tracker, event, image_processing, input_boolean, input_number, notify, person, sensor, sun, todo, tts, weather, and zone. Note what is missing: there is no light domain and no light entities in the demo. The porch-light automation exists, but the demo house has no physical lights for it to switch — which is why the verifiable write in Step 5 uses a notification instead of a bulb.
Finally, ha_list_services returns the service catalog: 65 service domains on the demo, from automation and light to persistent_notification and tts. Every service Claude can call is in that list, which is how it knows that persistent_notification.create exists before it ever tries to use it.
Step 4: Point it at your own Home Assistant#
The demo proves the workflow; your own Home Assistant is where it becomes useful. ha-mcp needs Home Assistant 2026.8.0 or newer, and the full feature set — the extra tools, the configuration editing, the debugging — comes from installing the ha-mcp custom component on your instance. For Home Assistant 2026.8 through 2026.10 that means HACS; for 2026.11 and later it is in the default Marketplace catalog. The component adds an in-process MCP server reachable at http://<ha-ip>:9584/private_<random>, plus a Settings panel in the Home Assistant sidebar.
Authentication is a long-lived access token: in Home Assistant, open your profile, go to Security, and create one — or create a dedicated admin account for the assistant under Settings, then People. Point ha-mcp at it with the same two environment variables the demo used:
HOMEASSISTANT_URL=http://192.168.1.100:8123 HOMEASSISTANT_TOKEN=your-long-lived-token uvx --python 3.13 ha-mcp@latestFor remote access, use your Home Assistant webhook URL instead of the local address. Before you hand Claude the keys, turn on Read Only Mode in the ha-mcp Settings panel: it blocks every write tool, so you can ask questions freely while you learn what the assistant can see. When you are ready to let it change things, switch Read Only off and use the per-tool toggles and tool security policies to decide exactly which tools are available. Every edit ha-mcp makes is backed up automatically, so a bad automation can be rolled back.
Step 5: Build your first automation#
The end-to-end use case is the one the demo house already contains: turn the porch light on at sunset. Read its configuration back first — ha_config_get_automation returns the whole thing:
{
  "success": true,
  "action": "get",
  "automation_id": "automation.porch_light_at_sunset",
  "config": {
    "id": "1794342336060",
    "alias": "Porch light at sunset",
    "triggers": [{"platform": "sun", "event": "sunset"}],
    "actions": [{"action": "light.turn_on"}]
  },
  "config_hash": "3aba411ee9533041"
}
That is the complete automation: a sun trigger at sunset, one action, no target entity — which is why it can exist in a demo house with no lights. Now build your own. Ask Claude: "Create an automation called Morning Lights that turns on the bedroom light at 07:00." Under the hood it calls ha_config_set_automation, and there is one gate to pass first. ha-mcp runs in strict best-practices mode, so write tools require an acknowledgment key from the best-practices guide. Fetch it with ha_get_skill_guide — the guide opens with the key, in the form I-HAVE-READ-THE-BEST-PRACTICES-GUIDE-<hex>, and it rotates hourly. It is a read-receipt, not a secret: it proves the assistant read the guide, and it grants no privileges on its own. Pass it as the BestPracticeKey argument. The call itself, in the form the tool documents, is:
{
  "config": {
    "alias": "Morning Lights",
    "triggers": [{"trigger": "time", "at": "07:00:00"}],
    "actions": [{"action": "light.turn_on", "target": {"area_id": "bedroom"}}]
  },
  "BestPracticeKey": "I-HAVE-READ-THE-BEST-PRACTICES-GUIDE-<key-from-ha_get_skill_guide>"
}
Omit the id and ha-mcp generates one; set enabled to false to create it disabled, or run_actions to true to run it immediately. For the sunset version, swap the trigger for {"platform": "sun", "event": "sunset"} — exactly the trigger the demo's own automation uses. And on the demo, use an action that works there: the demo has no lights, so a notification is the verifiable write. ha_call_service with domain persistent_notification, service create, and a title and message dispatches it — the demo answered success: true with the note that the service "was dispatched but Home Assistant did not respond within the timeout period", which is the demo being slow, not the call failing.
Verify the automation landed by reading it back with ha_config_get_automation, and remove it the same way you made it — ha_config_remove_automation takes the entity id, and waits for the automation to disappear before returning. Two honest notes from verification: on the demo, automation creates can time out outright (CONNECTION_TIMEOUT) because the demo's WebSocket path is slow and its configuration reads are serial — raising the per-request timeout with HA_TIMEOUT=120 (default 30, up to 600) or passing wait: false so the call returns as soon as Home Assistant accepts the config both help. On your own instance, on your own network, the same calls complete normally.
ha-mcp vs Home Assistant's built-in MCP server#
Home Assistant ships its own MCP server, so the obvious question is why install a community one. The README answers it directly, and the difference is scope: the built-in server is a window into the Assist pipeline — it exposes the entities you choose and answers questions about them. ha-mcp is the whole house.
| Capability | Built-in MCP server | ha-mcp |
|---|---|---|
| Read state and call services | Yes, for exposed entities | Yes, across all 65 service domains |
| Automations, scripts, scenes | No | Yes — read, create, edit, and remove |
| Dashboards and helpers | No | Yes |
| Configuration and debugging | No | Yes, with validation and automatic edit backups |
| Agent skills | No | Yes — best-practices skill served over skill:// URIs, mandatory for write tools |
| Safety controls | Entity exposure only | Read Only Mode, per-tool toggles, tool security policies |
Use the built-in server when you want the smallest possible surface: voice-assistant-style questions about exposed entities, nothing else. Use ha-mcp when you want the assistant to build and maintain the house — automations, scenes, helpers, and the debugging that goes with them. The trade-off is the one this tutorial has shown you: ha-mcp is a bigger tool with more to configure, and its stdio transport has known issues (tracked as issue #1713), so stdio is the right choice for the demo and for testing, while the custom component or the HTTP transport is the right choice for daily use.
Troubleshooting: what to do when it misbehaves#
Three messages account for almost everything you will see. "BPS_ACKNOWLEDGMENT_REQUIRED" means a write tool was called without the best-practices key — call ha_get_skill_guide, take the key from the top of the guide, and pass it as BestPracticeKey. "CONNECTION_TIMEOUT" on a create means Home Assistant did not answer within the per-request timeout — raise it with HA_TIMEOUT (default 30 seconds, up to 600) or pass wait: false. Partial search results with a warning about automations not scanned means the instance serves configuration reads serially — lower HAMCP_INDIVIDUAL_FETCH_BATCH_SIZE or raise HAMCP_INDIVIDUAL_CONFIG_TIMEOUT, or simply retry; the demo in particular is slow under load. If uvx fails to download, set UV_CONCURRENT_DOWNLOADS=2 and try again.
The takeaway#
ha-mcp earns its trending spot because it closes the gap between having a smart home and being able to talk about it. The install is one command, the demo server lets you try the whole workflow without buying or configuring anything, and the read path — search, state, overview, services — works exactly as documented. The write path is where the care is: a best-practices key that proves the assistant read the guide, automatic backups on every edit, and a Read Only Mode for when you want questions without consequences. Start on the demo, ask it about the porch-light automation, build a notification, and when the workflow feels right, point the same two environment variables at your own Home Assistant and let Claude run the house.
Sources
- homeassistant-ai/ha-mcp — GitHub repository (README, install, comparison with the built-in MCP server, agent skills)
- ha-mcp FAQ — public demo server, smoke test, setup wizard
- ha-mcp documentation
- ha-mcp install script — Claude Desktop and Claude Code setup
- GitHub Trending — daily (ha-mcp ranked 7th, November 10, 2026)