LivLiv Player hands-on: put a lip-synced 2.5D character on your web page
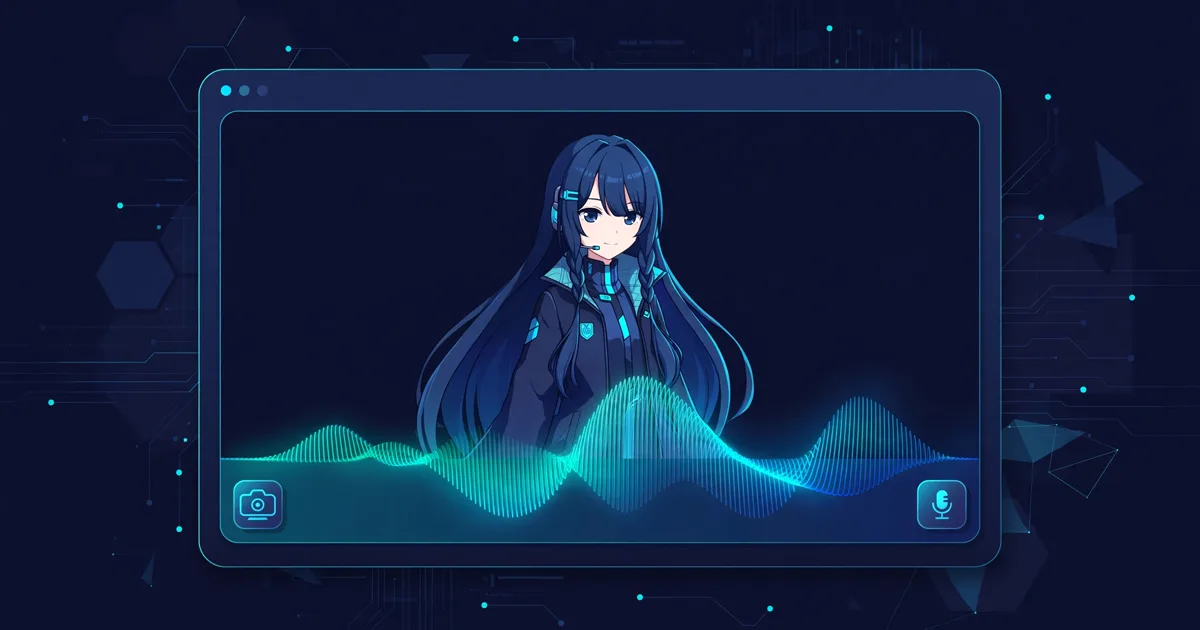
A talking character on a web page used to mean Live2D, a paid editor, and a runtime measured in megabytes. LivLiv Player, released November 4, 2026, does it in about 30 KB of JavaScript with no runtime dependencies: load a character, point it at an audio clip, and its mouth moves — or point a webcam at your face and the character copies you. Five days after release it has 1,353 GitHub stars. This guide installs it, puts the character Sena on a page, and verifies the lip sync and the face tracking end to end.
- What: LivLiv Player 0.3.0 — a 2.5D character player for the web (WebGL2). Install with
npm install @livliv-dev/player. Apache-2.0. - Momentum: Created November 4, 2026; 1,353 stars and 142 forks by November 9, 2026; last push November 9, 2026.
- Verified: November 9, 2026 in a sandbox: repo build and test suite, npm install plus Vite build, a headless-Chromium render, lip sync (mouth open 0.99 while audio played), face tracking on the built-in synth trace, and a PNG snapshot. Versions:
@livliv-dev/player 0.3.0,@mediapipe/tasks-vision 1.1.1, Vite 8.3.6, Node 22. - Requirements: Node 18+ and npm, a browser with WebGL2 (Chrome/Edge 97+, Firefox 104+, Safari 15.4+). No GPU, no account, no API key. Face tracking downloads about 8 MB of MediaPipe files on first use.
- Characters: 21 featured characters ship in the repo, free for personal, non-commercial projects with credit. The LivLiv mark the player draws is part of the package licence — do not hide it.
Why LivLiv, why now#
VTuber tooling has a weight problem. The established path — Live2D Cubism, a paid editor, a model file in a proprietary format, a runtime that pulls in megabytes of dependencies — is fine for a streamer with a budget, and overkill for a web page that just needs a character to talk. The lighter alternatives are image-only: PNGTubers swap between two still images, open mouth and closed mouth, and that is the whole performance.
LivLiv Player sits between the two. It renders layered 2D artwork on WebGL2 — a "2.5D" character with a head that turns, eyes that blink and track, brows that move, and a mouth driven by real audio analysis — from a core the project puts at about 30 KB gzipped with no runtime dependencies. The character format is open: a folder of textures plus a model.json. The player ships with 21 featured characters, each a folder in the repo's characters/ directory, free for personal, non-commercial projects with credit. And the two features that usually need a server — lip sync and face tracking — both run in the browser: lip sync from any audio clip or element, face tracking through MediaPipe's in-browser face landmarker.
The numbers explain the attention. LivLiv Player was created on November 4, 2026. By November 9 it had 1,353 stars and 142 forks, and it was still being pushed the morning this guide was written. That is fast for a library with no company behind it and no launch post on the usual channels — it spread because the demo is one page and the install is one command.
This guide does what the README cannot: it installs the library the way a reader would, builds a real page around it, and proves each feature works — the render, the expressions, the lip sync against a real audio clip, the face tracking with no camera attached, and the snapshot export. Every command below ran in a sandbox on November 9, 2026, and every output quoted is the output that came back.
What you'll need#
- Node 18 or later with npm. The sandbox ran Node 22. Check with
node --version. - A browser with WebGL2 — Chrome or Edge 97+, Firefox 104+, Safari 15.4+. The guide's verification ran in headless Chromium. LivLiv is not tested on phones.
- About 20 minutes. The install is small; the character files are the biggest download, and nothing here compiles or needs a GPU.
- No account, no API key, no server. Everything runs locally. Face tracking downloads about 8 MB of MediaPipe WebAssembly and model files on first use, and MediaPipe sends usage statistics to Google unless you block it with a Content Security Policy (
connect-src 'self'), per the project's API docs.
Pinned versions, exactly as verified: @livliv-dev/player 0.3.0, @mediapipe/tasks-vision 1.1.1, Vite 8.3.6.
Step 1 — Install the package#
Scaffold a vanilla Vite project, or use an existing one. Then install the player and the MediaPipe vision package that face tracking needs:
npm create vite@latest livliv-demo -- --template vanilla
cd livliv-demo
npm install
npm install @livliv-dev/[email protected] @mediapipe/[email protected]
npm install -D vite
The player itself has no runtime dependencies; the MediaPipe package is only needed for the face-tracking step, and Vite is the dev server and bundler. If you are adding LivLiv to an existing project, the middle line is the only one that matters.
The character files do not ship in the npm package — they live in the repo. Clone it (a shallow clone is enough) and copy the character Sena into your public folder:
git clone --depth 1 https://github.com/livliv-dev/player.git livliv
cp -r livliv/characters/k01 public/avatars/sena
k01 is Sena, one of the 21 featured characters. The folder holds her textures and a model.json. Two licence points before you go further: the featured characters are free for personal, non-commercial projects with credit — see characters/LICENSE.md in the repo — and the small LivLiv mark the player draws in the corner of the canvas is part of the package licence. Do not hide it.
Before writing any page code, it is worth confirming the library itself is sound. Cloning the repo and running its own checks gives a clean baseline:
cd livliv
npm install
npm run build
npm test
npm run test:browser
On the sandbox this produced a built dist/index.js of 58.21 kB (23.08 kB gzipped), a test suite at 89 passing with one skipped macOS-only test and one failure, and a browser smoke test that exited 0 with "smoke: all 21 characters ok". The single test failure is a fuzz-test timing assertion — a performance budget of a few hundred milliseconds that a slow shared VM missed — not a functional failure. The browser suite also exercises the demo, the gallery, VRM and PNGTuber paths, and the camera-refusal path.
Step 2 — Render your first character#
The page is a canvas, a row of buttons, and a status line. Save this as index.html:
<!doctype html>
<html lang="en">
<meta charset="utf-8">
<meta name="viewport" content="width=device-width, initial-scale=1">
<title>LivLiv Player demo</title>
<style>
  body { margin: 0; background: #20222b; color: #eef; font: 14px system-ui, sans-serif }
  canvas { display: block; width: 480px; height: 640px; margin: 0 auto; background: #2a2d3a }
  .bar { display: flex; flex-wrap: wrap; gap: 6px; justify-content: center; padding: 12px }
  button { font: inherit; padding: 6px 11px; border: 0; border-radius: 8px; background: #ffffff1c; color: inherit; cursor: pointer }
  #status { text-align: center; opacity: .8 }
</style>
<canvas id="stage"></canvas>
<div class="bar" id="bar"></div>
<div class="bar">
  <button id="say">Say the test clip</button>
  <button id="track">Face tracking (synth trace)</button>
</div>
<p id="status">loading…</p>
<script type="module" src="/main.js"></script>
</html>
And this as main.js — it is the whole application for this guide, and every line of it ran in the verification:
import { Player } from '@livliv-dev/player'
import { createSpeech } from '@livliv-dev/player/voice'
import { startFaceTracking } from '@livliv-dev/player/tracking'

const canvas = document.querySelector('canvas')
const player = new Player(canvas)
window.player = player

const info = await player.load('/avatars/sena/')
document.getElementById('status').textContent =
  `${info.name} · ${info.format} ${info.version} · mark: ${info.watermark ?? 'none'}`
window.__ready = true

const bar = document.getElementById('bar')
for (const { id, label } of [{ id: null, label: 'neutral' }, ...player.expressions]) {
  const b = document.createElement('button')
  b.textContent = label
  b.onclick = () => player.setExpression(id)
  bar.append(b)
}
for (const a of ['nod', 'shake', 'tilt', 'hop']) {
  const b = document.createElement('button')
  b.textContent = a
  b.onclick = () => player.act(a)
  bar.append(b)
}

const speech = createSpeech(player)
document.getElementById('say').onclick = () => {
  speech.unlock()
  speech.say('/tone.mp3')
}

document.getElementById('track').onclick = async () => {
  // 'synth' plays a built-in 24 s face-motion loop: no camera needed
  const tracking = await startFaceTracking(player, { trace: 'synth' })
  window.tracking = tracking
}
Three things to notice. First, new Player(canvas) takes options — idle, followPointer, maxPixelRatio, autoplay — but the defaults are sensible, and this guide uses them. Second, load accepts a folder path, a .livliv file, a model.json URL, or a File or Blob; it returns model info with the name, format, version, size, expressions, and watermark. Third, the expression buttons are built from player.expressions — the character declares its own expressions, so the UI adapts to whichever character you load.
Build it and serve the output:
npm run build
npx vite preview --port 4173
The build transforms 13 modules into a bundle of about 113 kB (44 kB gzipped). Open http://localhost:4173 and the status line should read Sena · livliv-model 4 · mark: LivLiv. That line is the whole verification in one sentence: the character loaded, her model format is livliv-model version 4, and the LivLiv mark is present. In the sandbox run the same page rendered in headless Chromium with zero page errors, and a screenshot showed Sena standing in the canvas with the watermark bottom-right.
If the canvas stays blank, check the two usual suspects first: WebGL2 support, which you can guard with Player.isSupported() before constructing the player, and the avatar path — /avatars/sena/ must resolve from the same origin as the page, which is why the character folder lives under public/.
Step 3 — Expressions and actions#
The buttons from Step 2 already work. Clicking an expression name calls player.setExpression(id); clicking neutral passes null, which clears the expression. An unknown id returns false instead of throwing, so a bad id is a silent no-op rather than a crash — worth knowing if you build the buttons from your own list instead of from player.expressions.
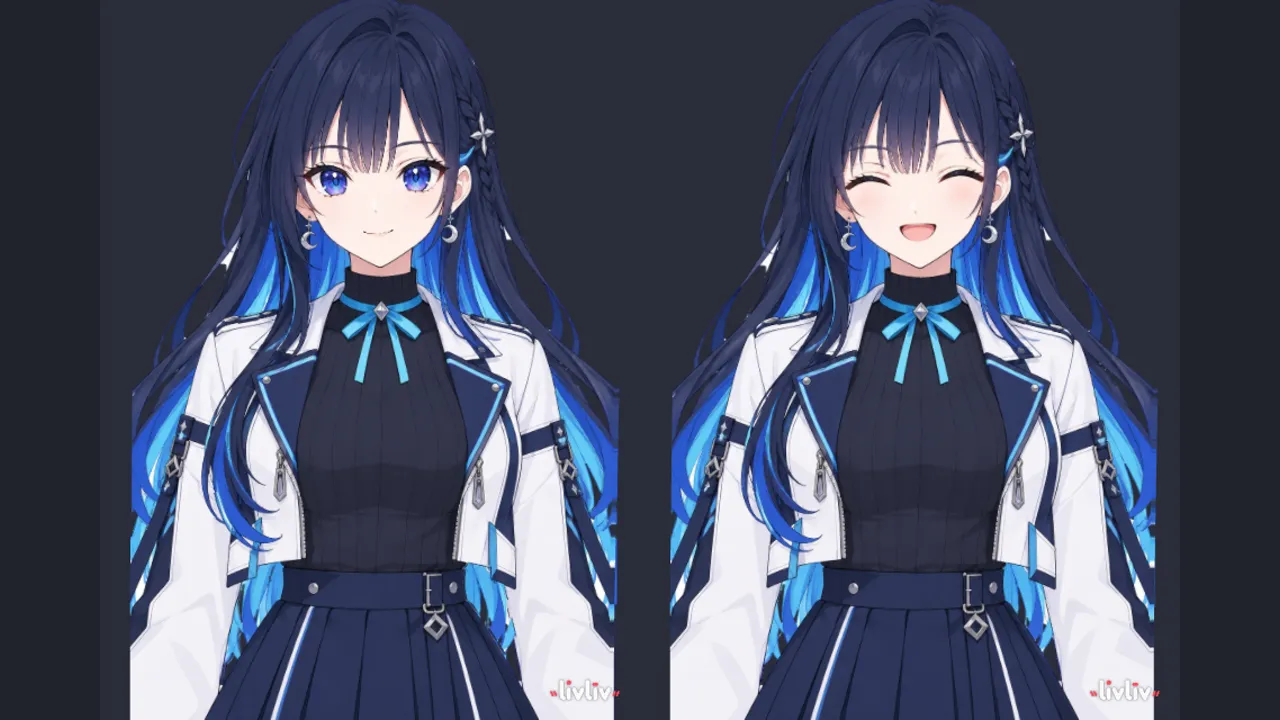
The action buttons call player.act('nod' | 'shake' | 'tilt' | 'hop' | 'shy') — one-shot motions, where nod is the one you will use most. In the verification run, setExpression('smile') visibly changed the render: eyes closed, smiling mouth, in the screenshot taken after the call.
Below the named expressions, the player exposes a parameter object for direct control. The ranges, from the API docs:
player.params.mouthOpen // 0..1
player.params.vowel     // -1..1
player.params.smile     // 0..1
player.params.angleX    // -30..30 (degrees)
player.params.angleY    // -30..30
player.params.angleZ    // -30..30
player.params.eyeLOpen  // 0..1
player.params.eyeROpen  // 0..1
player.params.eyeBallX  // -1..1
player.params.eyeBallY  // -1..1
player.params.browLY    // -1..1
player.params.browRY    // -1..1
player.params.bodyX     // -10..10
player.params.bodyZ     // -10..10
player.params.breath    // 0..1
Other calls in the same family: player.blink(), player.lookAt(x, y), player.setAway(true) to look away, player.poke(x, y) for a tap reaction, player.play() and player.pause(), player.resize() after the canvas changes size, and player.dispose() when you are done. The constructor option followPointer: 'page' makes the character's eyes follow the cursor without any of this — a one-line way to make a page feel alive.
Step 4 — Lip sync from an audio clip#
This is the feature the stars are for. The createSpeech driver in main.js is already wired to the "Say the test clip" button: speech.unlock() runs inside the click handler — browsers require audio to start from a user gesture — and speech.say('/tone.mp3') queues the clip. say accepts a URL, a Blob, or an ArrayBuffer, so a text-to-speech clip fetched from an API works the same way as a local file; speech.onIdle fires when the queue empties and speech.stop() cuts playback.
Any short MP3 works as the clip. If you have no audio file handy, generate a four-second test tone:
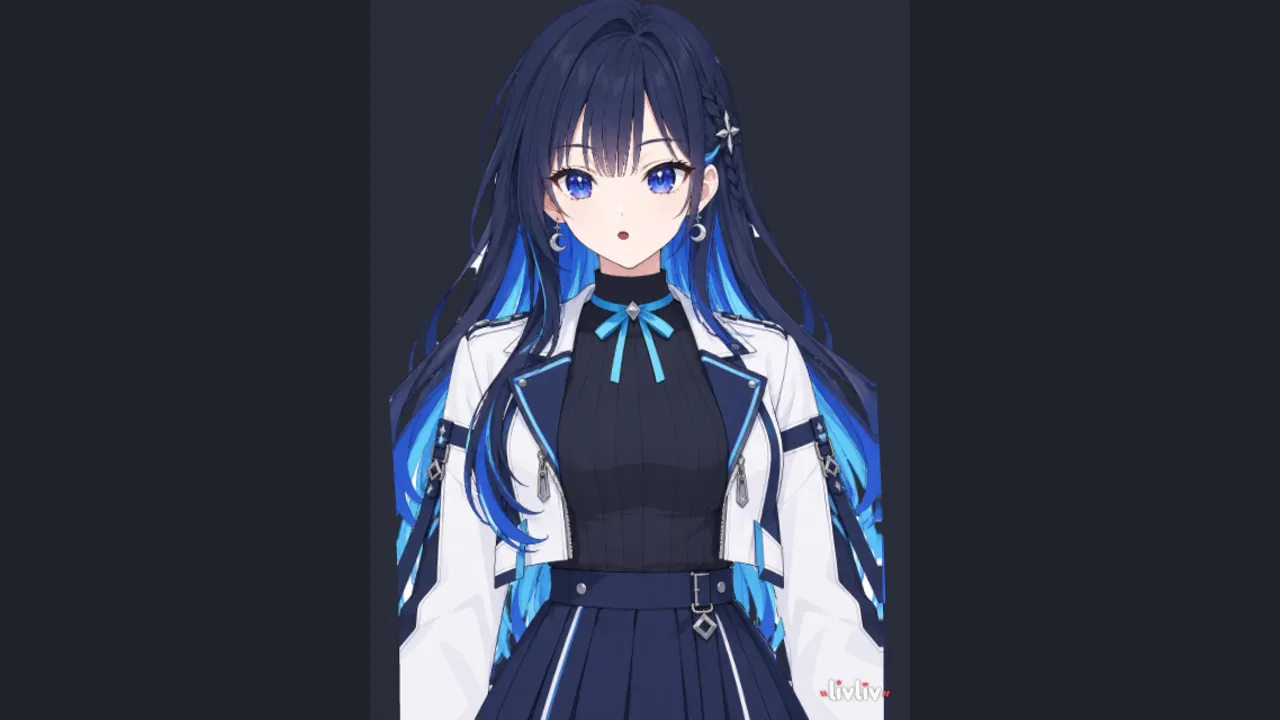
ffmpeg -f lavfi -i "sine=frequency=440:duration=4" public/tone.mp3In the verification run the clip was a four-second tone, and a probe driver sampling the rendered pose read mouthOpen at 0.99 while it played, against 0 at idle — the mouth visibly open in the mid-clip screenshot. One nuance worth knowing: player.params.mouthOpen itself stays at 0 while a driver is running, because the driver writes the per-frame pose rather than the base parameter. If you ever check the mouth state in code, read the pose the driver produces, not the parameter.
If you already have an <audio> element — a podcast player, a TTS stream — the lower-level startLipSync attaches the same mouth driver to it:
import { startLipSync } from '@livliv-dev/player/voice'

const driver = startLipSync(player, audioElement, { motion: 1, bounce: false })
// driver.level is the live loudness; driver.stop() detaches it
motion runs 0 to 2 and defaults to 1; bounce adds a small body bounce on loud syllables and defaults to off. For a narration voice, the defaults are right; turn motion up for a sung or shouted clip.
Step 5 — Face tracking, no camera required#
The "Face tracking (synth trace)" button in main.js calls startFaceTracking(player, { trace: 'synth' }). The synth trace is a built-in 24-second loop of face motion — head turns, blinks, expressions — that drives the character with no camera at all. It exists so you can develop and test the tracking path on a machine with no webcam, and in the verification run it worked exactly as documented: after the call, tracking.face read true and the character moved through the loop.
For the real thing, drop the option and let the browser ask for the camera:
const tracking = await startFaceTracking(player)
tracking.calibrate() // re-centre on your current head position
tracking.stop()      // release the camera
Under the hood this is MediaPipe's face landmarker running in the browser, which is why the @mediapipe/tasks-vision package is a dependency and why the first use downloads about 8 MB of WebAssembly and model files. The tracking options are mirror (default true), smoothing (default 0.5), follow (default 0), and maxFps (default 'auto'), with wasmUrl and modelUrl if you want to self-host the files instead of using the jsDelivr and Google defaults. As noted in the prerequisites, MediaPipe sends usage statistics to Google unless your Content Security Policy blocks it with connect-src 'self' — a one-line header worth adding if the character runs on a page you ship.
Face tracking and lip sync compose: run both drivers at once and the character follows your head while its mouth follows the audio. The drivers have an order — lip sync at 10, a custom probe at 20 — so a later driver wins on the parameters it writes. You will not need to touch this unless you write your own driver, in which case that ordering is the mechanism.
Step 6 — VRM and PNGTuber bodies#
The core player renders the 2.5D characters. A separate entry point, @livliv-dev/player/body, covers the other two body types people ask for:
npm install three @pixiv/three-vrm # VRM only; PNGTuber needs no extra packageimport { BodyPlayer, PngBody, VrmBody } from '@livliv-dev/player/body'PngBody loads a classic PNGTuber pair — load({ closed, open, blink }) — and drives the mouth swap from the same audio analysis as the 2.5D characters. VrmBody loads a full 3D VRM avatar; it needs three 0.170 or later and three-vrm 3.5.5. The repo's own browser test suite exercises both paths, along with the demo, the gallery, and the camera-refusal path — this guide verified the 2.5D path end to end and takes the body paths from the project's API docs and its passing suite rather than re-running them. One format is explicitly absent: there is no Live2D (.moc3) support, so an existing Live2D model does not load here.
Step 7 — Export a snapshot#
player.snapshot() returns a PNG data URL of the current frame. In the verification run it returned a valid PNG every time it was called, including mid-speech with the mouth open — the screenshots in this guide are snapshots of exactly that kind. To let a reader download one:
const a = document.createElement('a')
a.href = await player.snapshot()
a.download = 'sena.png'
a.click()
That is the whole export story: there is no video recording or server-side render in the library. If you need a clip, record the canvas with the browser's MediaRecorder, or take snapshots on an interval and stitch them — the player is a live canvas, and the browser's own capture APIs apply.
Troubleshooting#
- Blank canvas. Check
Player.isSupported()first — the player needs WebGL2 and ES2023. Then check the avatar path:/avatars/sena/must resolve from the same origin as the page. Serving the character folder from another origin fails without CORS headers on that origin, so keep the avatars on the same origin, as this guide does. - No sound, no lip sync. Audio must start from a user gesture —
speech.unlock()belongs in a click handler, not in page-load code. Ifsayis called beforeunlock, the clip queues silently and nothing moves. - Face tracking never starts. The first call downloads about 8 MB of MediaPipe files; on a slow connection it takes a few seconds and there is no progress UI unless you pass
onProgress. If the camera prompt never appears, the browser denied the permission — the repo's own suite covers the refusal path, and the tracking object simply never reports a face. - The character looks right but the mark is missing. It is not missing — it is drawn by the player as part of the package licence. If you restyled the canvas and it disappeared, you covered it; move your overlay rather than hiding it.
- An expression does nothing.
setExpressionreturnsfalsefor an unknown id. List the ids fromplayer.expressionsinstead of guessing them — every character declares its own set.
When to use this vs alternatives#
Use LivLiv Player when the character is a feature of a web page: a talking assistant on a docs site, a VTuber overlay in a browser source, a character that reacts to a voice reply in a chat UI. The install is one package, the core is about 30 KB, and there is no account, no key, and no server.
Use Live2D Cubism instead when you already own a .moc3 model, or when you need its physics — hair and cloth simulation that LivLiv's layered 2D rendering does not do. Live2D costs money for the editor and weighs considerably more at runtime; that is the trade.
Use a VRM avatar in plain three.js when you need a full 3D body in a 3D scene — a character that walks around a room rather than standing in a frame. LivLiv's own VrmBody covers the middle ground: a VRM avatar driven by the same lip sync and face tracking, without writing the three.js glue yourself.
Use a PNGTuber when the whole performance is "mouth open, mouth closed" and nothing else matters — a two-image swap is simpler than any library. The moment you want expressions, head turns, or eye tracking, the PNGTuber stops being enough, and that is exactly where LivLiv starts.
The takeaway#
What you built is a working page with a character that loads from a folder, smiles on command, talks along with an audio clip, and follows a face — real or synthetic — with no server and no key. The total cost is one npm package, one character folder, and about fifty lines of JavaScript. The verification behind this guide ran the library's own build and tests, built a Vite project around it, rendered it in headless Chromium, and measured the lip sync at mouthOpen 0.99 against 0 at idle — so the steps above are the steps that ran, not the steps that should run.
The honest limits, stated plainly: the project is five days old, the API will move, and pinning 0.3.0 is the right call in anything you ship. There is no Live2D support, no phone testing yet, and the featured characters are personal and non-commercial only. Within those limits, it is the shortest path from an empty page to a character that talks — and the reason it has 1,353 stars in five days is that the demo proves it in one page load.
Frequently asked questions
Do I need a Live2D model or a paid editor?
No. LivLiv uses its own .livliv format — a folder of textures plus a model.json — and ships 21 featured characters free for personal, non-commercial projects with credit. There is no .moc3 support, so an existing Live2D model will not load.
Does the character work without a camera or microphone?
Yes. Lip sync runs from any audio file or audio element, and face tracking has a built-in 24-second synth trace that drives the character with no camera at all — the trace is how this guide verified tracking.
Can I use it commercially?
The library itself is Apache-2.0, so the code is fine. The 21 featured characters are free for personal, non-commercial projects with credit — read characters/LICENSE.md in the repo before shipping a commercial project, and keep the LivLiv mark the player draws visible.