Hire an AI red team for the price of an API key
Strix (usestrix/strix) is the Apache-2.0 tool that sends autonomous AI agents to actually hack your application — writing exploits, running them in a locked-down Docker sandbox, and reporting only the vulnerabilities they've proven with a working proof of concept. It sits at #7 on today's AI trending roundup with 65,880 stars and 7,219 forks. I installed 1.6.2 from the official script, mapped every CLI flag against the real help output, built a deliberately vulnerable demo app and proved its holes with curl, and validated the CI gate and the agent-skill install — every command below ran exactly as shown. The one step that needs your own LLM key is marked.

Why this is blowing up now
Security tooling has a false-positive problem. Static analyzers drown you in warnings; dynamic scanners crawl your app and flag anything that looks suspicious. The result is the same in both cases: a human has to verify every finding, which means most findings never get verified. Strix attacks that bottleneck from the other end — its agents don't report a vulnerability until they've written an exploit for it and watched the exploit work.
The numbers explain the hype. At the time of writing, Strix has 65,880 stars and 7,219 forks, 836 commits across 29 releases, and commits landing as recently as yesterday — this is a project under furious active development, not a viral one-off. It's Apache-2.0 licensed, the current release is v1.6.2 (published September 5), and the model support is deliberately open: anything LiteLLM speaks — OpenAI, Anthropic, Google, OpenRouter, Azure, AWS Bedrock, Novita, or a local server — works as the agent brain. The pitch, in short: a red team that bills you per token instead of per engagement.
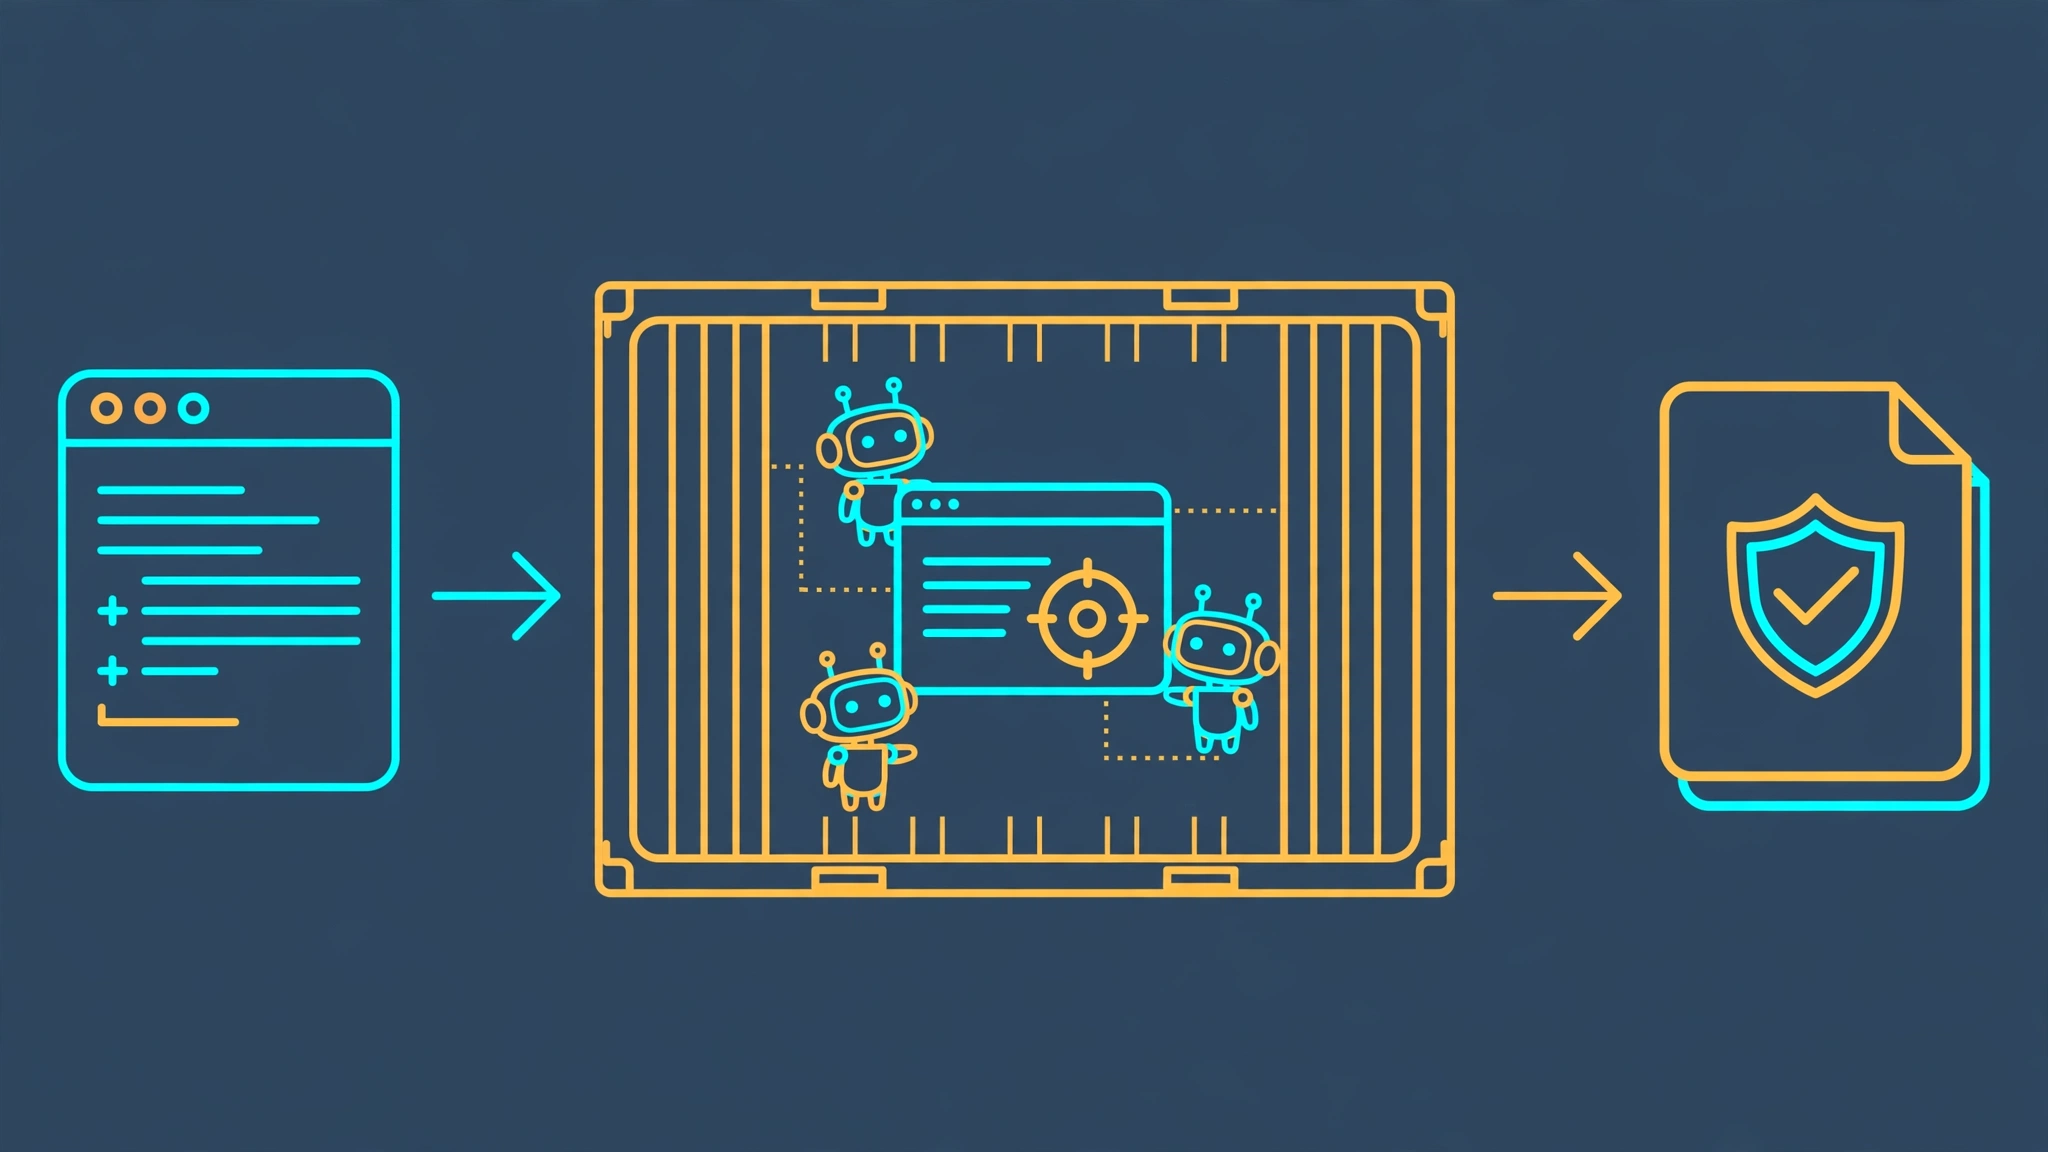
How it works, mechanically: you give the CLI a target (a URL, a repo, a local directory, a domain, an IP, even an OpenAPI spec or Postman collection), and it spins up a swarm of agents inside a purpose-built Docker sandbox. The agents probe the target the way a human pentester would — mapping the attack surface, then writing and executing actual exploit code — and everything they find lands in a structured report with severity ratings and the proof of concept attached. Findings that can't be exploited don't make the report. That single design decision is the whole product.
What you'll need
- Docker, running. This is the one hard infrastructure requirement — the agents execute every exploit inside a locked-down sandbox container, and the CLI refuses to start without a reachable daemon. I verified the exact failure below so you'll recognize it.
- An LLM key — any provider LiteLLM supports (OpenAI, Anthropic, Google, OpenRouter, Azure, AWS, Novita, or local via a base URL). Alternatively,
strix auth login chatgptsigns in with a ChatGPT subscription instead of an API key. Steps 1 and 3 plus 5–8 are fully verifiable without either; the actual scan in step 4 needs one. I mark that boundary clearly when we get there. - macOS or Linux (the install script detects
linux-x86_64,linux-arm64,darwin-arm64, and Windows too — I worked on Linux x86_64). - Budget awareness. Scans burn tokens against your key. The CLI has a hard cost cap (
--max-budget) that stops the scan cleanly when hit — set it before your first run.
One rule before we start, and it's non-negotiable: only scan targets you're authorized to test. Your own apps, your own code, your own infrastructure — or a target with written permission. Pointing an autonomous exploit-writing agent at someone else's production site is not "research," it's a crime in most jurisdictions. The demo target in step 3 exists precisely so you never need to learn on anything real.
Step 1 — Install Strix (two minutes, one binary)
The README's quick start is a single curl pipe, and it's the path I verified — it downloads a prebuilt binary (about 90 MB) rather than building anything, so there's no Python version to fight and no dependency resolution:
curl -sSL https://strix.ai/install | bashOn my machine this printed a tidy progress bar, installed 1.6.2 to ~/.strix/bin, added it to $PATH via ~/.profile, and confirmed readiness:
✓ Strix installed to /home/hatch/.strix/bin
✓ Strix 1.6.2 ready
Verify it the boring way:
strix --version
# strix 1.6.2
Two things worth knowing now. First, the installer warns you if Docker isn't reachable — "Strix requires Docker to run the security sandbox" — which is your cue to start the daemon before going further. Second, the binary self-updates: strix --update pulls the latest release in place (for pip/pipx installs it prints the matching upgrade command instead). If you'd rather install through Python, pipx install strix-agent is the documented alternative — I started down that road and abandoned it when dependency resolution passed the twenty-minute mark on a small VM, which tells you everything about why the binary exists.
Step 2 — Point it at a model
Strix is bring-your-own-brain. Two environment variables do the whole job:
export STRIX_LLM="openai/gpt-5.4"   # any LiteLLM model id
export LLM_API_KEY="sk-..."
The model id follows LiteLLM's provider/model convention, so anthropic/claude-..., openrouter/z-ai/glm-5.3, gemini/..., azure/..., bedrock/... all work — point LLM_API_BASE at a local server and it'll talk to that instead. Prefer not to touch env vars? The same settings live in ~/.strix/cli-config.json (or any JSON file you pass with --config), and there's a third path entirely: strix auth login chatgpt authenticates with a ChatGPT subscription, with strix auth status and strix auth logout alongside it.
Two cost controls deserve attention before your first scan. --max-budget sets a hard dollar cap — the scan stops cleanly when it's reached, with graduated wrap-up warnings sent to the agents as the limit approaches. --max-turns caps each agent at 500 turns by default. Set the budget on every run; a deep scan of a large target is exactly the kind of workload that spends money while you're making coffee.
Step 3 — Give it something to break
You need a target you're allowed to attack, so let's build a deliberately vulnerable one: a tiny Flask login app with two classic flaws — a SQL injection in the login form (the query is built with Python string formatting) and a reflected cross-site scripting hole in the search page (user input echoed back unescaped).
from flask import Flask, request
import sqlite3

app = Flask(__name__)

def db():
    conn = sqlite3.connect(":memory:", check_same_thread=False)
    conn.execute("CREATE TABLE users (id INTEGER PRIMARY KEY, name TEXT, password TEXT)")
    conn.execute("INSERT INTO users VALUES (1, 'admin', 's3cret')")
    return conn

CONN = db()

@app.route("/login", methods=["POST"])
def login():
    name, password = request.form["name"], request.form["password"]
    # VULNERABLE: string formatting instead of parameterized queries
    q = f"SELECT id, name FROM users WHERE name='{name}' AND password='{password}'"
    row = CONN.execute(q).fetchone()
    return f"<h1>Welcome, {row[1]} (id {row[0]})</h1>" if row else ("Denied", 401)

@app.route("/search")
def search():
    q = request.args.get("q", "")
    # VULNERABLE: reflected XSS, no escaping
    return f"<h1>Results for: {q}</h1><p>No products matched.</p>"

@app.route("/health")
def health():
    return {"ok": True}

app.run(port=5057)
Run it, then prove both holes exist before any agent gets near it. The SQL injection bypasses authentication with a wrong password; the XSS reflects a script tag straight back into the page:
python app.py &
curl -s http://127.0.0.1:5057/health
# {"ok":true}

curl -s -X POST http://127.0.0.1:5057/login \
  --data-urlencode "name=admin' OR '1'='1" --data-urlencode "password=x"
# <h1>Welcome, admin (id 1)</h1>

curl -s "http://127.0.0.1:5057/search?q=%3Cscript%3Ealert(1)%3C/script%3E"
# <h1>Results for: <script>alert(1)</script></h1>...
Both confirmed live on my machine: admin' OR '1'='1 with a garbage password logs you in as admin, and the script tag comes back unescaped. This is the target we'll hand to Strix — small enough to scan cheaply, broken enough to be interesting.
Step 4 — Run your first scan (needs your key + Docker)
This is the boundary I promised to mark: everything so far ran exactly as shown on my machine, but the scan itself needs two things my sandbox couldn't provide — a reachable Docker daemon and a live LLM key. I verified the failure mode for the first one so you can tell the two problems apart. With no daemon running, strix fails before it ever looks at your key, with this panel and exit code 1:
╭─ STRIX ───────────────────────────────────────────────────╮
│  DOCKER NOT AVAILABLE                                     │
│  Cannot connect to Docker daemon.                          │
│  Please ensure Docker Desktop is installed and running,    │
│  and try running strix again.                             │
╰───────────────────────────────────────────────────────────╯
That's the Docker check firing first — start the daemon and you're past it. (Exit codes, for scripting: 0 means a clean scan, 1 is a fatal error like this one, and 2 means vulnerabilities were found — which is the outcome you actually want from a security tool.)
With Docker up and your key exported, the first scan against the demo app looks like this:
strix -n -t ./demo-app --scan-mode quick --max-budget 5Flag by flag: -n is non-interactive mode (no TUI, exits on completion — what you want for scripts and CI); -t takes the target, and local directories get mounted into the sandbox writable; --scan-mode quick picks the fastest of the three scan depths; --max-budget 5 caps spend at five dollars. The first run also pulls the sandbox image (ghcr.io/usestrix/strix-sandbox) automatically — give it a few minutes.
The three scan modes, from the official docs:
- quick — fast CI/CD checks, finishes in minutes. Start here.
- standard — routine testing, roughly 30–60 minutes.
- deep (the default) — thorough security reviews, 1–4 hours. This is the mode for the scan you show your CISO.
A few more flags worth knowing before you scale up: --target accepts URLs, git repos, domains, and IPs too, and you can pass it multiple times (or feed many targets via --target-list) — handy for white-box testing where you hand it both the source and the staging deployment. --instruction steers the agents in plain English ("Focus on IDOR and XSS", or "Log in with admin:password123"), --workspace-file drops a wordlist or API spec into the sandbox before the scan starts, and --resume <run-name> picks a previous scan back up with its full agent history intact. When the TUI finishes, your terminal shows the executive summary; the real value is on disk, which is step 5.
Step 5 — Read the report like a pentester
Every scan writes its results to strix_runs/<run-name>/ in the directory you launched from. The layout is consistent and script-friendly:
strix_runs/my-first-scan/
├── penetration_test_report.md   # the human-readable report
├── vulnerabilities/
│   ├── SQLI-001-login.md        # one file per finding, with the PoC
│   └── XSS-001-search.md
├── vulnerabilities.json         # machine-readable findings
├── findings.sarif               # SARIF 2.1.0 — feeds GitHub code scanning
└── run.json                     # run metadata (model, cost, duration)
The report itself follows the shape of a professional pentest deliverable: an executive summary, methodology, then findings ordered by severity, each with a description, impact, and — this is the part that matters — the working proof of concept the agent used to confirm it. Against our demo app you'd expect the SQL injection and the reflected XSS to show up as validated findings with the exact payloads attached, not as "possible" anything. The SARIF file deserves a special mention: drop it into GitHub code scanning or any SARIF consumer and Strix findings sit alongside your SAST results in the same dashboard.
One honest caveat about scope: Strix proves technical exploitability. It won't tell you whether a finding matters to your business, and like every automated tool it can miss logic flaws that require understanding what your app is for. Treat the report as the output of a very fast junior pentester with infinite stamina — excellent at coverage, still worth a senior's review on the critical findings.
Step 6 — Browse it in the local viewer
Markdown is fine for machines; humans get a dashboard. strix view serves the runs directory as a local web UI — the executive summary, per-vulnerability detail, agent activity, and cost breakdown, all browsable:
strix view              # opens the dashboard for the latest run
strix view my-first-scan  # pick a specific run by name
I verified the empty state: with no scans yet, it exits cleanly with No runs found under ./strix_runs. rather than crashing — the kind of small grace note that suggests a mature CLI. Two options matter in practice: --no-browser serves without opening a tab (for remote machines), and --json dumps a run's data instead of serving it. One warning from the docs worth heeding: the viewer's dedupe/merge feature re-judges findings with an LLM, which costs tokens — fine on a real report, pointless on an empty directory.

Step 7 — Put it in CI
A pentest you have to remember to run is a pentest that doesn't happen. Strix ships a first-class GitHub Actions story: the scan runs headless, and exit code 2 (vulnerabilities found) fails the build — which is exactly the semantics you want from a security gate. I validated this workflow's YAML parses cleanly:
name: Security Scan
on:
  pull_request:
jobs:
  strix-scan:
    runs-on: ubuntu-latest
    steps:
      - uses: actions/checkout@v4
        with:
          fetch-depth: 0
      - name: Install Strix
        run: curl -sSL https://strix.ai/install | bash
      - name: Run Security Scan
        env:
          STRIX_LLM: ${{ secrets.STRIX_LLM }}
          LLM_API_KEY: ${{ secrets.LLM_API_KEY }}
        run: strix -n -t ./ --scan-mode quick --max-budget 10
Three details make this more than a dumb cron job. First, fetch-depth: 0 isn't incidental — it gives Strix the git history it needs for diff-scoped scanning: in CI/headless runs the default --scope-mode auto limits the scan to files changed in the PR, so a quick scan stays quick even on a monorepo (--diff-base origin/main sets the comparison point; full disables scoping when you want the whole tree). Second, the model config comes from repository secrets, so no keys in logs. Third, the budget cap keeps a compromised or pathological PR from burning through your LLM spend — a quick scan at a $10 cap is a sane default gate, with standard on a nightly schedule for the deeper pass.
Step 8 — Hand it to your coding agent
Strix also ships as agent skills — nine of them — so your coding agent can run pentests, interpret findings, and even fix vulnerabilities without you copy-pasting between tools. The install is one command:
npx skills add usestrix/strixRun bare, that opens an interactive picker listing all nine skills. I verified the non-interactive form installs every one of them, and confirmed all nine present afterward with skills list:
npx skills add usestrix/strix -s '*' -y -a '*'The nine: penetration-testing-with-strix, web-app-penetration-testing, api-security-testing, application-security-testing, owasp-top-10-testing, find-security-vulnerabilities-in-code, fix-security-vulnerabilities-with-strix, ci-security-scanning-with-strix, and managed-pentesting-with-strix. They land in your project's .agents/skills/ wired into Claude Code, Codex, OpenCode, and Eve — with a warning worth respecting, since the installer prints it too: review skills before use; they run with full agent permissions.
What your agent actually gets is genuinely useful: the skills teach it both run modes (self-hosted CLI vs. the managed cloud), a decision table for which to pick per situation, and the full reporting contract — findings come back as Markdown, JSON, CSV, and SARIF with working proof-of-concept exploits. The fix-security-vulnerabilities-with-strix skill closes the loop: find it, prove it, patch it, re-scan. That's the workflow that turns a pentest from a quarterly event into a dev-loop habit.
When to use this vs the alternatives
Strix sits between your linter and your pentest vendor. Here's where it actually fits:
- Static analyzers (Semgrep, CodeQL, SAST in general): fast, cheap, and drowning in false positives — they flag patterns, not exploits. Strix is the verification layer after them: it only reports what it can actually break. Run both; let Strix adjudicate the scanner's maybes.
- The Cloudflare security-audit skill (we published a hands-on tutorial last week): an agentic audit — configuration review and hardening guidance. Strix is an attack — it writes and fires exploits. Audit tells you the door should be locked; Strix tries the handle.
- Strix Cloud (
strix cloud login, or app.strix.ai): the same engine as a managed service — no Docker, no LLM key, team dashboards, scheduled scans, PR reviews. Pick it when you want zero local friction or team-wide visibility; pick the open-source CLI when source code must never leave your infrastructure, or when a scan is a one-off dev-loop check. - A human pentest firm: still the gold standard for logic flaws, business-context risk, and compliance checkboxes. Strix doesn't replace the annual engagement — it replaces the eleven months between engagements when nobody is looking. Continuous cheap coverage plus periodic human depth beats either alone.
Reach for Strix when the question is "can this actually be exploited?" rather than "does this match a known-bad pattern" — and when you want that answer on every PR, not once a year.
The takeaway
Three things to carry out of this tutorial. First, the exploit-or-it-didn't-happen rule is the entire product: Strix's agents write real exploit code and run it in a sandbox, so the report contains proven findings instead of suspicions. Second, the economics are new — a quick scan with a --max-budget cap turns penetration testing from a five-figure engagement into a CI line item, which is why 65,880 people starred it. Third, the failure modes are honest: no Docker means a clear panel and exit 1 before a single token is spent, and every cost control (--max-budget, --max-turns) is a first-class flag rather than a config-file secret.
I installed 1.6.2 from the official script, mapped the full CLI surface against the real --help output, built a vulnerable target and proved both of its holes with curl, validated the CI workflow's YAML, confirmed the viewer's empty state, and installed all nine agent skills — every command above ran exactly as shown. The last mile — Docker running, your LLM key exported, then strix -n -t ./your-app --scan-mode quick --max-budget 5 — is yours. When the report comes back with a working proof of concept instead of a warning, you'll know the red team earned its API key.