LoopForge Local: Turn Claude Code Into a Staged Delivery Pipeline
Tencent’s LoopForge hit GitHub trending this week. Its Local edition installs a staged, human-gated delivery workflow into Claude Code with one npx command — no server, no Docker. Every step verified.
npx command installs 85 files into Claude Code, and /start-devflow runs your request through clarify, design, implement, independent review, and test, with a full artifact trail. Verified end to end: install, status, and doctor all pass on a clean machine.- Verified versions:
loopforge-cli0.2.2 (npm latest), Node 24.22.1, npm 10.9.4, Python 3.12.3. - The install was run on a clean Linux sandbox: 85 files written,
status claudeclean (files=85 changed=0 missing=0),doctorOK — no API key needed for any of it. - LoopForge: 735 stars, 115 forks, 322 commits; five releases November 9–13 (v0.3.4 to v0.3.9-rc.1); on GitHub’s daily trending page November 14, 2026.
- The workflow run itself needs your Claude Code session and API key — the install does not.
- The installed workflow files are mostly written in Chinese; commands and artifacts are English, but expect Chinese in the installed prompts.

Ask Claude Code to fix a bug and it will. Ask it to ship a feature the way a team ships one — clarified requirements, a written design, implementation, an independent review, tests, and a sign-off — and the result depends on the run. Sometimes it plans first. Sometimes it skips straight to code, reviews its own work, and stops halfway without telling you. That gap is what Tencent's LoopForge is built to close — and it is why the project is on GitHub's trending page this week.
LoopForge is a self-hosted workspace where coding agents deliver software through repeatable standard operating procedures: roles for planning, implementation, review and testing, Docker sandboxes, human approval gates, and a full run record for every requirement. The project has 735 stars, 115 forks and 322 commits, and it shipped five releases between November 9 and 13 — v0.3.4, v0.3.5, v0.3.6, v0.3.8 and v0.3.9-rc.1 — before landing on the daily trending list on November 14. The full platform needs Docker and a server. This tutorial uses the part that needs neither: LoopForge Local, which installs the same staged delivery workflow directly into the coding assistant you already use. One npx command, 85 files, no server, no API key for the install itself — and every step below was run and verified in a clean sandbox.
What you'll need#
- Node.js 20 or newer (this walkthrough used Node 24.22.1 with npm 10.9.4) and Python 3.8 or newer (3.12.3 used here).
- Claude Code installed, with your own API key or subscription. The install below needs no key; the workflow run in Step 5 runs inside your Claude Code session and bills your own tokens.
- A project directory — any real repo, or the 40-line demo CLI built in Step 4.
- About 2 MB of disk for the installed workflow files. No model downloads, no Docker, no database.
Step 1: Preview the install before it writes anything#
LoopForge's CLI has a dry-run command, and you should use it. plan prints exactly which files an install would write, without touching your project. From any directory, run:
npx -y loopforge-cli@latest plan claudeOn the sandbox machine this printed:
edition=classic host=claude source=.claude/ entry=/start-devflow files=85
  .claude/.devflow-generated.json
  .claude/README.md
  .claude/agents/devflow-architect.md
  .claude/agents/devflow-code-reviewer.md
  .claude/agents/devflow-developer.md
  .claude/agents/devflow-leader.md
  ...
85 files, all under .claude/, nothing outside your project. That is the whole footprint of the Classic edition for Claude Code. The entry point is a slash command, /start-devflow. If the list surprises you — it should not, but check — you can walk away having changed nothing.
Step 2: Install LoopForge Local into Claude Code#
Change into your project directory and run the install. This walkthrough used a fresh directory with a single app.js file in it:
npx -y loopforge-cli@latest install claudeVerified output, exactly as printed:
OK: install edition=classic host=claude project=/tmp/lf-test-project written=85 unchanged=0
Next: reopen Claude Code and run /start-devflow <your request>
The installer fetches loopforge-cli from npm — version 0.2.2 at the time of writing — and writes the workflow bundle into .claude/. No host Go or Node.js installation is required for the install itself, and Claude Code does not need to be installed yet either: the files simply wait in your project until you open it in Claude Code. Here is what the 85 files are:
| Directory | What it is |
|---|---|
.claude/agents/ | Seven role definitions: leader, architect, developer, code-reviewer, test-engineer, knowledge-engineer, solo-developer. |
.claude/commands/ | Slash commands: /start-devflow, /resume-devflow, /status-devflow, /abort-devflow, plus single-stage commands such as /design-solution, /review-code and /run-tests. |
.claude/rules/ | Per-role rules plus a global rules file that every stage must follow. |
.claude/skills/ | Bundled skills, including the brainstorming skill the clarification stage requires and an agent-observability skill. |
.claude/assets/ | devflow.defaults.yaml — the configuration you will tune in Step 7 — and the workflow-state template. |
.claude/runtime/ | The state machine spec: how stages hand off, retry, and resume. |
One honest detail before you go further: most of these files are written in Chinese — the role prompts, the stage protocols, the checklists. The commands, file names, artifact paths and state fields are in English, and Claude Code follows the Chinese instructions while working in your language, but if you open .claude/agents/devflow-architect.md expecting English prose, you will be disappointed. Tencent's team built this in Chinese first; the English surface is the commands and the outputs, not the prompt text. That is a cosmetic limitation, not a functional one — and it is the single most important thing to know before installing.
Step 3: Verify the install#
Two commands confirm the install is healthy. The first checks that all 85 files are present and unmodified:
npx -y loopforge-cli@latest status claudeclassic/claude: files=85 changed=0 missing=0The second runs the CLI's own diagnostics:
npx -y loopforge-cli@latest doctorOK: assets and installations are healthyIf status ever reports changed or missing files later — because you edited a role prompt, or a merge clobbered a file — re-run install claude with --force to restore the bundle. Installation state lives in .devflow/install-state.json, and an update refuses to overwrite files you modified on purpose, so your edits are safe by default.
Step 4: Build a demo project to run it against#
You need something real for the workflow to chew on. A single-file CLI is enough — small enough to read in one glance, real enough that a staged workflow has something to clarify, design, and test. Save this as tasks.js in your project directory:
#!/usr/bin/env node
// tasks.js — a tiny task-list CLI: node tasks.js add "Buy milk" | node tasks.js list
const fs = require("node:fs");
const FILE = "tasks.json";
function load() { try { return JSON.parse(fs.readFileSync(FILE, "utf8")); } catch { return []; } }
function save(t) { fs.writeFileSync(FILE, JSON.stringify(t, null, 2) + "\n"); }
const [cmd, ...rest] = process.argv.slice(2);
if (cmd === "add" && rest.length) { const t = load(); t.push({ id: t.length + 1, text: rest.join(" "), done: false }); save(t); console.log(`Added #${t.length}: ${rest.join(" ")}`); }
else if (cmd === "list") { const t = load(); if (!t.length) console.log("No tasks yet."); t.forEach(x => console.log(`[${x.done ? "x" : " "}] #${x.id} ${x.text}`)); }
else { console.log("Usage: node tasks.js add <text> | node tasks.js list"); process.exit(1); }
Confirm it works before involving any agent — a workflow can only be judged against a project whose baseline you trust:
node tasks.js add "Buy milk"
node tasks.js add "Review PR #42"
node tasks.js list
Added #1: Buy milk
Added #2: Review PR #42
[ ] #1 Buy milk
[ ] #2 Review PR #42Commit this baseline to git before the first workflow run. The workflow will create branches or modify files depending on your setup, and a clean baseline is what makes its output reviewable instead of alarming.
Step 5: Run your first devflow#
Open the project in Claude Code and run the entry command with a medium-sized request — one that crosses more than one concern, so the workflow has stages to run. This is a good first task for the demo CLI:
/start-devflow "Add a done command that marks a task complete, persist it in tasks.json, and cover the new command with a test"This request is deliberately medium-sized: it touches argument parsing, persistence, and tests, which is exactly the shape LoopForge routes into the full pipeline. Here is what happens next, stage by stage, as defined by the installed workflow protocol — read from the actual command file, not from marketing copy.
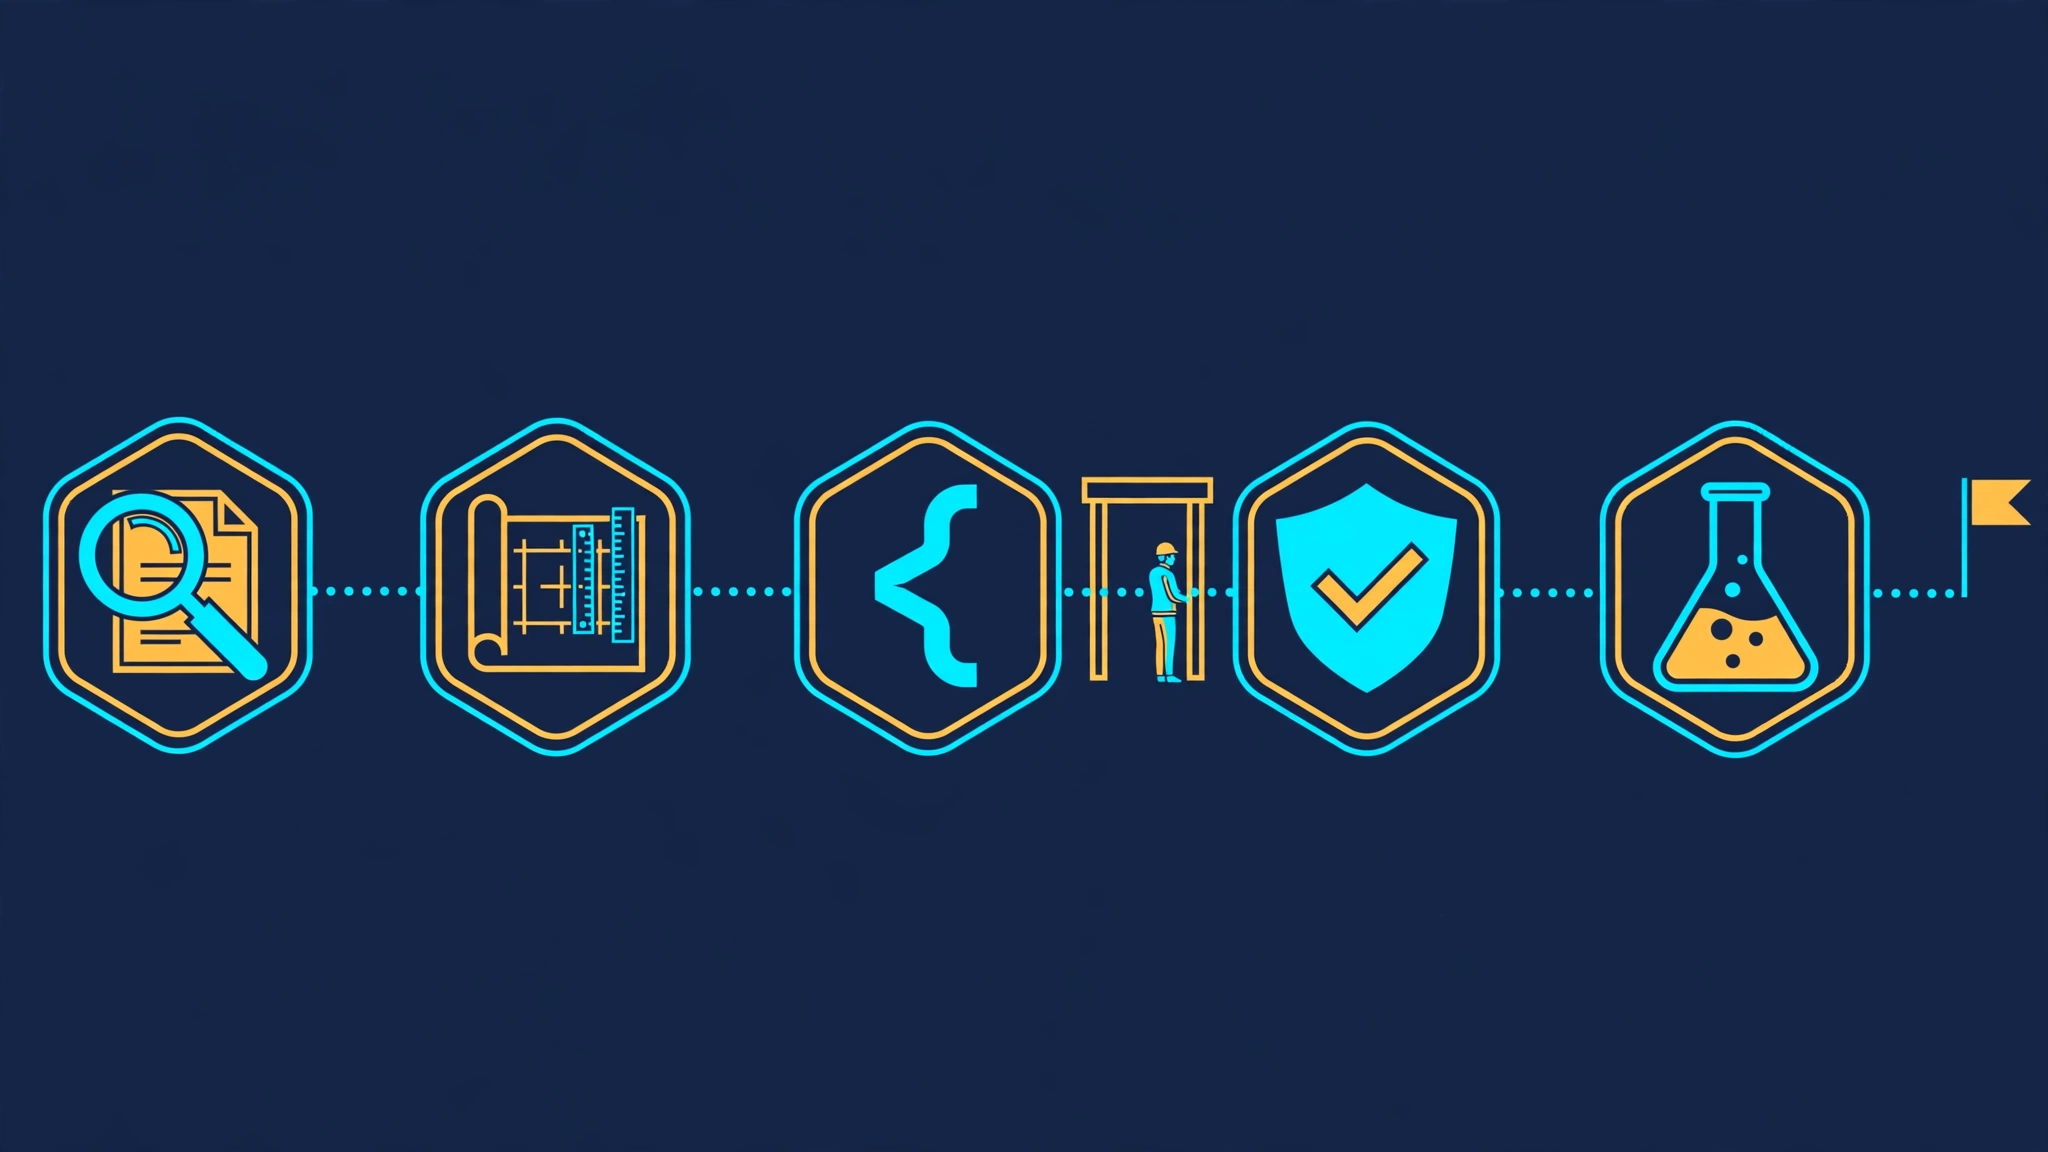
Phase 0 — scan and size. The main Claude Code thread parses your request, scans the relevant code, tests and docs, and assigns a size_class: small, medium, or large. Small changes take a streamlined path handled by a single solo-developer agent — understand, implement, verify, deliver. Medium and large tasks take the full pipeline.
TASK-01 — clarify, with you in the loop. For a medium or large task, the main thread runs a brainstorming session using the bundled brainstorming skill: it asks about the goal, scope, exclusions, key decisions, and acceptance criteria. This stage cannot be skipped, and it cannot be auto-completed on the grounds that the request was already clear enough. The workflow writes 01-requirement/requirement-report.md and then waits: it is forbidden from routing to design until you explicitly confirm the requirement. That confirmation is the first human gate, and it is the stage that prevents the classic failure mode of an agent confidently building the wrong thing.
TASK-02 — design. An architect subagent writes 02-design/tech-design.md and 02-design/execution-plan.md. The defaults also treat design completion as a manual gate (TASK-02_completed), so you get a second chance to stop or redirect before any code is written. If you asked for a plan without code — "give me the design first" — the workflow pauses here by design.
TASK-03 — implement. A developer subagent writes the code, and for larger work the workflow can spawn up to six parallel sub-developers (the default max_parallel_sub_developers: 6 in the configuration). Output lands in 03-code/ as a change report and API docs.
CODE-REVIEW — independent review. A separate code-reviewer agent checks the change against the project's rules: conventions, safety, performance, SQL. The reviewer is a different role with its own prompt and context, which is the whole point — the agent that wrote the code does not grade its own homework. If the review fails, the work routes back to the developer; if it passes, that is another manual gate (CODE-REVIEW_passed).
TASK-04 — test. A test-engineer adds and runs the tests the project's existing setup requires, and writes 04-e2e/test-report.md. Test completion is the third manual gate (TASK-04_completed).
TASK-05 and summary — knowledge and delivery. A knowledge-engineer distils anything reusable into 05-knowledge/knowledge-report.md (skipped with a recorded reason if there is nothing worth keeping), and the leader role writes workflow-summary.md — the delivery record for the whole run.
Every stage is tracked in artifacts/{task_slug}/workflow-state.json, which records the current stage, the last event, and the next target. If a session is interrupted — the process dies, you close the laptop — resume with /resume-devflow {task_slug} and the workflow picks up at the first unfinished stage instead of starting over. /status-devflow {task_slug} shows where a run stands; /abort-devflow {task_slug} stops it.
Step 6: Read the evidence, not just the diff#
When the run finishes, your project has two things: the code change, and a paper trail. Inspect the trail before you merge anything:
artifacts/add-done-command/
├── 01-requirement/
│   └── requirement-report.md
├── 02-design/
│   ├── tech-design.md
│   └── execution-plan.md
├── 03-code/
│   ├── change-report.md
│   └── api-docs.md
├── 04-e2e/
│   └── test-report.md
├── 05-knowledge/
│   └── knowledge-report.md
├── workflow-state.json
└── workflow-summary.md
Read the requirement report first and check it against what you actually asked for — that is the document the whole run was built to satisfy. Then read the review findings in 03-code/change-report.md and the test report. The workflow-state.json file is the machine-readable version of the same story: stage statuses, retry counts, artifact paths, and the decision log. LoopForge also ships an agent-observability skill that can build a local dashboard of session activity, token and cost trends, and stage attribution — but that dashboard is documented for the CodeBuddy host, not for Claude Code, so in a Claude Code project the artifact directory and the state file are your evidence.
Step 7: Tune it, update it, and use it on other hosts#
The behaviour you just ran is configuration, not magic. Open .claude/assets/devflow.defaults.yaml and the levers are plain to see:
manual_gates— the three default gates:TASK-02_completed(design),CODE-REVIEW_passed(review),TASK-04_completed(tests). Remove one and that stage auto-continues; add a stage name to gate it.max_parallel_sub_developers: 6— the ceiling on parallel implementation agents. Lower it to 2 or 3 if you want cheaper, more sequential runs.auto_mode— true for both solo and multi-agent paths by default, meaning stages advance without asking except at the gates.compact_after_brainstorming: true— after clarification, the main thread drops the brainstorming transcript from context so the dispatch loop starts light; the decisions already live on disk in the requirement report.
Keep the workflow current and remove it cleanly with the same CLI:
npx -y loopforge-cli@latest update claude
npx -y loopforge-cli@latest uninstall claude
An update stops instead of overwriting files you edited, so inspect the conflict before forcing it. And the same installer covers the other hosts: install codebuddy, install codex (entry $devflow-codex), and install cursor all install the Classic edition with the /start-devflow entry point. Pi, DeepSeek Harness and Hermes Agent use the Portable edition instead — npx -y loopforge-cli@latest skills install pi, for example — which installs the same workflow as a portable Agent Skill with the /devflow entry point. One edition per agent per project: switching editions needs --force.
When to use this vs alternatives#
| Approach | Use it when |
|---|---|
| LoopForge Local (this tutorial) | You work alone or in a small team, inside one coding assistant, and you want staged delivery with gates and a paper trail — without running a server. |
| Bare Claude Code / Codex / Cursor | One-off edits, questions, and small fully-specified changes. The workflow's own docs say the same: for a tiny edit, the agent directly is often enough, and small tasks inside LoopForge take the streamlined solo path anyway. |
| Full LoopForge platform | A team sharing chat workspaces, SOPs, approvals and history. That needs Docker and Python 3, runs on port 8090 with MySQL, and adds the visual SOP designer, scheduled agent tasks, and cost reports. The demo project runs without an API key. |
| Other agent frameworks | If your workflow is not software delivery — data pipelines, content, research — LoopForge is the wrong shape. It is built for code, reviews, tests and PRs, and says so in its own FAQ. |
Caveats, stated plainly#
- The workflow prompts are mostly Chinese. The system works in English sessions, but expect Chinese in the installed files and, occasionally, in agent reasoning. If that is a deal-breaker, wait for an English-first release — the project is moving fast enough that one is plausible.
- The workflow run is not free. Install costs nothing; the run bills your Claude Code tokens across several subagents. A medium task with design, implementation, review and testing uses meaningfully more tokens than a single prompt. The observability skill exists for a reason: check what a run cost before making it your default.
- Classic host configurations can enable high-permission agent modes. LoopForge's own docs say to use it only in trusted projects and to inspect the plan before installing. Do not put credentials, private endpoints or production operations config in workflow templates.
- The full platform is a bigger commitment. Docker sandboxes run through the host Docker socket, which grants control of the host daemon — the docs flag this as suitable for trusted teams, not untrusted multi-tenant isolation. The Local edition in this tutorial has no such surface: it is files in your project.
- It is young. 735 stars and five releases in five days is momentum, not maturity. The 0.2.2 CLI and the 0.3.x platform are both pre-1.0, and the workflow protocol will change. Pin the version you verified and re-run
statusafter updating.
The takeaway#
LoopForge's idea is unfashionable in the best way: it treats the coding agent as a junior engineer who needs a process, not a magician who needs a better prompt. Clarify before building, design before coding, review with a different agent than the one that wrote the code, test before accepting, and keep the receipts. The Local edition is the honest way to try that idea — one npx command, 85 files in your project, no server, and a first run that produces a requirement report, a design, reviewed code, a test report, and a summary you can actually read. Install it, run one medium task through it, and judge it on the artifacts. If the paper trail is thinner than the diff, it did not earn its place; if the trail catches a wrong assumption before it becomes code, it just paid for itself.
Frequently asked questions
Do I need an API key or a server to try LoopForge Local?
No server, and no API key for the install: npx loopforge-cli install claude only writes files into your project. The workflow run itself executes inside your Claude Code session, so it uses your own API key or subscription and bills your tokens.
Will LoopForge Local work with Codex or Cursor instead of Claude Code?
Yes. The same CLI installs the Classic edition for CodeBuddy, Codex, and Cursor, all with the /start-devflow entry point (Codex uses $devflow-codex). Pi, DeepSeek Harness, and Hermes Agent use the Portable edition instead, installed with loopforge skills install and started with /devflow.
Why do the installed workflow files contain Chinese?
Tencent's team built LoopForge in Chinese first. The role prompts, stage protocols, and checklists are mostly Chinese, while the commands, file names, artifact paths, and state fields are English. Claude Code follows the Chinese instructions while working in your language, so it runs fine in English sessions — but expect Chinese when you open the installed files.