CLI-Anything: turn any desktop app into a tool your AI agent can actually use
Your coding agent can read docs, write code, and call APIs — but it cannot drive Blender, edit a spreadsheet in LibreOffice, or fix a 3D-print mesh, because those programs speak GUI, not text. CLI-Anything is a registry of agent-native CLI harnesses for real desktop software: pip-installable command lines with JSON output, interactive REPLs, undo/redo, and SKILL.md files agents can load. In the next twenty minutes you will install the hub, generate a shareable architecture diagram, and detect and resize a mounting hole in a 3D-print file — every step executed on a plain Linux VM.

The agent era has an interface problem. Nearly all professional software was designed for hands and eyes: menus, canvases, dialogs. An AI agent gets none of that — it gets text in and text out. The usual answers are screen-scraping computer-use agents (slow, brittle, expensive) or waiting for every vendor to ship an MCP server (most never will). CLI-Anything takes the third path: wrap the software in a command-line interface designed for agents from the start — structured JSON output a model can parse, a REPL for exploration, and a SKILL.md file that teaches a coding agent the tool's vocabulary. Then distribute those wrappers through a package-manager-style hub.
Why this is blowing up now#
CLI-Anything (HKUDS/CLI-Anything, Apache-2.0) sits at 50,721 stars (checked September 27, 2026) and I found it on both GitHub's daily and weekly trending pages today — rare air for a project that is essentially plumbing. Created in March 2026, it has grown into a registry of 40+ harnesses spanning 3D (Blender, FreeCAD), audio (Audacity, ElevenLabs), office (LibreOffice, Calibre, Zotero), GIS (QGIS, ArcGIS Pro), devops (PM2, n8n, 1Password CLI), diagrams (Mermaid, draw.io), and AI tooling (ComfyUI, Ollama, MiniMax). The repo's own tagline is the thesis in one line: "Today's Software Serves Humans. Tomorrow's Users will be Agents." There is even an accompanying tech report on arXiv (2606.03854) if you want the formal version.
The spike makes sense once you see the gap it fills. MCP servers are the fashionable answer to agent tooling, but they require vendor cooperation and a running server per tool. A CLI harness is dumber and more robust: it is just a program your agent can already execute, with output formats a model can already parse. Every harness in this registry follows the same contract — --json for machine-readable output, a REPL, and a skill file — so an agent that learns one harness can drive them all.
What you'll need#
- Python 3.10 or newer and pip (I used 3.12 on Linux; macOS and Windows are supported).
- Node.js 16+ only if you pick a harness that needs it — the two I use below do not.
- No API keys, no accounts, no GPU. Everything below runs locally. Cost: $0.
- About 20 minutes. The hub itself is a small pip package; individual harnesses pull only their own dependencies.
Step 1: Install the hub#
pip install cli-anything-hub
cli-hub --version   # cli-hub 0.4.1
The install is clean — one small package, no daemon, no background services. cli-hub works like a package manager for agent tools. These are its commands, straight from --help (I ran every one):
cli-hub list        # browse the whole registry
cli-hub search diagram   # search by name, description, or category
cli-hub info mermaid     # inspect one CLI: requirements, entry point, skill
cli-hub install mermaid  # install it
cli-hub launch mermaid   # run an installed CLI, passing args through
cli-hub update mermaid   # update to the latest version
cli-hub uninstall mermaid
cli-hub matrix      # curated multi-CLI workflow packs (e.g. video-creation)
cli-hub can         # find a capability across all matrices for a task
One environment note: install the hub and the harnesses into the same Python environment (a venv, or pip install --user for both). cli-hub launch finds installed CLIs via your PATH — when I ran it from a shell where the venv wasn't activated, it correctly reported the entry point as not found; with the venv on PATH, cli-hub launch mermaid -- diagram --help passes arguments straight through to the harness.
Step 2: Browse the registry#
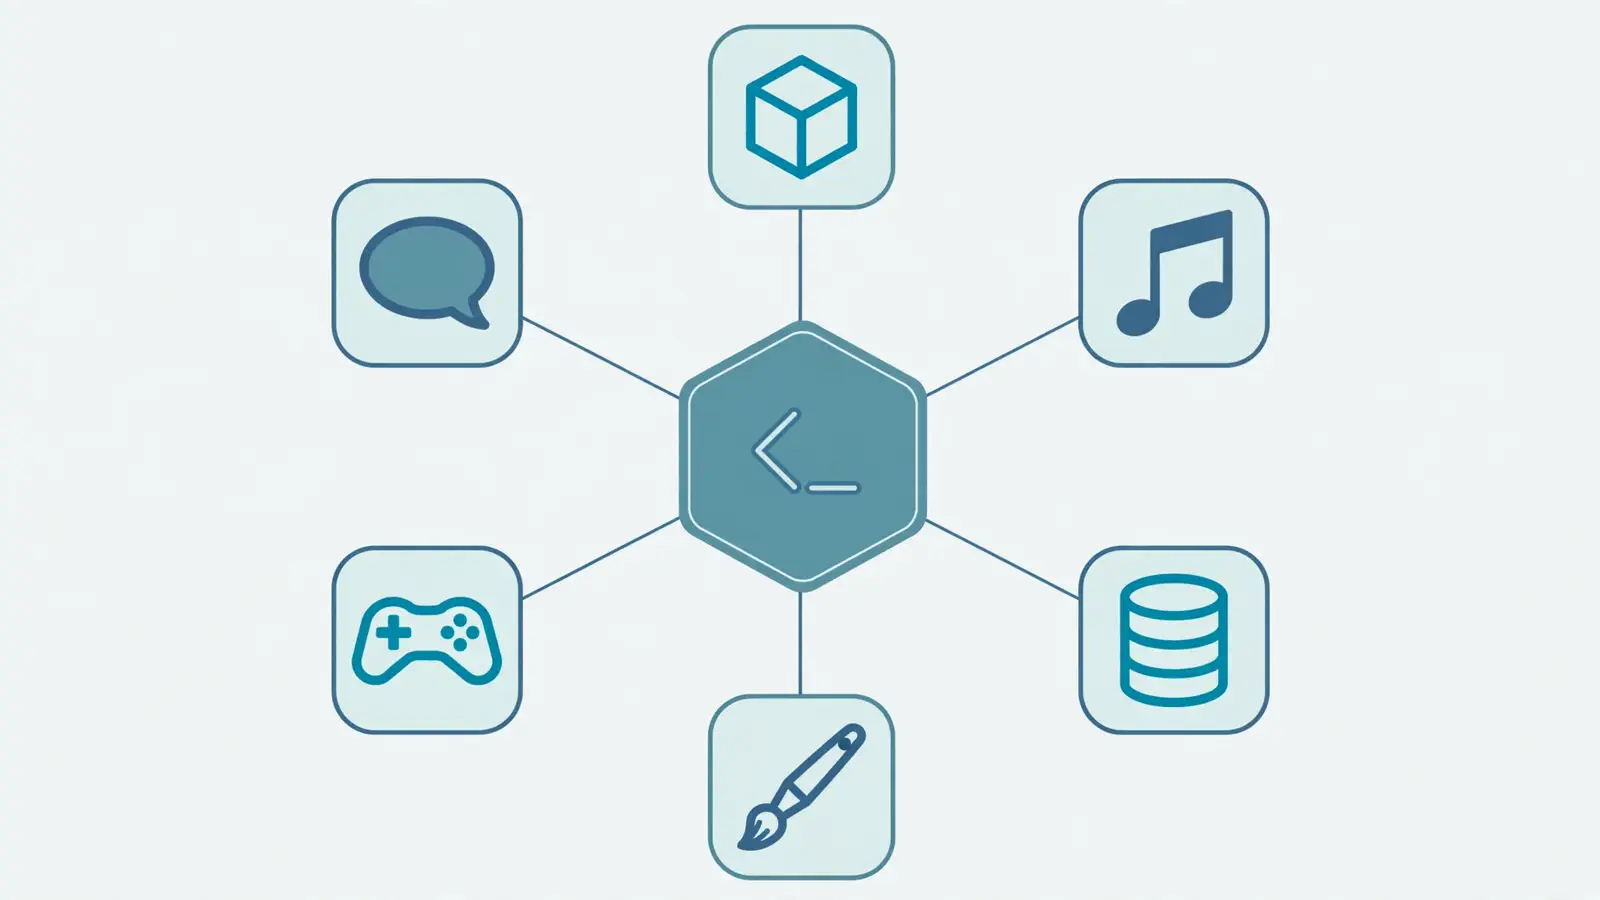
cli-hub list prints the catalog grouped by category — 3D, AI, audio, automation, communication, database, design, devops, diagrams, finance, gamedev, graphics, image, knowledge, music, network, office, productivity, science, and more. cli-hub search diagram narrows it fast:
$ cli-hub search diagram
  drawio [diagrams] — Diagram creation and export via draw.io CLI
    Install: cli-hub install drawio
  ● mermaid [diagrams] — Mermaid Live Editor state files and renderer URLs
    Install: cli-hub install mermaid
Before installing anything, read the Requires line in cli-hub info — this is the single most important habit with this registry, because harnesses vary wildly in what they drag along:
$ cli-hub info mermaid

  Mermaid
  Mermaid Live Editor state files and renderer URLs
  Category:    diagrams
  Source:      harness
  Version:     1.0.0
  Requires:    nothing
  Entry point: cli-anything-mermaid
  Skill:       skills/cli-anything-mermaid/SKILL.md
Requires: nothing — that is the dream entry. Contrast it with gimp ("install that upstream application too", per the README) or the chromadb harness ("ChromaDB server running at localhost:8000"). Every harness also ships a SKILL.md — the file your coding agent loads to learn the tool. I will come back to that in Step 5.
Step 3: Your first agent-native CLI — diagrams as shareable URLs#
The mermaid harness turns diagram source into Mermaid Live Editor projects and shareable renderer URLs — exactly the kind of artifact an agent produces when a human asks "draw me the architecture." Install it and create a project from a built-in sample:
cli-hub install mermaid
# ✓ Installed Mermaid (cli-anything-mermaid)
#   Run it with: cli-anything-mermaid

cli-anything-mermaid project new --sample flowchart -o flow.json
That prints a short human-readable summary and writes flow.json — a Mermaid Live Editor state file with real diagram source inside:
{
  "code": "flowchart TD\n  A[Start] --> B{Ready?}\n  B -->|Yes| C[Run test]\n  B -->|No| D[Fix input]\n",
  "mermaid": "{\n  \"theme\": \"default\"\n}",
  "updateDiagram": true,
  "rough": false,
  "panZoom": true,
  "grid": true
}
Swap in your own diagram with diagram set, then generate the share URL — this is the moment the CLI earns its "agent-native" label, because the agent hands the human a link, not a file:
cli-anything-mermaid --project flow.json export share --mode viewGenerated share URL
action: share
mode: view
url: https://mermaid.live/view#pako:eNpFjcEOgjAQRH9ls2f4gR40IvHoAb0o5bChCzSBlpQ2aoB_t73obWbeZGbF1ipGgd1oX-1AzsO9lAbgVN98dA3k-QGKtWJSn-OeSJGi7cHLBue6CgY8L775k6vdoKwv-g3azCERzHBiN5FW8WhNTYl-4IkliigVdxRGL1GaPVbDrMhzqal3NKHwLnCGzoZ-QNHRuEQ3k3la-4O9S8tJ71-9LUVfI verified that URL is genuine, not decorative: decoding the base64url pako: payload and inflating it returns the exact diagram source above, so pasting the link into a browser renders the flowchart on mermaid.live. And for the agent itself, every command takes a global --json flag that replaces the human-readable summary with machine-parseable output:
cli-anything-mermaid --json --project flow.json export share --mode view{
"action": "share",
"mode": "view",
"url": "https://mermaid.live/view#pako:eNpFjcEOgjAQRH9ls2f4..."
}(URL truncated here; the real value is the full link shown above.) That dual output — friendly for you, JSON for the model — is the contract every CLI-Anything harness follows, and it is why an agent can chain these tools without a human in the loop.
Step 4: Mesh surgery — detect and resize a 3D-print hole#
Diagrams are the gentle on-ramp; the 3mf harness shows the other end of the spectrum — real engineering work on 3D-print files, the kind of thing you would normally do by hand in CAD. Install it:
cli-hub install 3mf
# ✓ Installed 3MF (cli-anything-3mf)
#   Run it with: cli-anything-3mf
You need a test file. I generated one with trimesh — a 20×20×5 mm bracket plate with a 4 mm cylindrical through-hole:
pip install trimesh manifold3d networkx lxmlimport trimesh
box = trimesh.creation.box(extents=(20, 20, 5))
hole = trimesh.creation.cylinder(radius=2, height=6)
mesh = box.difference(hole, engine="manifold")
mesh.export("bracket.3mf")(manifold3d provides the boolean engine, networkx and lxml are needed for 3MF export — trimesh's error messages tell you exactly which is missing.) Now inspect the part:
cli-anything-3mf info bracket.3mfFile: bracket.3mf Unit: millimeter
Object 1: geometry_0
Vertices: 72
Faces: 144
Bounding box: [-10.00, -10.00, -2.50] to [10.00, 10.00, 2.50]
Dimensions: 20.00 x 20.00 x 5.00 mm
Watertight: True
Volume: 1937.57 mm3
Surface area: 1237.76 mm2Every number checks out against the source geometry — 20×20×5 mm bounding box, watertight, and the volume matches the boolean result (2000 mm³ minus the cylinder) to within a tenth of a cubic millimeter. Now the interesting part: hole detection.
cli-anything-3mf inspect bracket.3mf --axis 2 --min-diameter 1File: bracket.3mf Object: geometry_0
Detected 1 hole(s):
Hole 0:
Diameter: 3.994 mm
Center: (-0.000, -0.000)
Axis: Z [-2.50 .. 2.50]
Confidence: 1.00
Vertices: 64Two things worth knowing here, both found the hard way. First, the hole axis matters: --axis 2 selects the Z axis (0=X, 1=Y, 2=Z), matching how the hole was cut. Second, --min-diameter has a default that missed my 4 mm hole entirely — the first inspect with defaults reported zero holes. Dropping it to 1 mm found it at 3.994 mm (the 0.006 mm shortfall is the polygonal approximation of the cylinder, not a bug) with confidence 1.00. If your inspect comes back empty, lower --min-diameter before concluding there is no hole.
Resize the hole to 6 mm and verify the edit took:
cli-anything-3mf resize bracket.3mf -h 0 -d 6 -o bracket_6mm.3mf \
  --axis 2 --min-diameter 1
# Resized 1 hole(s) to 6.0mm
#   Hole 0: 3.994mm -> 6.000mm (64 vertices)
# Saved: bracket_6mm.3mf

cli-anything-3mf inspect bracket_6mm.3mf --axis 2 --min-diameter 1
#   Hole 0:
#     Diameter:   5.991 mm
#     Confidence: 1.00
The re-inspection reads 5.991 mm — the resize moved the 64 hole vertices outward and the detector confirms the new diameter. A full CAD edit — detect, measure, resize, verify — driven entirely by text commands an agent can run unattended. The harness also has compare (diff two 3MF files) and repair (degenerate faces, duplicate vertices, normals) commands I did not need here.

Step 5: Hand the registry to your coding agent#
Using harnesses yourself is only half the story — the point is that your agent uses them. CLI-Anything ships a meta-skill that teaches any SKILL.md-compatible agent (Claude Code, Codex, Cursor, OpenClaw, Nanobot, and others) how to discover and drive the registry. One command installs it:
npx skills add HKUDS/CLI-Anything --skill cli-hub-meta-skill -g -yI ran this and it landed at ~/.agents/skills/cli-hub-meta-skill/SKILL.md (115 lines). The skill teaches the agent a preflight discipline — cli-hub search before cli-hub install, read the Requires line before assuming anything works — and documents matrices: curated multi-CLI workflow packs (e.g. a video-creation matrix mapping intents like text.transcribe or visual.generate to the right harness, library, or cloud API). After installing, you prompt the agent in plain language:
Find appropriate CLI software in CLI-Hub and complete the task: ...and the agent does the browsing, installing, and driving itself. The skill also covers the previews command for inspecting live sessions — useful when a harness wraps a long-running process.
Step 6: When the registry doesn't have your app#
The registry has 40+ harnesses, but the long tail of software is infinite. For that, CLI-Anything provides a generator: a 7-phase pipeline (analyze the target's source, design command groups and state model, implement a Click CLI with REPL/JSON/undo-redo, plan and write tests, document, publish) that builds a new harness for any software. It runs inside a supported coding agent — the documented path is the Claude Code plugin:
/plugin marketplace add HKUDS/CLI-Anything
/plugin install cli-anything
/cli-anything ./gimp
One honest boundary: I did not run the generator hands-on for this tutorial, because it executes inside a coding-agent session (Claude Code, Cursor, Codex, and the others listed in the README) rather than as a standalone command I could verify in my sandbox. The commands above are the project's documented entry points, and the pipeline's phases are quoted from its README. Treat the generator as the documented next step once you have a coding agent handy — everything in Steps 1–5 above is the part I verified end to end.
Honest caveats from the registry#
A community registry of this size has rough edges, and I hit two while testing. The sketch harness (generate Sketch design files) fails to install — its registry entry feeds pip an invalid requirement (sketch/agent-harness, which pip reads as a filesystem path) and the install aborts. The chromadb harness installs cleanly and its collection create works against a local ChromaDB server, but document add fails with an HTTP 422: the current ChromaDB server requires embeddings to be computed client-side, and the harness sends documents without them. Both are upstream issues to check before you build on those entries — and both are exactly why Step 2's cli-hub info habit matters: Requires tells you the price of admission, but only running the commands tells you whether the harness has kept up with its upstream.
When to use this vs the alternatives#
| Approach | Best for | Cost / footprint | Honest limitation |
|---|---|---|---|
| CLI-Anything harnesses | Giving agents text control over GUI/desktop software today, with zero vendor cooperation | pip installs; some harnesses need the upstream app or an API key | Community registry: entry quality varies (I hit two broken ones); coverage is 40+, not infinite |
| MCP servers | Deep, vendor-blessed integrations with auth, resources, and sampling | One server process per tool; growing ecosystem | Needs the vendor (or a volunteer) to build and maintain each server |
| Computer-use agents (screen control) | Software with no API and no CLI surface at all | High latency, vision-model cost per action | Brittle — a UI redesign breaks everything; slow for bulk operations |
| Hand-rolled wrappers | One specific internal tool with unusual requirements | Your maintenance burden, forever | You reimplement JSON output, REPL, docs, and skills from scratch |
Reach for CLI-Anything when the software already exists, has no agent story, and you want your coding agent driving it this afternoon rather than after a vendor roadmap ships. Reach for MCP when a first-party server exists — it will be deeper. Reach for computer use only when there is genuinely no programmatic surface to wrap. And if your need is one weird internal tool, the generator (Step 6) is the honest middle path between adopting a harness and hand-rolling one.
The takeaway#
The bet CLI-Anything makes is that the command line — boring, textual, scriptable — is the interface agents were always going to use, and that the fastest way to agent-proof the world's software is to wrap it rather than wait for it to change. After driving two harnesses end to end, the bet looks reasonable: a shareable diagram URL from a JSON state file, and a measured, resized, re-verified 3D-print hole, both produced by commands a model can emit and parse. Install the hub, read the Requires line, verify the harness against its upstream before you depend on it — and then let your agent do the clicking it was never good at.