Turn your coding agent into a film crew: hands-on with OpenFilm, the open-source AI video agent
OpenFilm turns your coding agent into a film crew: a film is an HTML file, each shot a web page with one function, frame(t), and a real editor lets you change anything. We installed 0.3.2, wrote a four-second film by hand, and rendered a real 1920×1080 MP4 — no account, no API key, no video model.
frame(t), and Studio is a real editor for both. We installed 0.3.2, wrote a four-second film by hand, rendered a genuine 1920×1080 MP4 in 19.6 seconds, verified the frames are deterministic with look, and searched the free CC0 music and sound library. Total cost: $0, no account, no API key.- OpenFilm 0.3.2, created October 4, 2026: 7,984 stars, 777 forks, about 2,200 stars gained in the week to November 17, 275 commits, 16 releases, MIT license.
- A film is a folder with
film.html; each<section>is a track, each element a clip, and each shot is a page that draws any moment withframe(t)— one rule: the sametalways draws the same picture. - Verified end to end on a CPU-only VM:
doctorpassed (Node v24.22.1, ffmpeg 8.1.2), a hand-written 4-second film rendered to a real MP4 — 120 frames, 1920×1080, libx264, 19.6 s, 62,419 bytes. lookdrew 12 frames twice in two shuffled orders and confirmed determinism;getsearches a free CC0 library (about 5,400 sound effects, 1,587 stickers) with no keys connected.- Verified gotchas: the headless-Chromium download can stall near 90% (curl resume + manual cache install fixes it), the download stages through the system temp dir, and render leaves a Studio server running on localhost.

Video models will happily invent you a clip. What they will not do is let you change it: ask for the same shot with the title two seconds later and you get a different video. OpenFilm, a six-week-old open-source project, takes the opposite bet. It turns your coding agent into a film crew, and the film it makes is a web page — which means every shot is editable, every frame is reproducible, and nothing is a black box.
The numbers explain why it is blowing up now. OpenFilm was created on October 4, 2026; by November 17 it had 7,984 stars and 777 forks on GitHub, gaining about 2,200 stars in a single week, with 275 commits and 16 releases behind it. The idea is disarmingly simple: a film is a folder containing a film.html file, each shot is a web page that draws any moment of itself with one function, frame(t), and a local editor called Studio shows the film taking shape while you — or your agent — change anything in it. No video model, no render farm, no account.
Everything below was run end to end on a CPU-only sandbox VM: OpenFilm 0.3.2 installed through npx, a four-second film written by hand, a real 1920×1080 MP4 rendered from it, a determinism check that draws every frame twice, and a search of the free music and sound library. No account was created, no API key was entered, and no video model was involved anywhere in that path. Where a step depends on something this sandbox could not do, the article says so instead of pretending.
What you’ll need#
- Node.js 22.2 or newer. Verified here on Node v24.22.1.
- ffmpeg on your PATH. Verified here on ffmpeg 8.1.2. OpenFilm shells out to it for the final encode; the desktop app bundles it, so this is only a CLI-install requirement.
- git. Studio uses it for saved versions of a film.
- A browser — Chrome or Edge — for Studio. Studio is a local web app; the films are drawn by the same engine they are exported with, so the preview is what you export.
- About 120 MB of download, once. The first render downloads a headless Chromium (114.2 MB). After that it is cached.
- No account, no API key, no GPU for everything in Steps 1–5. Generated voice, music, images, and video need your own keys with the services that make them (ElevenLabs, OpenAI, Google, fal.ai, OpenRouter, and others) or an OpenFilm sign-in — Step 5 explains the split.
Step 1: Install and check#
There is no global install step. The CLI runs straight from npx, and its help output is the contract — it lists every command and the exit codes:
npx -y openfilm@latest --helpnpx -y openfilm@latest — a film is a function of time: given t, it draws that moment
npx -y openfilm@latest open [folder | url] start or open a project; Studio shows it to the person
npx -y openfilm@latest look [what] [t | a-b] check the film and draw it: a contact sheet with its sound and loudness
npx -y openfilm@latest render [a-b] the MP4, saved beside film.html
npx -y openfilm@latest get [what] [--options] media: free from OpenFilm's library (music, sounds, transitions…), else a connected service
npx -y openfilm@latest canvas [apply <steps>] the canvas beside the edit: read it, or lay out notes, files and what to make on it
npx -y openfilm@latest skills the skills this film can be made with; `openfilm skill <name>` prints one
npx -y openfilm@latest update the newest OpenFilm; Studio starts again on it
npx -y openfilm@latest doctor what this computer has for OpenFilm, to paste into an issue
Run with no arguments for the manual; `npx -y openfilm@latest <command> --help` for one command's options; --version for the version.
look, render, get and canvas work on the project around the current folder.
Exit status: 0 done, 1 the film or the command failed (the output says why), 2 not a project or a wrong command.Then run the health check. doctor audits the machine the way a good installer should — versions, binaries, and what is still missing:
npx -y openfilm@latest doctorOpenFilm doctor
✓ OpenFilm 0.3.2 (npm; run as npx -y openfilm@latest)
✓ Node v24.22.1 (/usr/bin/node)
✓ ffmpeg 8.1.2
✓ ffprobe 8.1.2
✓ Hardware ffmpeg encodes on the processor; decodes on the processor
✗ Browser not downloaded yet
✓ Data ~/.openfilm (not made yet)
✓ Projects ~/Videos/OpenFilm/Projects (not made yet), 41 GB free
✓ Network npm reachable
To fix:
Browser: `npx -y openfilm@latest open` downloads it (about 100 MB, once)Everything passes except the browser, which the first render downloads. If you would rather install once and forget it, npm i -g openfilm puts the same CLI on your PATH. The desktop app for macOS and Windows, downloadable from openfilm.dev, bundles ffmpeg and the headless browser, so on those platforms there is nothing else to install at all.
Step 2: Write a film by hand#
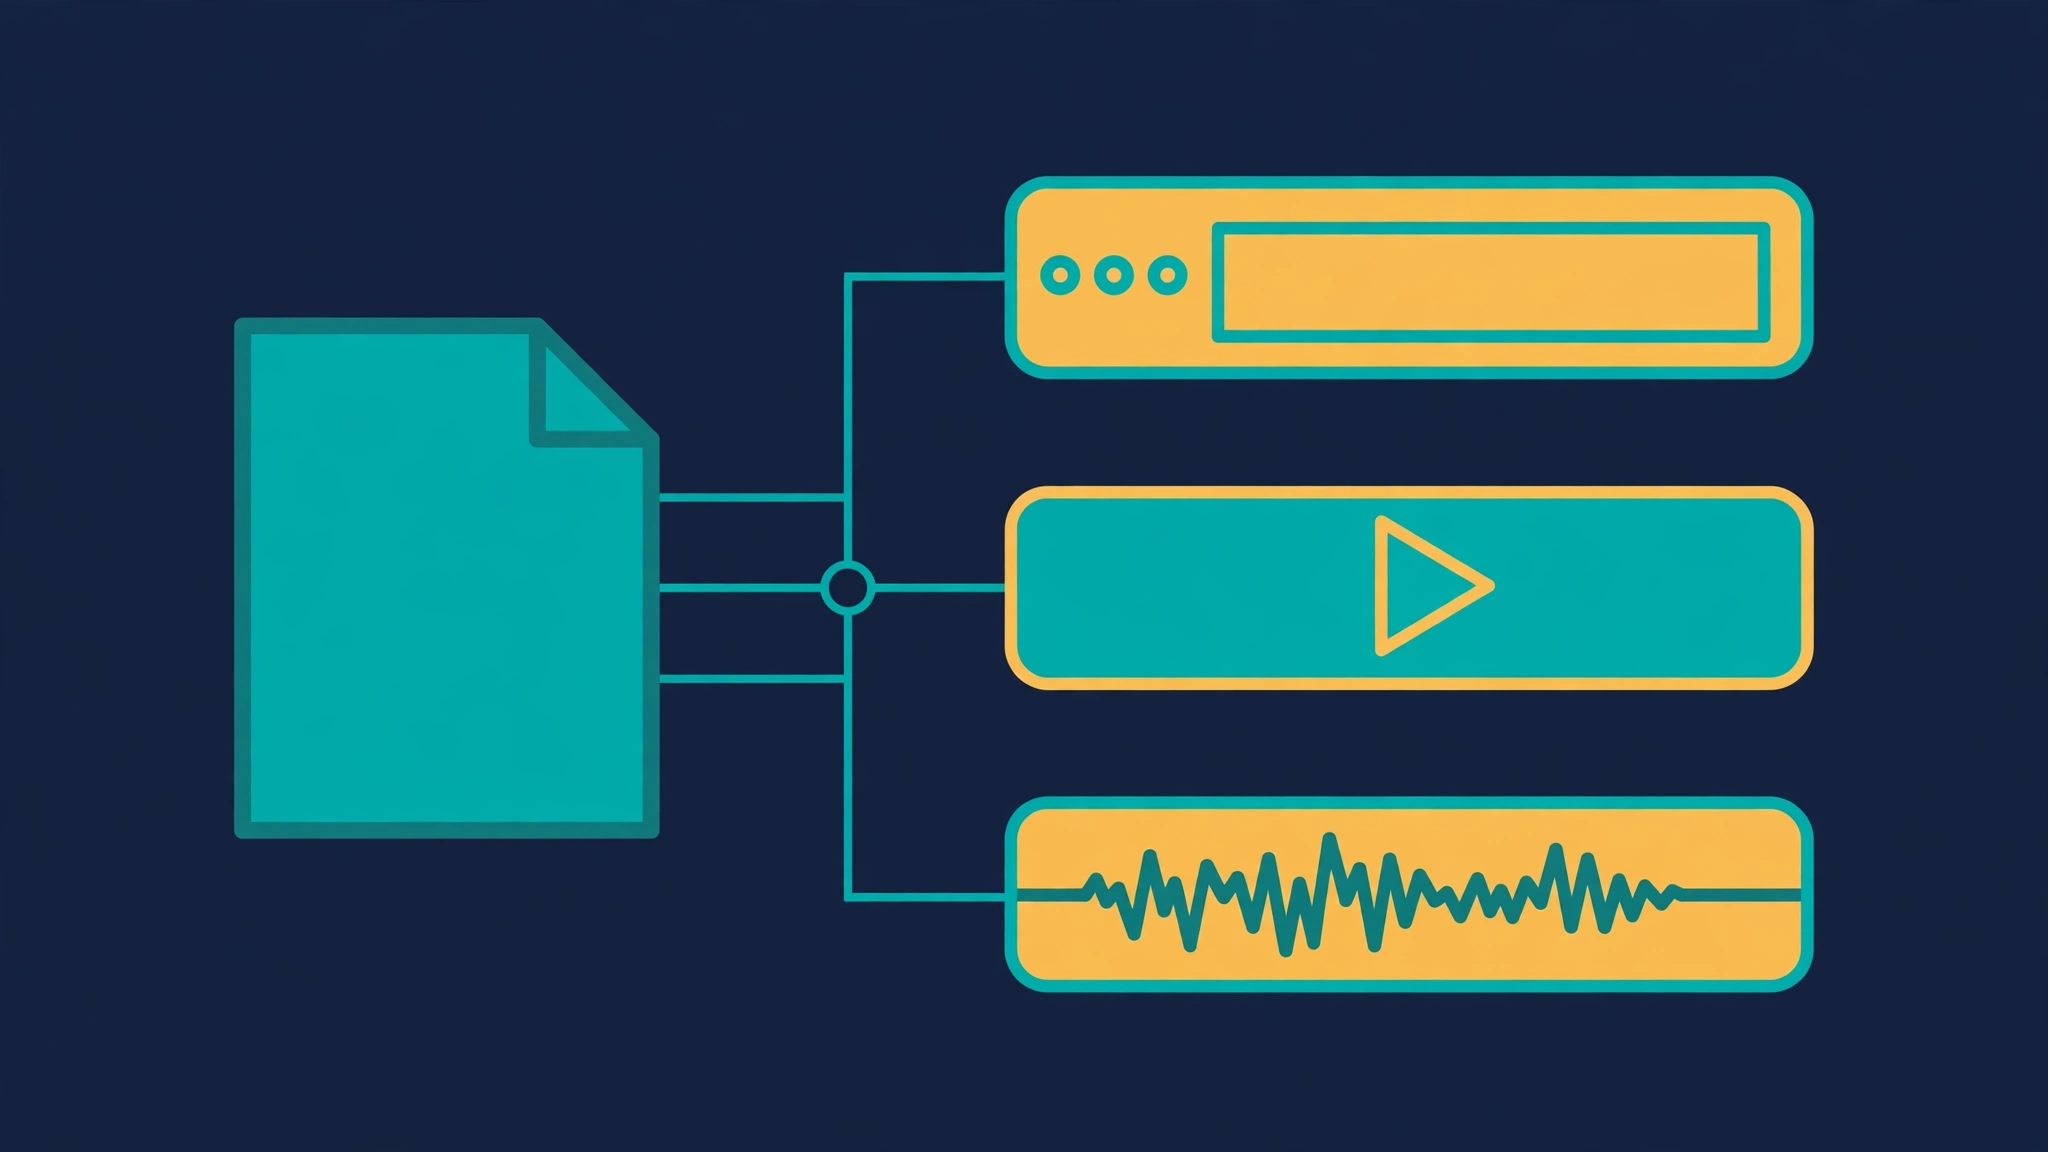
Before handing anything to an agent, write the smallest possible film yourself. The format is the whole contract, and it fits in two files. A film is a folder with a film.html: each <section> is a track, each element inside it is a clip, and a clip can be a page, a video, a still picture, or a sound. Where a clip sits is its style, which part of its file plays is a media fragment (#t=12,18), where it starts is at, and how fast it plays is speed. Save this as film.html in a folder called myfilm:
<!doctype html>
<html>
<head><meta charset="utf-8">
<meta name="viewport" content="width=1920, height=1080">
<style>
  body { margin: 0; background: #0b1020; }
  .card { position: absolute; left: 0; top: 0; width: 1920px; height: 1080px; }
</style>
</head>
<body>
<section>
  <iframe class="card" src="pages/title.html#t=0,4"></iframe>
</section>
</body>
</html>
Each shot is a page that draws any moment of itself. A page is a web page that sets window.film with one function, frame(t), plus an optional duration. Save this as pages/title.html — a title card that fades in and rises over four seconds:
<!doctype html>
<html>
<head><meta charset="utf-8">
<style>
  body { margin: 0; width: 1920px; height: 1080px; background: #0b1020;
         display: flex; align-items: center; justify-content: center;
         font-family: sans-serif; }
  h1 { color: #fff; font-size: 120px; }
</style>
</head>
<body>
<h1 id="t">Hello, OpenFilm</h1>
<script type="module">
  window.film = {
    frame(t) {
      const el = document.getElementById('t');
      el.style.opacity = Math.min(1, t).toFixed(3);
      el.style.transform = `translateY(${(1 - Math.min(1, t)) * 60}px)`;
    },
    duration: 4
  };
</script>
</body>
</html>
The format has exactly one rule, and it is the reason the whole tool works: the same t always draws the same picture, whatever was drawn before. Frames are asked for out of order, in parallel, and between frames for motion blur — so a page that keeps the rule renders identically at any size, on any machine. A page that keeps state between frames, or reads the clock, breaks the rule and will render inconsistently. Anything a browser can draw is fair game inside frame(t): three.js, WebGL, canvas, SVG, CSS, GSAP, video. Anything else that makes pictures — Python, Blender, a video model — comes in as video or images.
Step 3: Render it#
Render from inside the film's folder. The first run downloads the headless Chromium and then draws every frame:
cd myfilm
npx -y openfilm@latest render
rendering 120 frames with 1 browser…
12/120 frames · about 11 s left
...
108/120 frames · about 2 s left
→ myfilm.mp4
120 frames · 4s at 30 fps · 1920×1080 · 1 worker · libx264 · 19.6 sThat is a real file, not a preview: myfilm.mp4, 62,419 bytes, confirmed with ffprobe at exactly 4.000 seconds. The title card fades in and rises exactly as the code says — the frame extracted at two seconds shows “Hello, OpenFilm” at full opacity, the fade-and-rise finished at the one-second mark. The whole film goes to <folder name>.mp4 beside film.html; a range such as render 3-6 goes to .film/cache/render/ instead.
The render flags come from render --help, and they cover the obvious needs without a second tool: --fps sets the frame rate including decimals such as 29.97 (default 30); --4k renders 3840 px wide and --scale takes any device pixel ratio; --blur adds motion blur with 8 samples (--samples and --shutter 0..1 tune it); --alpha exports a transparent background as .webm or .mov; --workers runs parallel browsers; --subtitles burns in the project's subtitles; and --loudness=-14 brings the mix to −14 LUFS with true peaks under −1 dBTP, the level online video expects (write it with = so the minus sign is read as the value). Two behaviors are worth knowing in advance: a project Studio has not shown yet is opened in Studio first, and render starts a Studio server that keeps running afterwards — it listens on localhost, that is where you edit, and you close it when you are done.
Step 4: Check it with look#
Video models fail silently; OpenFilm spends its effort where they fail, on checking the film. look draws every frame of a contact sheet twice, in two shuffled orders, and names any frame that changed, along with page errors, fonts that failed to load, missing sound files, and text cut off by the frame:
npx -y openfilm@latest look drawing 12 frames twice (0s–4s) and mixing the sound…
film 1920×1080 · 4s · 0 sounds
! WebGL runs in software (ANGLE (Google, Vulkan 1.3.0 (SwiftShader Device (Subzero) (0x0000C0DE)), SwiftShader driver)): slow, and pictures may differ from a GPU
✓ 12 frames drawn twice, in two shuffled orders: same t, same picture
→ .film/cache/look/0-4s.pngThe check passed: the same t drew the same picture both times. The warning is also worth reading — on a CPU-only machine WebGL runs in software through SwiftShader, which is slower, and the tool tells you plainly that pictures may differ from a GPU. look takes arguments for closer inspection: look 4.5 draws one frame at full size, look 3-6 draws a dense sheet of a stretch, look page.html checks a single page, and --full watches the rendered film for white flashes, frames unlike those on both sides, still pictures held six seconds or more, and black frames, each with its time. --loudness reports how far the mix sits from a target LUFS level before you commit to a render.
Step 5: Free media with get#
A film made only of code-drawn pages is silent and bare. get is the media command, and its first half needs nothing connected: OpenFilm's own library is CC0, searched offline, and free to use in any film. Running openfilm get lists the verbs — music-search, sfx-search (about 5,400 sound effects), transition, effect, filter, sticker (1,587 emoji plus arrows, marks, buttons, and badges that move), text, and template:
npx -y openfilm@latest get music-search --prompt calm --limit 33 in OpenFilm's library for “calm”, the best first (free to use in any film):
1. Architectural ambient calm 0:33 · 80 bpm · energy 2/5
openfilm/audio/music/architectural-ambient-calm-d560ae.mp3
Ambient, Ambience, Calm, Background
2. Calm documentary piano 0:39 · 96 bpm · energy 2/5
openfilm/audio/music/calm-documentary-piano-a085d0.mp3
Calm, Documentary, Piano, Morning, Background
3. Koto and shakuhachi calm 0:30 · 160 bpm · energy 2/5
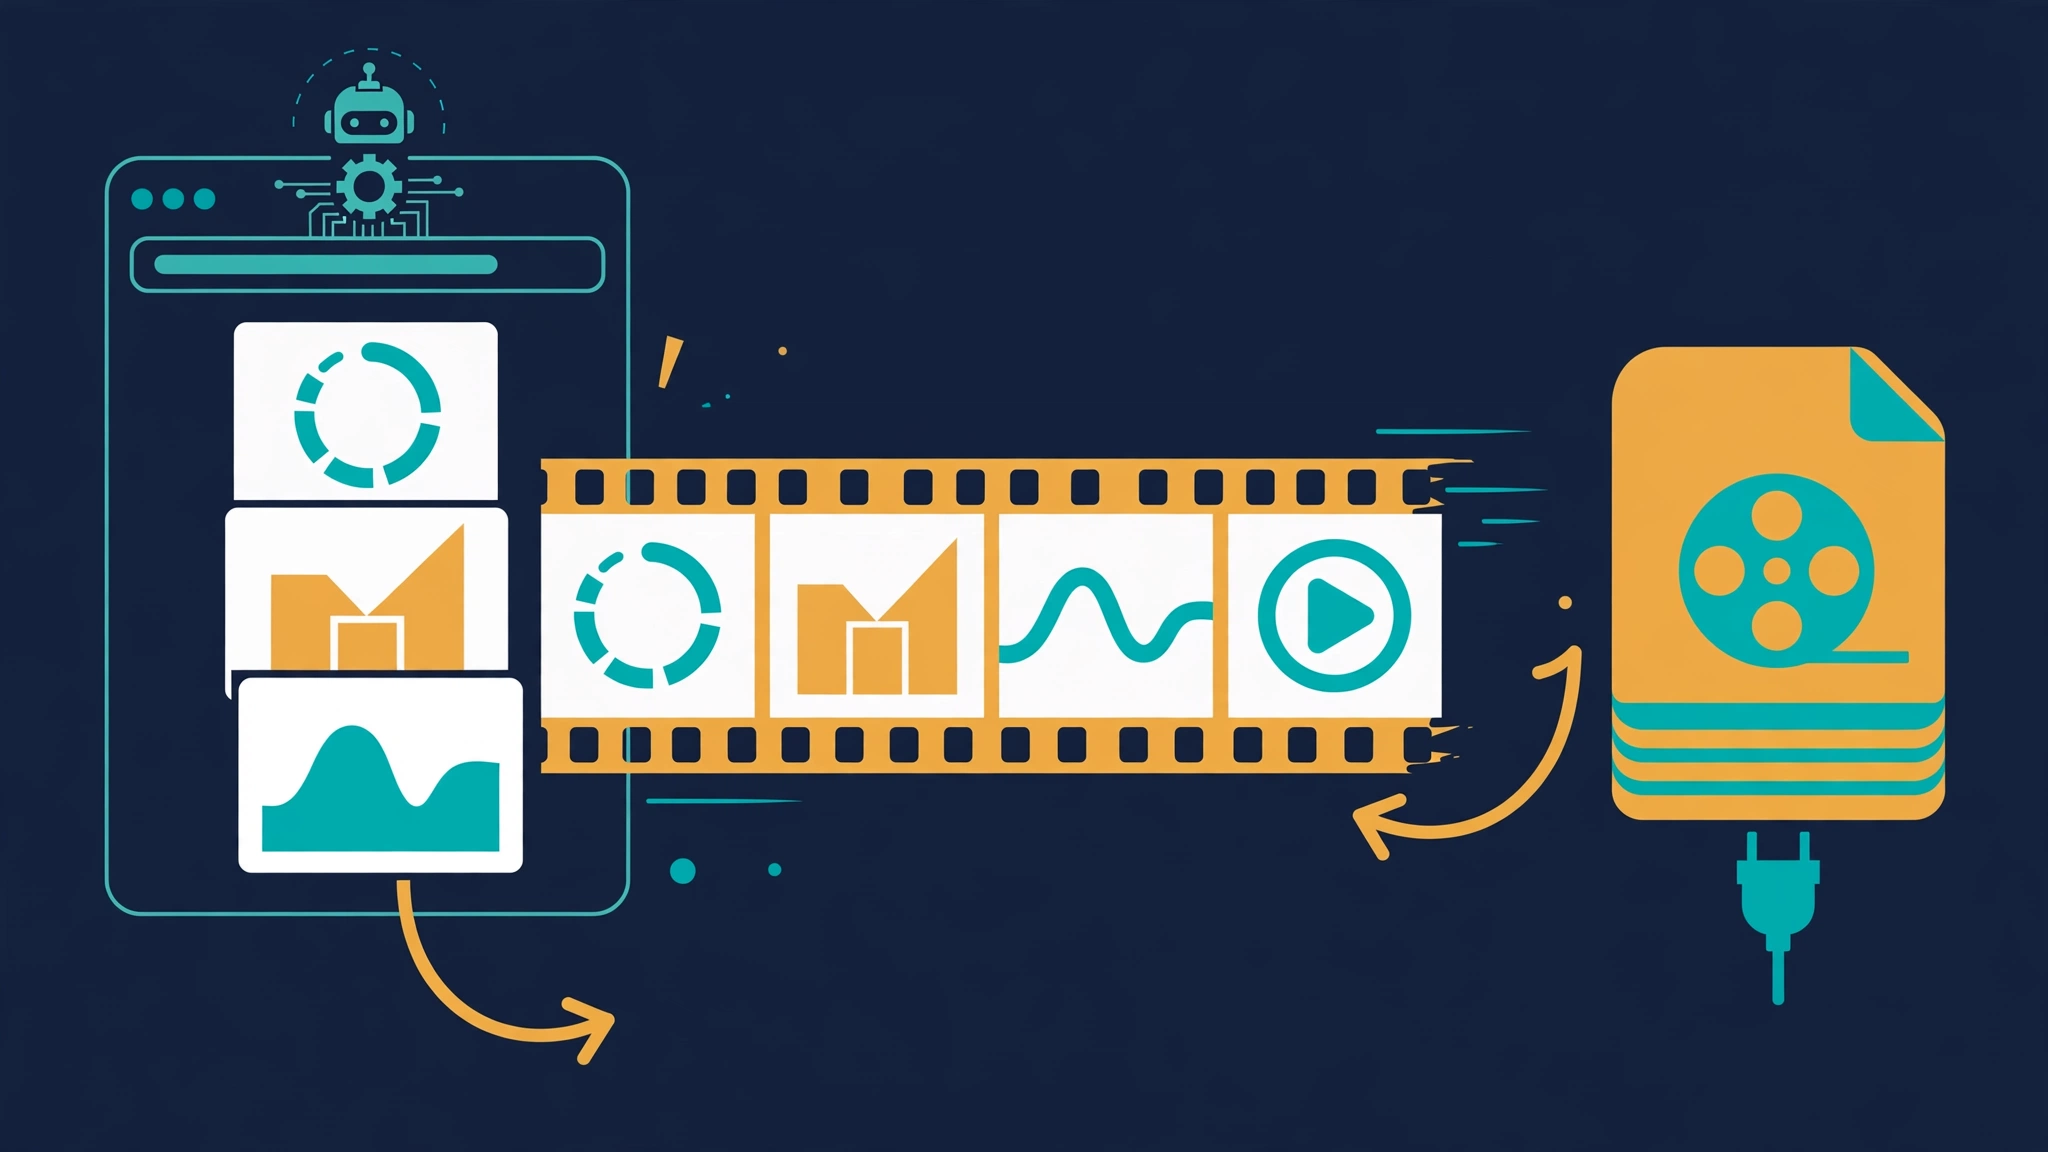
openfilm/audio/music/koto-and-shakuhachi-calm-941c09.mp3Search is offline — the catalogue lives in the package — while the files themselves arrive when you take one: --take <id> copies the file into the project. The same pattern works for sounds; a search for “rain” returns an 8-second rain ambience first, then a 12-second looping room tone. The second half of get is the connected half. The tool reports “nothing is connected for media here” until you connect a service with your own key in Studio's Settings → Services: ElevenLabs and Cartesia for voice-over, fal.ai, Google, and OpenAI for images and video, Pexels and Pixabay for stock search, Brave and Tavily for web search, Groq and Xiaomi MiMo for voice-over and transcripts, among others. Generated media is therefore pay-your-own-way by design; the free library is what makes a film possible with no keys at all.
Step 6: Hand it to your agent#
Steps 1–5 used the CLI directly, which is the fastest way to learn the format. The agent path is the point of the project, and it works like this. The README's install is npx skills add openfilm/openfilm, which copies the skill into your agent's skills folder; if your agent has no skills support, the fallback is to tell it to run npx -y openfilm@latest and follow what it prints — with no arguments, the CLI prints the manual, including the three built-in skills (edit, media, canvas) and the instruction to read the one a task needs before starting it. Then ask for a film the way the README does:
Make a 20-second launch video for my CLI, with music.The agent writes film.html and the pages, opens the film in Studio, and you watch it take shape. That is the workflow the format exists for: the agent does the bulk writing, you change anything by hand in Studio or by asking, and look and render stay the same two commands throughout. Studio's editor moves, scales, and rotates elements inside a page, changes text, color, and style, trims clips on the timeline, and saves named versions to go back to; edits are saved to the film's files, so the agent sees them and keeps them. Export covers video, GIF, sound or its stems, subtitles, stills, slides, a transparent video, and the timeline itself for Final Cut Pro, Premiere Pro, and DaVinci Resolve. Beside the edit sits the canvas — a board where you and the agent lay out notes, pictures, and clips, wire them together, and send what you make to the timeline in order. One honest caveat from this run: the skills-CLI install clones the repository, and in this sandbox that clone did not finish within 100 seconds — twice — so the walkthrough above uses the CLI directly, which needs no skill install. On a normal connection the install is a one-liner; in a slow sandbox, the CLI path is the reliable one.
The gotchas#
- The browser download can stall. Playwright's downloader failed three times in this sandbox at about 90% of the 114.2 MB headless-Chromium zip, each time with “server closed connection”.
curlwith resume finished the same file first try. If your first render fails the same way, download it yourself —curl -L -C - -o chrome-headless-shell-linux64.zip https://cdn.playwright.dev/builds/cft/149.0.7827.55/linux64/chrome-headless-shell-linux64.zip— unzip it to~/.cache/ms-playwright/chromium_headless_shell-1228/chrome-headless-shell-linux64/, and touch an emptyDEPENDENCIES_VALIDATEDfile in thechromium_headless_shell-1228folder. The folder name matters: Playwright expectschrome-headless-shell-linux64with thechrome-headless-shellbinary inside it, not the olderchrome-linux/headless_shelllayout. On a normal connection the first render downloads it once and you never think about it again. - Mind the temp directory. The download stages through the system temp dir, and this sandbox's
/tmpis a 512 MB tmpfs that filled up mid-download. SetTMPDIRto somewhere roomy before the first render. - CPU-only rendering is slower and softer. Without a GPU, WebGL runs in software (SwiftShader) —
looksays so on the nose — and the tool warns that pictures may differ from a GPU. The 4-second film here still rendered in 19.6 seconds; a longer film with heavy WebGL will take proportionally longer. - Render leaves Studio running. Each render started a Studio server on localhost that stayed up afterwards. That is by design — Studio is the editor — but close it when you are done, or it keeps its port.
- The skill install needs a decent connection.
npx skills add openfilm/openfilmclones the repo; in this sandbox the clone stalled twice. The CLI path in this tutorial needs no skill install and works withnpxalone.
When to use OpenFilm vs alternatives#
OpenFilm is the right tool when the film is something code can draw: product launch videos, explainers, title sequences, motion graphics, data stories. The frame function is deterministic, so a fix is a code change and a re-render, not a new roll of the dice — and every element stays editable in Studio afterwards. It is the wrong tool when you need photoreal footage you cannot shoot, draw, or fetch: OpenFilm generates no footage itself, and anything it cannot draw has to arrive as a file or through a connected service with your own key.
Against video models (Sora, Veo, Hailuo, MiniMax), the trade is control for realism: a video model invents a clip you cannot precisely edit; OpenFilm draws exactly what the code says, every time. Against code-video frameworks such as Remotion, the trade is scope for immediacy: Remotion is a full framework with a build step, while OpenFilm is one function per shot plus a visual editor, and the agent writes plain HTML it already knows. Against the other agent-video tools in this family — OpenMontage, Cinecode, and Lemo's opuscar, all covered on this blog — OpenFilm's difference is the format itself: an open, inspectable HTML film and a real editor, rather than a render pipeline you watch from the outside. The project's own launch video, 1 minute 42 seconds long, was made with OpenFilm from start to finish — which is the honest demo for a tool whose claim is that code-drawn film is enough.
The takeaway#
OpenFilm earns its star count by removing the two things that make AI video frustrating: the unrepeatable render and the uneditable result. A film is a folder of web pages, a shot is one function of time, and the editor is a browser tab you already know how to use. Install it with one npx command, write a four-second film by hand to learn the contract, check it with look, render it with render — and only then hand the format to your agent and ask for the twenty-second version. The whole loop runs locally, costs nothing without connected services, and the MP4 at the end is exactly what the code said it would be.
Sources#
Frequently asked questions
Do I need an API key or a GPU to follow this tutorial?
No. Installing, writing a film, checking it with look, and rendering it need no account, no API key, and no GPU — everything in Steps 1–5 ran on a CPU-only VM. Generated voice, music, images, and video need your own keys with the services that make them.
What does frame(t) guarantee?
That the same t always draws the same picture, whatever was drawn before. Frames are asked for out of order and in parallel, so a page that keeps the rule renders identically at any size on any machine. A page that keeps state between frames or reads the clock breaks it.
Can I use OpenFilm without a coding agent?
Yes. The CLI is the whole tool: open, look, render, get, canvas, skills, and doctor all run by hand. The agent path is a convenience — the film format is plain HTML, so you can write and edit it yourself.
Where do films and skills live on disk?
Projects live under ~/Videos/OpenFilm/Projects, skills under ~/Videos/OpenFilm/Skills, and OpenFilm's data under ~/.openfilm. A rendered film lands beside film.html as <folder name>.mp4.
What about the desktop app?
The desktop app for macOS and Windows, from openfilm.dev, is Studio with a chat beside it, and it bundles ffmpeg and the headless browser, so there is nothing else to install on those platforms.