OpenClaw: run your own self-hosted AI agent on WhatsApp and Telegram — hands-on with the 391K-star personal assistant
OpenClaw is the 391K-star open-source personal AI assistant that runs on your own machine and answers inside WhatsApp, Telegram, and 20+ other chat apps. I installed it, connected Telegram, and set up a scheduled briefing — here is every verified step. I installed it from npm, ran every command in this guide against OpenClaw 2026.9.7, and checked every flag against the CLI and the shipped docs.
Your AI assistant lives in a browser tab. OpenClaw's lives in your pocket.
OpenClaw (openclaw/openclaw on GitHub) is a self-hosted, open-source AI assistant that runs on your own computer and meets you inside the messaging apps you already use — WhatsApp, Telegram, Discord, Slack, Signal, iMessage, and more than twenty others. You don't open an app to talk to it; you message it like a contact, and it does things: browses the web, runs commands, reads and writes files, works on a schedule, and remembers context between conversations.
The numbers explain why it's everywhere this week: 391,174 stars and 82,237 forks (verified against the GitHub API on October 1, 2026), commits landing daily, and a #4 spot on this week's trending-AI-repos roundup. It is MIT-licensed, stewarded by an independent 501(c)(3) foundation, and has no paid tier, no hosted service, and no token. I installed it from npm, ran every command in this guide against OpenClaw 2026.9.7, and checked every flag against the CLI and the shipped docs. Here is the full hands-on.
Why OpenClaw is blowing up right now
2026 has been the year of the terminal coding agent — Claude Code, Codex CLI, and their cousins turned the command line into the hottest interface in software. OpenClaw is the inversion of that idea. Instead of you going to the AI's interface, the AI comes to yours: your chats. And instead of writing code, it's a general-purpose personal assistant. Text it "book me a table for two Friday" or "summarize this 40-page PDF" and it plans the steps, uses its tools, and executes until the job is done.
The architecture is what makes this credible rather than a demo. One Gateway process runs on your machine (or a server) as the local control plane for sessions, tools, events, and channel connections. The Control UI, CLI, and TUI all connect to that Gateway. Channels bring the assistant to your messaging apps. Models and agent harnesses — Claude, Codex, local models — are plugins you can swap without changing anything else. Your state, memory, and credentials live on your hardware; by default OpenClaw phones home for nothing but a daily version check, anonymous feature statistics are opt-in, and update.checkOnStart: false disables both.
The project has been through three names — Clawdbot, then Moltbot, now OpenClaw — created by Peter Steinberger, and the ecosystem around it is unusually alive for its age: a community skill registry (ClawHub) with hundreds of skills, Model Context Protocol support for thousands of MCP servers, and 50+ built-in integrations from GitHub and Gmail to Hue lights and Spotify.
What you'll need
- A computer — macOS, Linux, Windows, or WSL2. If you take the npm install path, you need Node.js 24.16+ or 26.1+ (Node 26 recommended). The one-line installer provisions a supported Node runtime for you, so this only matters if you install via npm.
- An AI provider — an API key from Anthropic, OpenAI, Google, DeepSeek, Groq, Mistral, xAI, Together, Fireworks, or dozens of others. No key and no budget? Point it at a local model via Ollama or LM Studio instead — the onboarding wizard lists both.
- A Telegram account (free) for the messaging step in this guide. WhatsApp, Discord, Slack, and Signal work too, but Telegram's Bot API is the smoothest first connection.
- About 15 minutes, plus whatever your model provider charges per token. The software itself is free — MIT license, no subscription.
Step 1 — Install OpenClaw
The official docs give two paths. The installer script is the easiest (macOS / Linux / WSL2):
curl -fsSL https://openclaw.ai/install.sh | bashOn Windows PowerShell:
iwr -useb https://openclaw.ai/install.ps1 | iexIf you already manage Node yourself, install the published package instead — this is the path I took:
npm install -g openclaw@latest --allow-scripts=openclawThe gotcha I hit, so you don't have to: on npm 12 and npm 11.16+, the --allow-scripts=openclaw flag is mandatory. Without it, the install appears to succeed, but the CLI fails on first run with openclaw: package lifecycle is incomplete. Reinstall with package scripts enabled, then retry. I reproduced this exact failure, re-ran with the flag, and the install completed cleanly. (On npm 11.15 and earlier, omit the flag.)
Verify the install:
openclaw --version
# OpenClaw 2026.9.7 (c074824)

openclaw doctor
openclaw doctor runs health checks on the gateway and channels. On a fresh system it reports exactly what you'd expect: startup-optimization hints, gateway.mode unset, and gateway auth missing — each with the fix spelled out. That's your signal that the binary is healthy and ready for onboarding.
Step 2 — Run the onboarding wizard
openclaw onboard --install-daemonThis is the guided setup, and it's genuinely well designed: the wizard detects any AI access you already have, waits for your provider choice, verifies the connection with a live check, persists only the working route, then creates your workspace and configures the Gateway. The flags I verified in openclaw onboard --help give you real control over the flow:
--flow quickstart— minimal prompts, generated Gateway secret, no decisions to agonize over.--agent-name <name>— names your first agent (the wizard suggestsmain).--anthropic-api-key,--openai-api-key,--gemini-api-key,--deepseek-api-key,--ollama, and dozens more provider flags — pick one and the wizard skips the guessing.--non-interactive— scripted setups; requires--accept-risksince agents with system access are powerful.
When it finishes, your configuration lives at ~/.openclaw/openclaw.json — plain config on your disk, which is the whole point of the project.
Step 3 — Meet your assistant in the Control UI
openclaw gateway status
openclaw dashboard
openclaw dashboard opens the Control UI — the local web interface for chatting with your assistant, managing integrations, and configuring the agent without touching the CLI. Send it a message there to confirm everything works end to end: that message travels from the UI, through your local Gateway, to the model provider you configured in Step 2, and back.
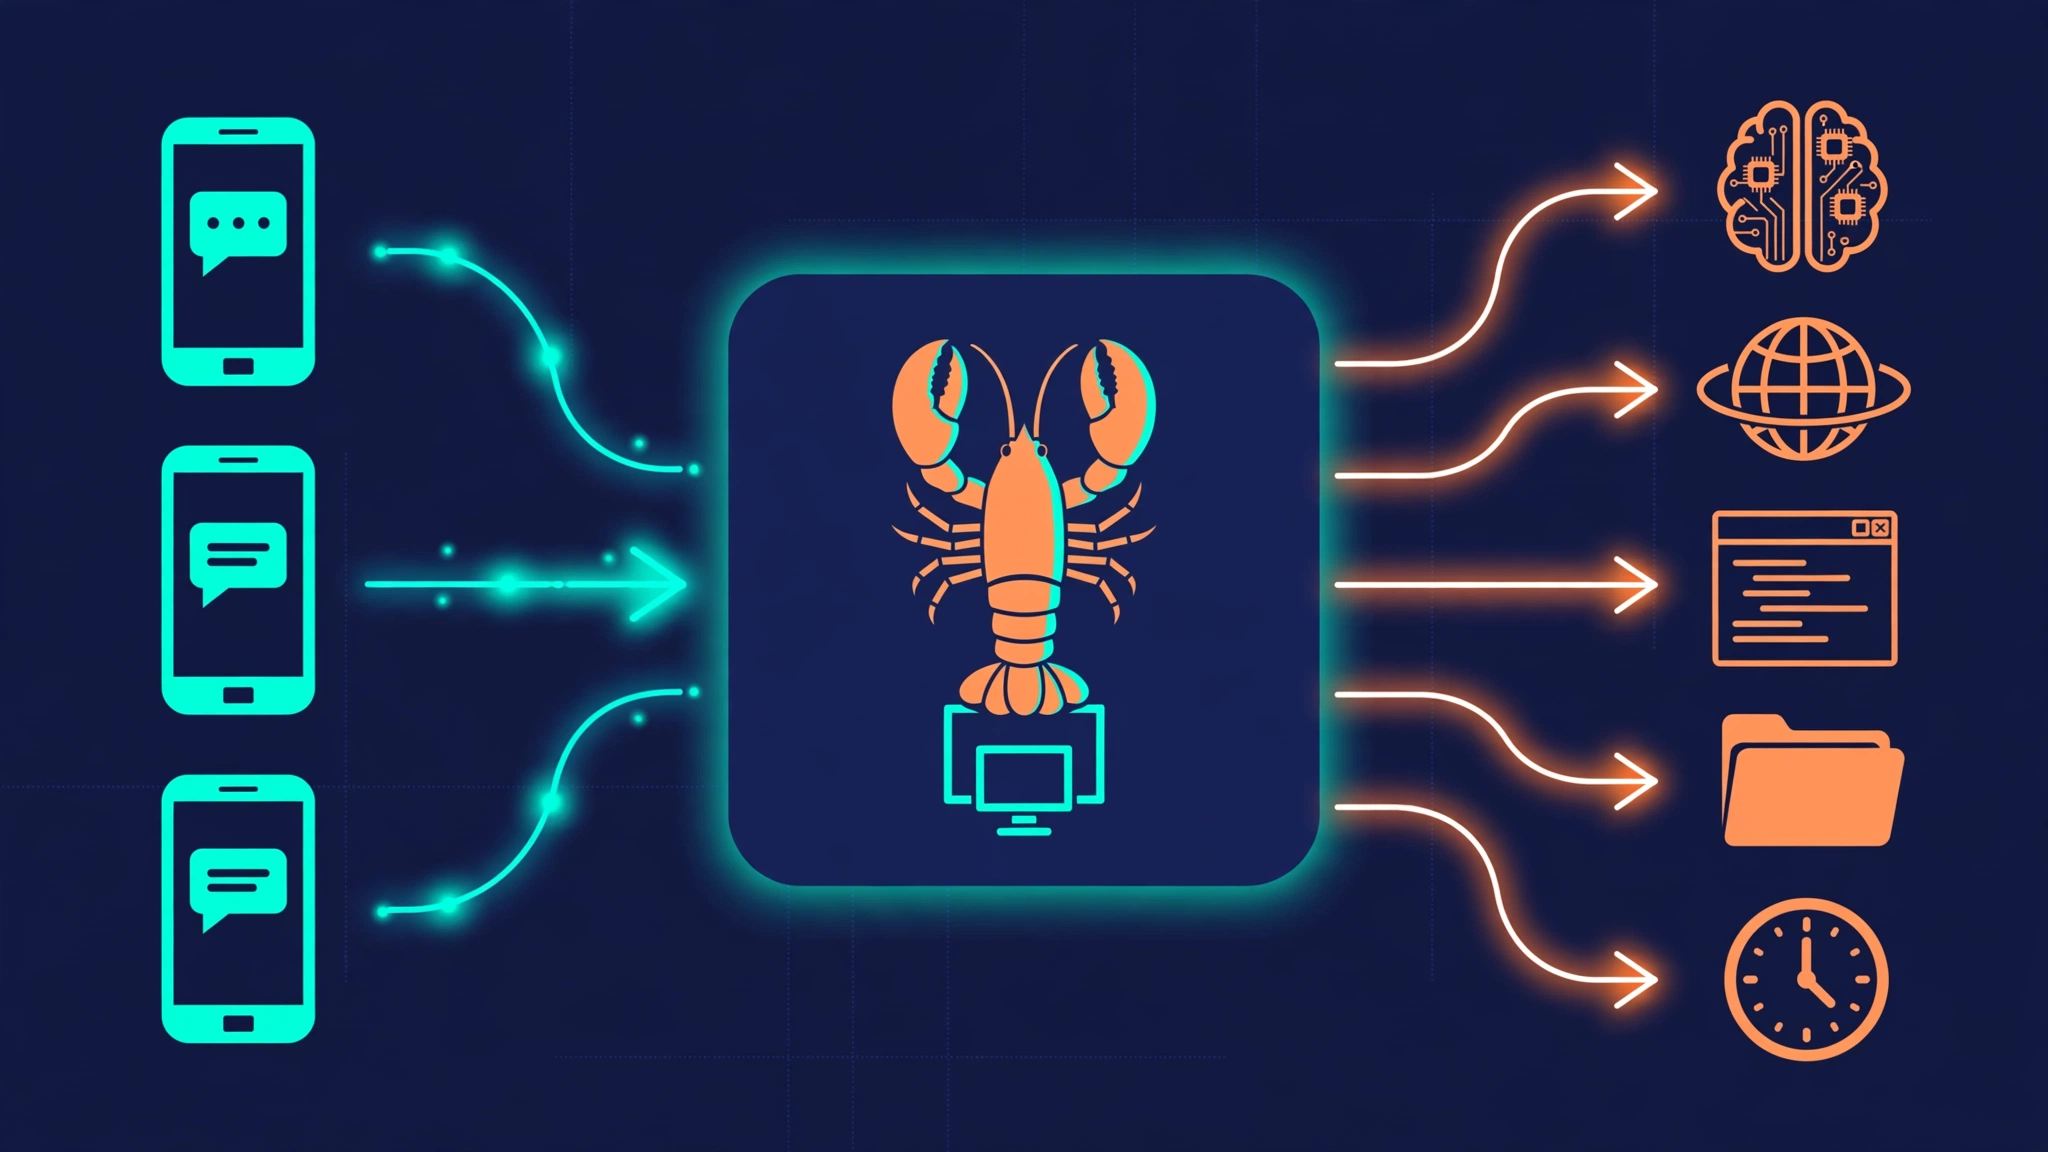
Worth internalizing before you go further: the Gateway is the trust boundary. Sessions, tools, events, and channel connections all flow through it, and it runs on your hardware. Your prompts go to the model provider and chat platforms you configured — and nowhere else, unless you enable a diagnostics export yourself.
Step 4 — Put it in your pocket: connect Telegram
This is the step that makes OpenClaw feel different from every terminal agent. The official Telegram setup, verified against the shipped docs, takes about three minutes:
1. Create the bot. Open Telegram and chat with @BotFather — confirm the handle is exactly @BotFather. Run /newbot, follow the prompts, and save the token it gives you. (There's also a BotFather web app if you prefer a UI.)
2. Give OpenClaw the token. The fastest option is the CLI, which writes it into your config for you:
openclaw channels add --channel telegram --token <bot-token>3. Verify the channel. The running Gateway picks up new channel configuration via hot reload — no restart needed:
openclaw channels status --probe4. Approve the pairing. Open Telegram and send any message to your bot. That message creates the pairing request, which you approve explicitly:
openclaw pairing list telegram
openclaw pairing approve telegram <CODE>
Pairing codes expire after one hour. Now message your bot — you're talking to your own assistant, running on your own machine, through an app you already had open.
A few details worth knowing, all from the official channel docs: Telegram is production-ready via grammY with long polling as the default transport (webhook mode is optional). The token can also come from the TELEGRAM_BOT_TOKEN environment variable, and the DM policy defaults to pairing — unknown senders must be approved, which is the behavior you want before you connect anything with real capabilities. WhatsApp connects via WhatsApp Web, and Discord, Slack, Signal, Teams, Google Chat, Matrix, and iMessage (macOS) are all built in.
Step 5 — Teach it new tricks with skills
A bare assistant is a good conversationalist; a skilled one is useful. OpenClaw's skill system is where the 700+ community skills on the ClawHub registry come in — productivity, development, smart home, research, media. The commands, verified against the installed CLI:
openclaw skills search <query>
openclaw skills install <skill-name>
openclaw skills list
Other subcommands worth knowing: check (which skills are ready or missing requirements), info (details on a skill), update, and verify. Install a skill, and the next time you message your assistant — from Telegram, the dashboard, anywhere — it can use it. Because models and harnesses are plugins, you can also swap the underlying model (Claude today, a local model tomorrow) without reconfiguring anything else.
Step 6 — End to end: a scheduled morning briefing
Here's the payoff for the whole setup: an assistant that works while you sleep. OpenClaw's built-in scheduler (registered as openclaw cron, alias openclaw automations) runs agent jobs on a cron expression and delivers the result to a chat. The syntax, verified against the official CLI reference — schedule first, prompt second:
openclaw cron create "0 7 * * *" \
  "Summarize the overnight AI news in five bullets, with one line on why each matters." \
  --name "Morning brief" \
  --announce --channel telegram --to "<your-chat-id>"
At 07:00 every morning, the Gateway wakes an agent with your prompt, and --announce --channel telegram --to delivers the finished briefing to your chat. To find your chat ID, message the bot and check openclaw logs --follow, or use Telegram's Bot API getUpdates. Debug the job without waiting for morning:
openclaw cron list
openclaw cron run <job-id>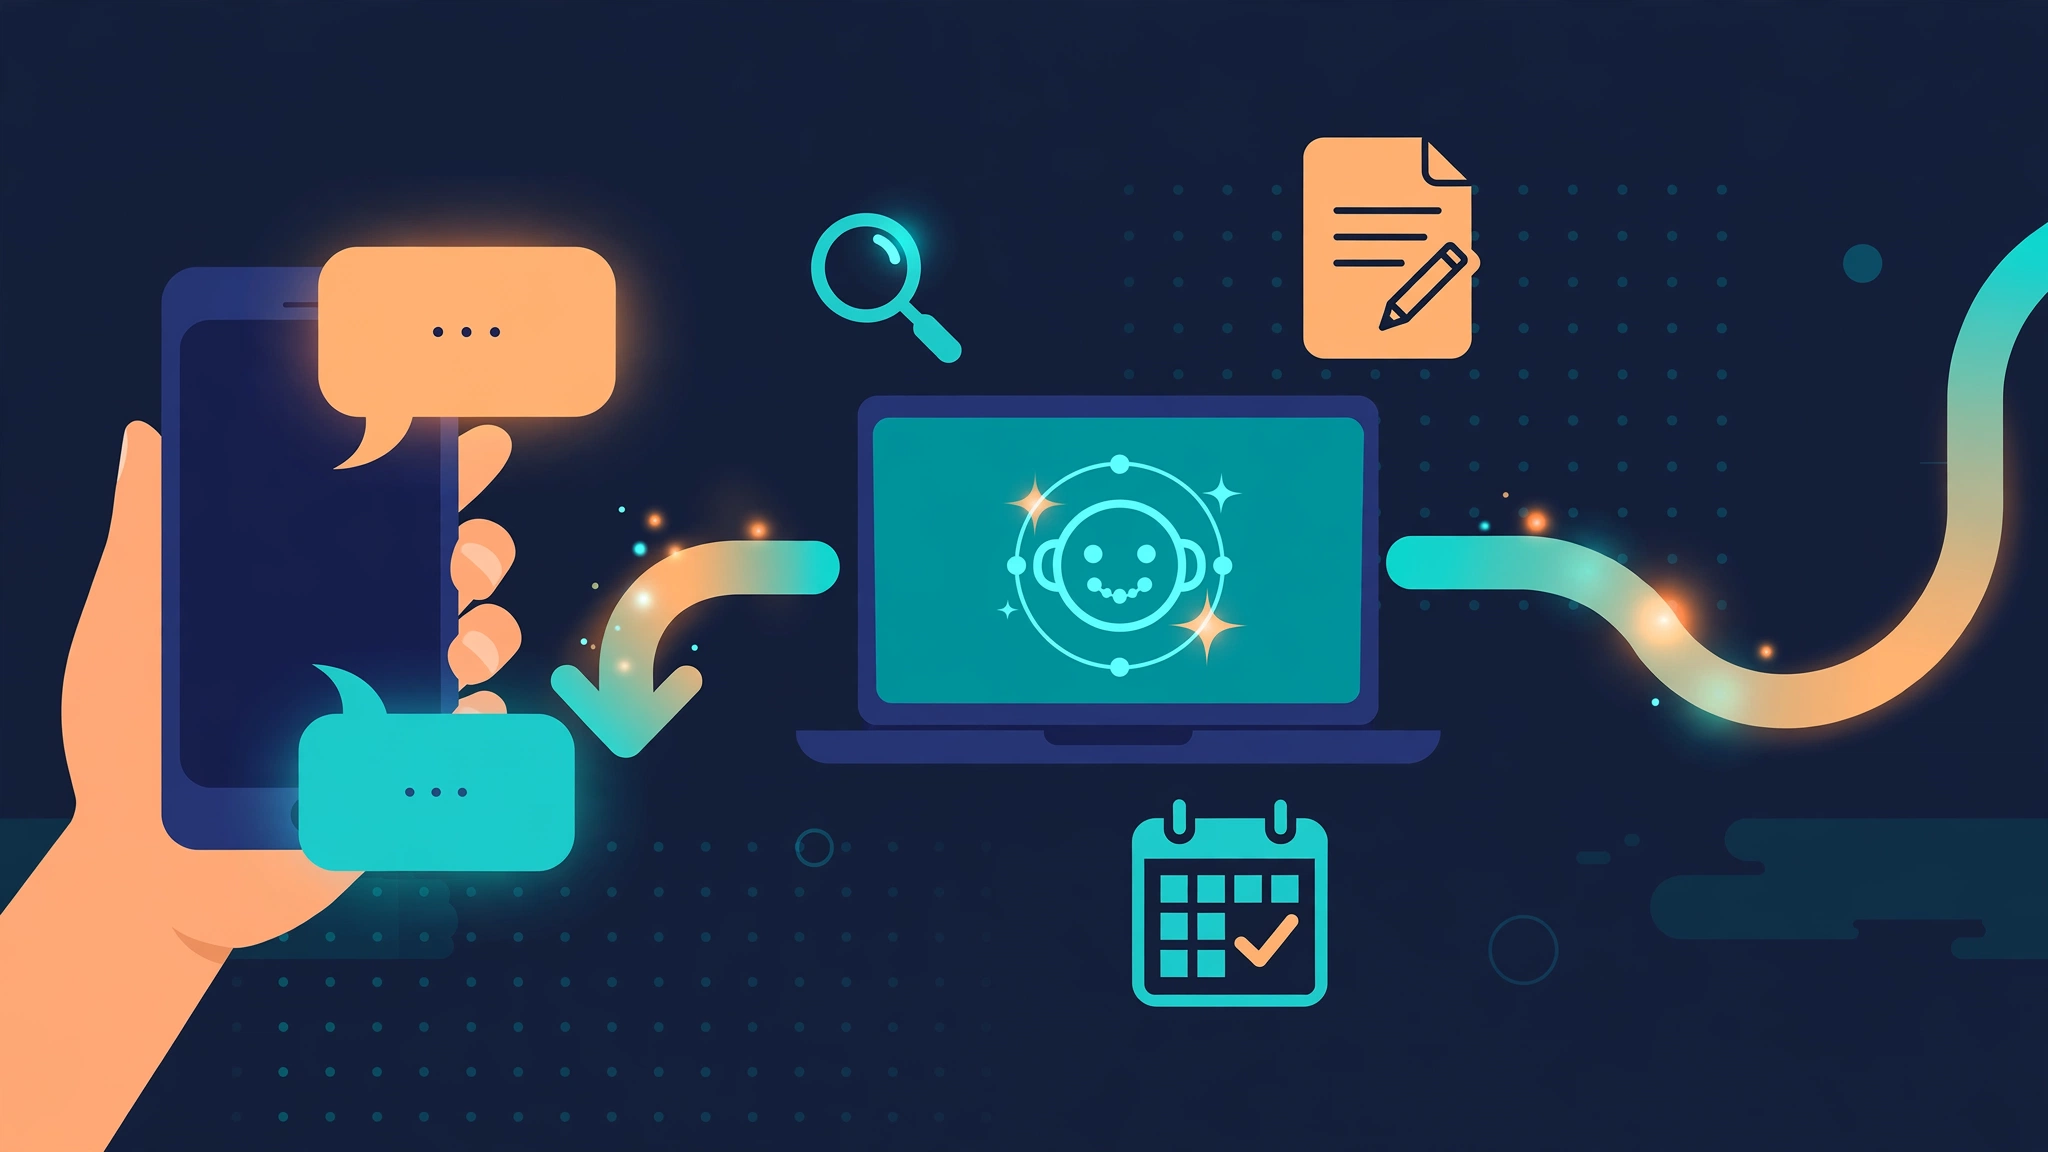
That loop — message in, work done, answer back in the app you live in — is the entire product. Everything before it was plumbing.
When to use OpenClaw — and when not to
Use it when you want an always-on assistant in the apps you already live in: triaging messages, drafting replies, checking things on a schedule, controlling smart-home gear, doing research while you're away from your desk. Use it when privacy matters — medical, legal, or business context that shouldn't transit a vendor's servers stays on your hardware. Use it when you want provider freedom: start on a hosted model, move to a local one, and nothing about your setup changes except the plugin.
Don't reach for it for pure coding work — a terminal coding agent like Claude Code or Codex CLI is more direct when you're already at a keyboard. Don't bother for one-off questions a hosted chatbot answers in ten seconds; OpenClaw earns its keep through persistence and automation, not single queries.
And take the security model seriously, because the project does. The README says it plainly: treat inbound messages as untrusted input. DM-capable channels pair unknown senders by default — approve pairing codes deliberately. Tools run on your host for the main session unless you configure sandboxing. Read the security guide, the exposure runbook, and the sandboxing guide before you connect other users or expose the Gateway beyond your machine. An assistant that can run shell commands on your computer is exactly as safe as the boundaries you put around it.
Compared with the alternatives: hosted AI assistants charge a subscription and keep your data on their servers; workflow tools like n8n automate but don't converse; terminal agents code but don't live in your chats. OpenClaw's niche is the overlap — a conversational, self-hosted, provider-agnostic assistant that meets you where you already are.
The takeaway
The reason 391,000 people starred this repository isn't that it's a better chatbot. It's the inversion: instead of you going to the AI's app, the AI comes to your chats — and instead of just answering, it does things on your machine. The whole journey is one installer, one onboarding wizard, one dashboard, one Telegram bot, and one cron job. Start with the Control UI, add Telegram, add one skill at a time, and give it a morning job. That's the learning curve, and it's an evening.
OpenClaw is MIT-licensed at github.com/openclaw/openclaw. Verified against OpenClaw 2026.9.7 (installed via npm on October 1, 2026); every CLI command and flag above was run against the installed binary, and the Telegram and cron flows were checked against the docs shipped in the package.